Cinematic Test Shots with the Sony A6500 and Mavic Pro Drone
#451
Hey everyone, welcome back and a huge thanks for everything! I appreciate all of your support so much!
I’m excited to share this new video of some cinematic test shots I took with the Sony A6500, Mavic Pro Drone, Zhiyun Crane, and the ThiEYE T5e. These names might seem new to some of you, so I’ll give a brief review of them below. I’ll also share some of the composition techniques I used within the video. Let’s get into it!
Free Diamond Breeze LUT
Before we get too carried away, here is the FREE LUT (.cube file) that I promised you. I created it using Photoshop and named it “Diamond Breeze.” If you don’t know much about LUT’s, they are “Look Up Tables” used to color grade video. They can also be used in Photoshop and Lightroom.
Diamond Breeze Download Size 49kb
Disclaimer: I’m not too familiar with all of the different formats, but download and install it if you like. Please don’t ask me how to install it though…it’s different for every editing program and probably best you search for it on YouTube. I used the mLUT plugin for Final Cut Pro X after I watched this video.
Cinematic Test Shots with the Sony A6500 Video
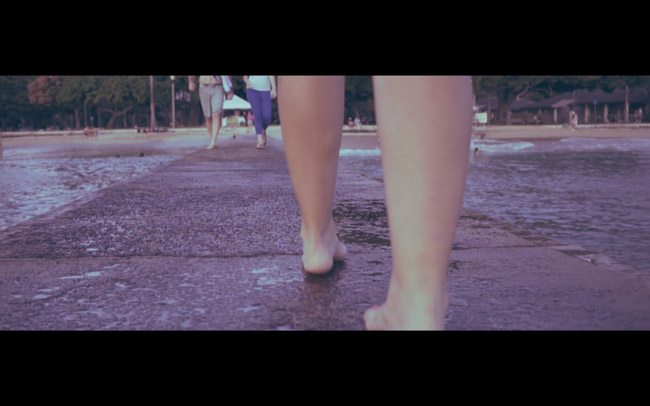
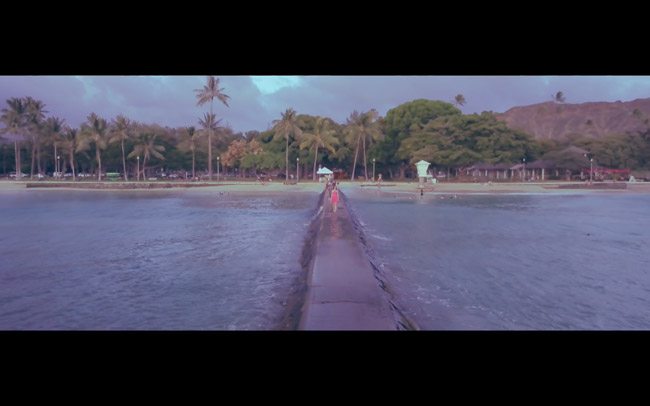
Here’s the short video with recent clips I took with Mandy around Waikiki, Hawaii. What a fun thing to do together!
Quick Description and Reviews of the Gear Used
First, let’s get to know the gear really quick. This stuff was new to me a few months ago, so I think it will benefit some of you. I will give a brief overview and provide an affiliate link to the product just in case you were wanting to grab one for yourself and further support this site.
Sony A6500– (http://amzn.to/2sNM5Ud) This is not a full frame camera, but it is mirrorless. This means it is super light and can work very well on the steadicam/gimbal. Not only it’s size is awesome, but it can shoot 4K video as well as Full HD 120fps. This means high quality videos and super slow motion! Precisely the reason I bought it.
The focusing system on it is pretty complex compared to the Canon 6D, so it took me a while to get use to it. At the time I shot the video, I wasn’t really sure what I was doing…which focus setting to pick, if it was working, etc. As I describe further below, I couldn’t really see the screen, so it was a frustration I didn’t need with the heat of summer shining down on me. The camera did an amazing job though!
The Sony A6500 has in-camera image stabilization (IBIS) too, which means the camera stabilizes the shot, not the lens. This allows you to use more lenses and get steady shots all of the time!
Some cons with it are mainly involving the screen, but it’s nothing I can’t live with. The screen dims when shooting in 4K or slow motion to avoid overheating, which means it’s pretty impossible to see the screen outside. With the glare and finger prints, it is really frustrating. I ordered an anti-glare cover for the screen, so I hope that will help.
Overall though, I think it’s a powerhouse of a camera and is an overall winner. I would prefer to travel with this rather than my Canon 6D because it can cover all of the areas…photo, 4k video, and slow motion.
Sony 20mm f/2.8 – (http://amzn.to/2ruJrim) This is the pancake lens, so it is very small, light, and produces decent bokeh when closer to the subject. Every gimbal shot in the video was utilizing this lens, except for the last one with me talking to the camera. The variable ND filter allows for slower shutter speeds which is best for video work.
This 20mm lens isn’t wide enough to capture Mandy and myself together in the screen at arms length. Because of the 1.5 crop factor of the camera, it’s more like a 30mm. Still a great lens though.
Sony 10-18mm f/4 – (http://amzn.to/2tiFSNi) This lens is the coolest! Something about that wide angle that gets me excited. I can hold it in the palm of my hand and point it at myself for vlogging and with the awesome focusing system of the Sony, I don’t really need to rely on a flip out screen. I can get crazy compositions with other low or high angles. It distorts reality and definitely provides lots of cinematic opportunities.
Zhiyun Crane V2– (http://amzn.to/2ruJxqe) this is a fancy electronic camera stabilizer. They call it a gimbal…something I had never really heard of until a few months ago. It works well with the Canon 6D and the 28-135mm, but the Sony A6500 shoots HD slow motion and is lighter…sorry Canon.
The Zhiyun Crane allows me to create buttery smooth camera work wherever I walk. It was pretty unsteady for me to walk on the beach behind Mandy, but the shots turned out great. I’m also planning on putting it on a monopod and using it like a jib for elevated shots.
Mavic Pro Drone (http://amzn.to/2ruWz73) This thing is such a blast to fly, and it produces 4K quality video. This was another learning curve for me, but I’m starting to get the hang of it. Until you put it in “sport mode” you will not know it’s potential for speed. Wow, this thing can zoom! I’m still not comfortable enough to fly it for a very long distance, but maybe soon. I’m also still learning the filming profiles to give the most cinematic look and retain dynamic range.
ThiEYE T5e (http://amzn.to/2tDYCXg) This is a great action cam for anyone wanting something similar to a GoPro, but for a fourth of the price. Shoots 4K video, but is best in situations with lots of light. Especially if you are shooting the HD slow motion setting. The sound is muffled a bit if it’s in the waterproof housing, but that’s to be expected. Overall, very satisfied with this one for the price and quality.
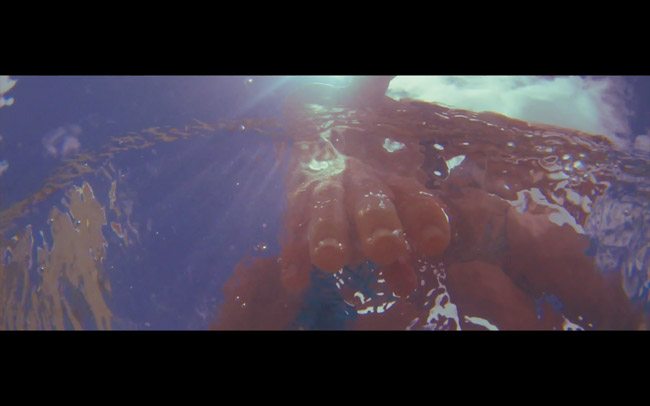
I used the ThiEye T5e for all of the beginning underwater shots. I saw a small pool of fish swimming, so I pushed record, threw it in the shallow water, and they all swam around it. I layered many underwater shots on top of one another using the “lighten” layer mode in Final Cut Pro X.
Other Gear I Used
I won’t continue to bore you with tons of gear info, but here are some other things I used to complete the cinematography.
62mm Variable ND Filter (for 10-18mm): http://amzn.to/2tiIVoV
49mm ND Filter (for 20mm): http://amzn.to/2ruzG3P
Mavic Pro Signal Extender: http://amzn.to/2tizWnA
Mavic Pro Controller Protector: http://amzn.to/2tDSu1a
Mavic Pro Leg Extender: http://amzn.to/2tip0WZ
Mavic Pro Polar Pro ND Filters: http://amzn.to/2sheSzo
Rode VideoMic Pro: http://amzn.to/2tiL3gq
Wind Cover VideoMic Pro: http://amzn.to/2ruDQbT
Zoom H1: http://amzn.to/2sgXvyz
Wind Cover for H1: http://amzn.to/2sNMDJL
Composition Techniques Used
Ok, now for a few composition techniques I used to create the video. You’ll notice a few lens flares in there. These help create depth in the same way aerial perspective (see Day 42) creates depth. It lowers the contrast around the subject, creating a sense of atmosphere.
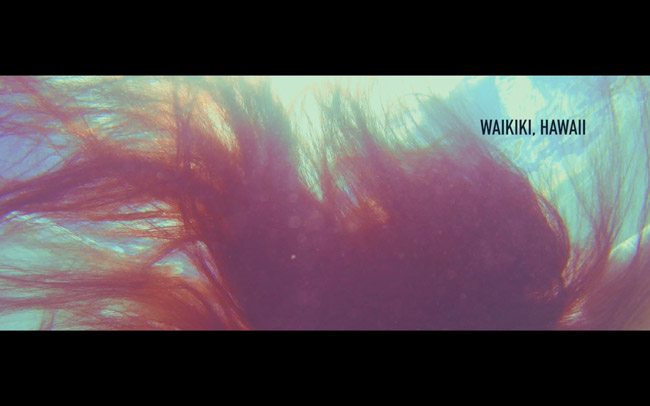
Here’s another one. Light is your friend!
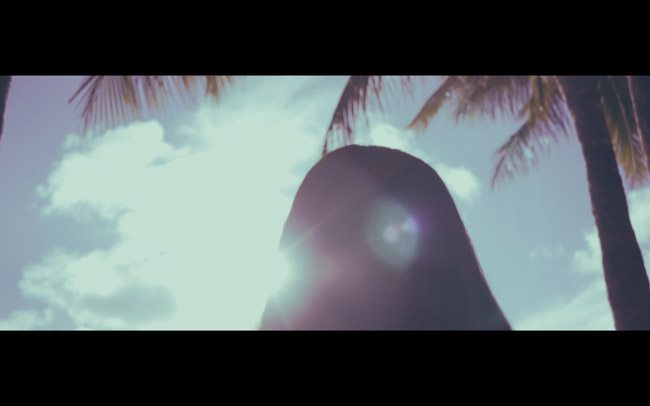
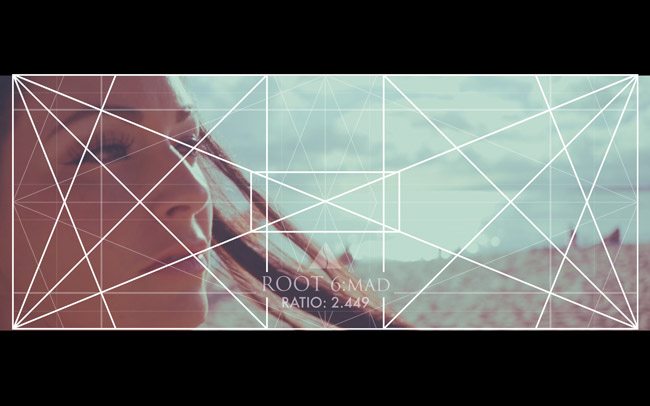
Another thing I tried to capture a lot of was diagonals. Now, my Sony A6500 screen was tough enough to see, so the dynamic symmetry grids weren’t taped onto it. I had to try to work them into the scene from memory…much like I do with film street photography.
Here you can see I placed the Root 6 grid onto the 2.55 cinematic screenshot. I had Mandy pull her hair out like she was playing with it and we can see that her hair created a nice diagonal. Her mouth, eyes, and eye brows lock in as well.
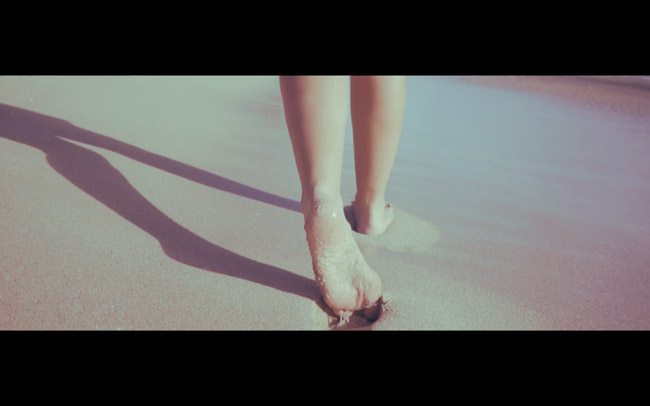
Now, a great way to always generate more diagonals is to go out when the sun is lower in the sky. This way you can use the shadows as diagonals. We were filming around 5pm, so we had some nice shadows to work with.
I also found some diagonals in the trees above me.
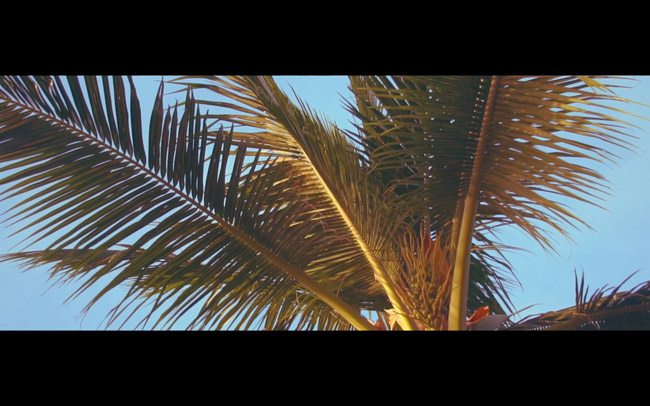
I even looked to create diagonals while flying the drone. Yes, diagonals are the main ingredient to our dynamic symmetry grids.
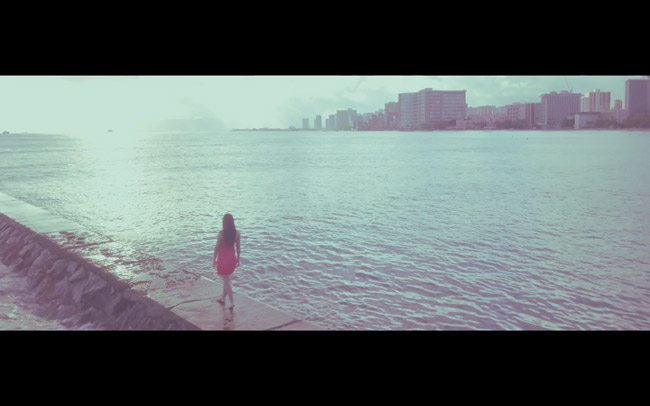
It’s also a great option to film at lower/higher elevations. The drone covers the high elevations, and the Zhiyun Crane functions very well when lowered to the ground. I go over using different elevations in the Photography Composition & Design book.
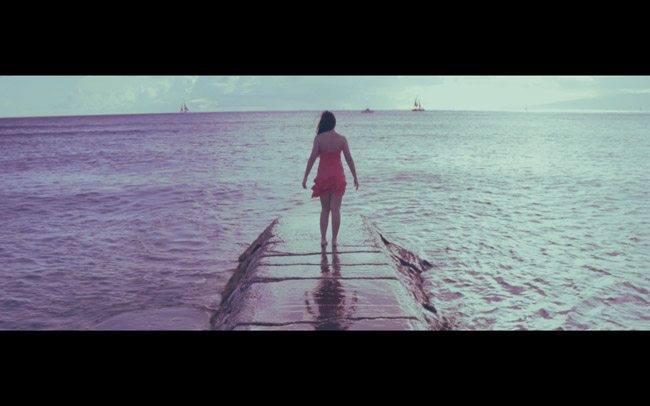
Another decision I made before we went out to shoot was her wardrobe. I wanted a reddish color (see Day 183) to pop amongst all of the greens and blues surrounding us. In this next shot you can see that the color red is a very small element, but the viewer knows exactly who the main subject is.
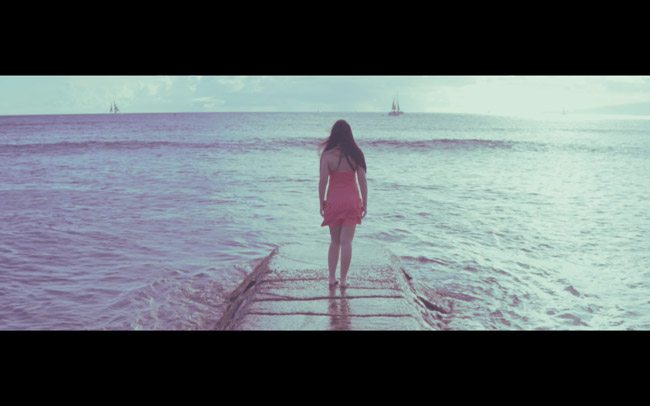
A very important thing I noticed while using the Zhiyun Crane and Sony A6500 behind her is that her head was “kissing” or coinciding (see Day 48) with the horizon line. I used this in the video, but later you will see how I raise the gimbal up to separate her from the horizon line.
I kept this scene in the video because I loved the slow motion waves within it, and I captured the Law of Symmetry (see Day 57) with her reflection, and an aspective view (see Day 78) of her body.
Here’s the shot where I raised up a bit to create the separation.
Well, that’s everything for today. Thanks for joining in and supporting this site. I appreciate all of you! Please comment below and let me know what you are shooting with, or if you want to know more about the gear I listed. Take care!

