Dune 2021 Composition Techniques – Part Two (ANALYZED CINEMA)

#681
Welcome back everyone, thanks for joining in on another fun-filled article!
Today we will be digging into part two of “Dune” (2021) to learn the other composition techniques that were used to create such stunning scenes. If you missed part one, be sure to check it out because the technique covered in that article will tie into this one; skills building upon skills. Now let’s get into it and see what else we can learn and apply to our own art!
**WARNING: SPOILER ALERT!!! THERE ARE A TON OF EXAMPLES BELOW THAT WILL DEFINITELY SPOIL THE MOVIE. SEE IT IN THE THEATERS WHILE YOU STILL CAN!**
Director Commentary Dune 2021
In part one we saw the quick trailer and how the visuals tie in with the movement, music, and dialogue. In this video, we’ll hear how the director Denis Villeneuve breaks down one of his favorite scenes. He also describes how he read the book when he was 14 years old and wanted to bring the most integrity to the movie; to create something Frank Herbert (author) would be proud of.
If you saw this movie in the IMAX theatre you may have felt how the deep bass sound effects play a role in how powerful this scene is. Check it out, then let’s dig into the composition techniques!
Digging Deeper Composition Techniques
Negative Space
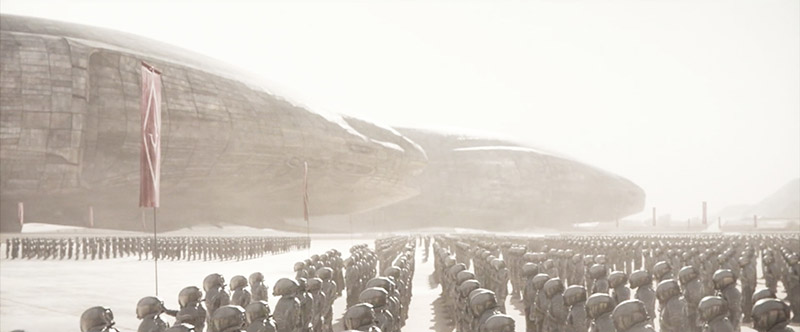
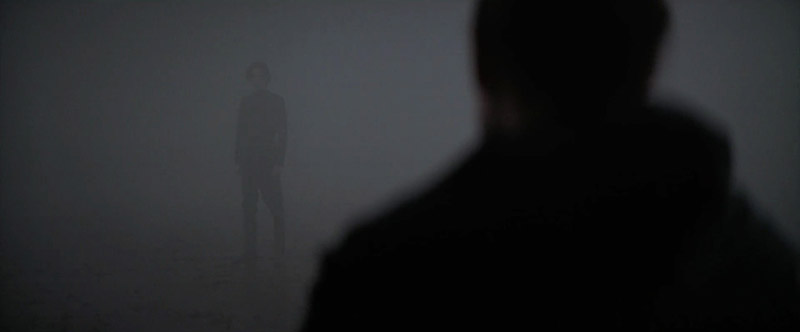
Every scene will have negative space (see Day 83), a lot or a little, but when its a lot it communicates something different to the viewer. With excessive negative space we are able to portray isolation, loneliness, or show the grand scale of the environment.
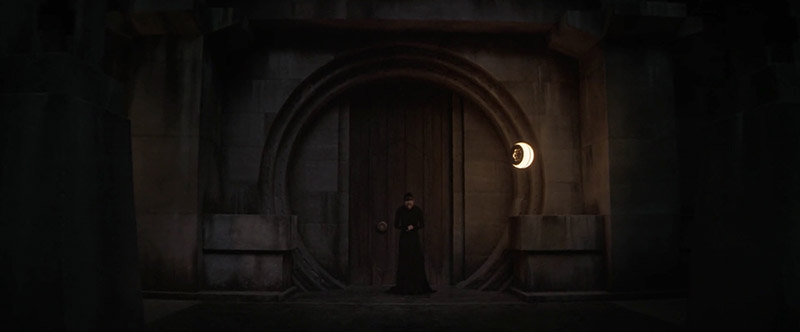
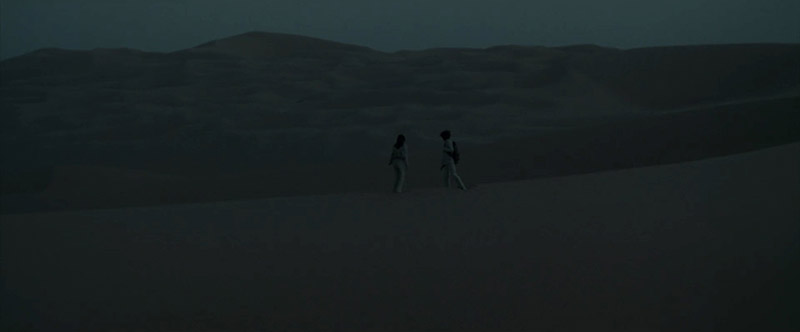
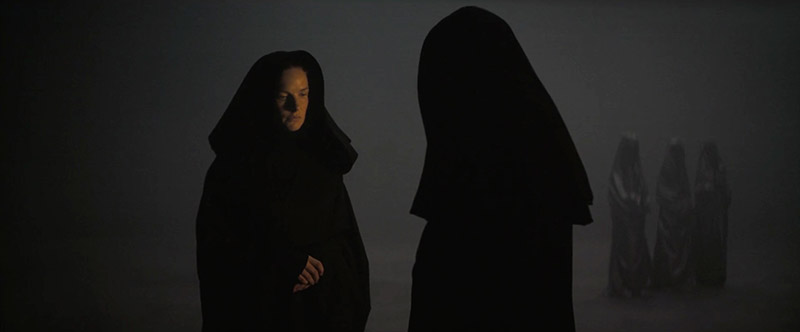
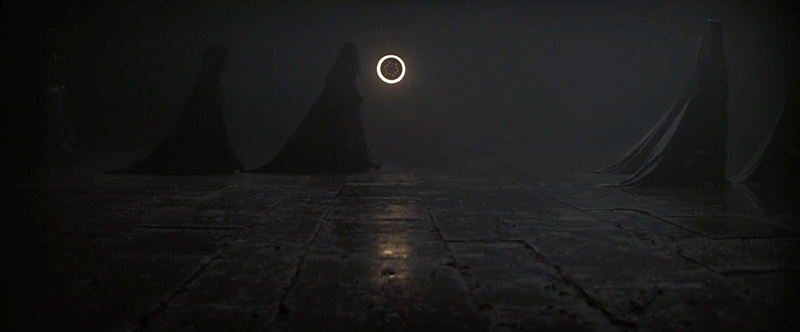
This next scene shows the mother centered and surrounded by darkness, much like her mood at the moment.
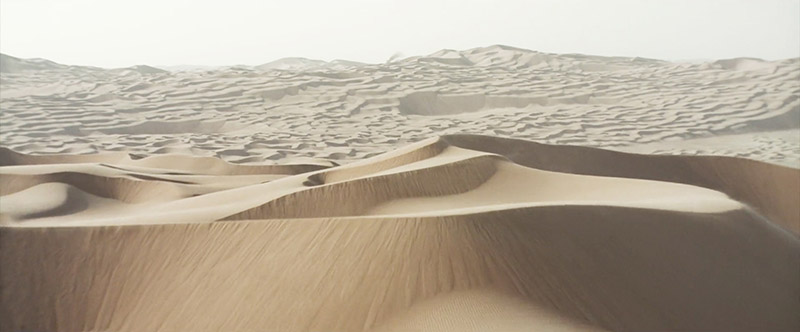
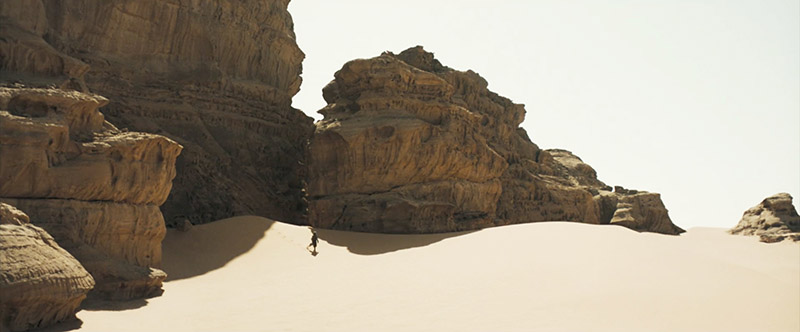
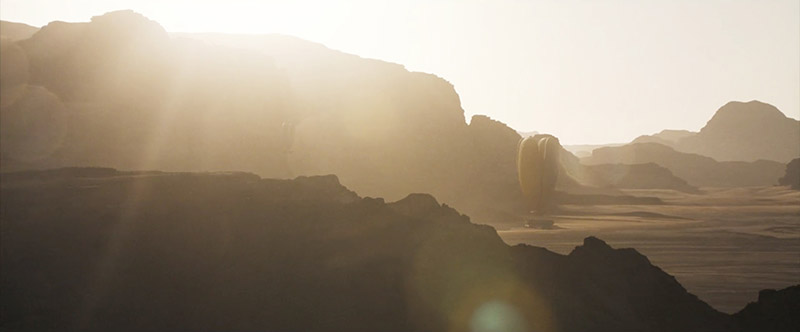
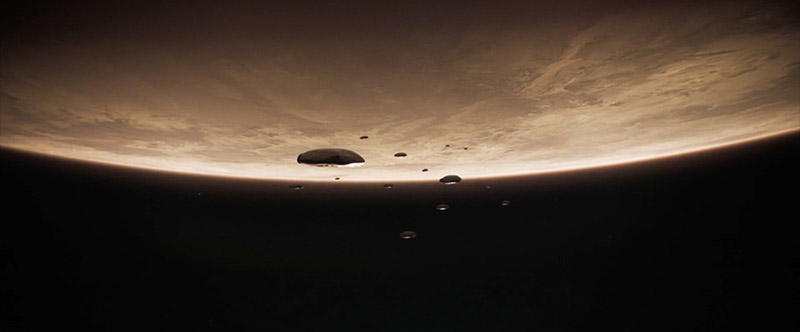
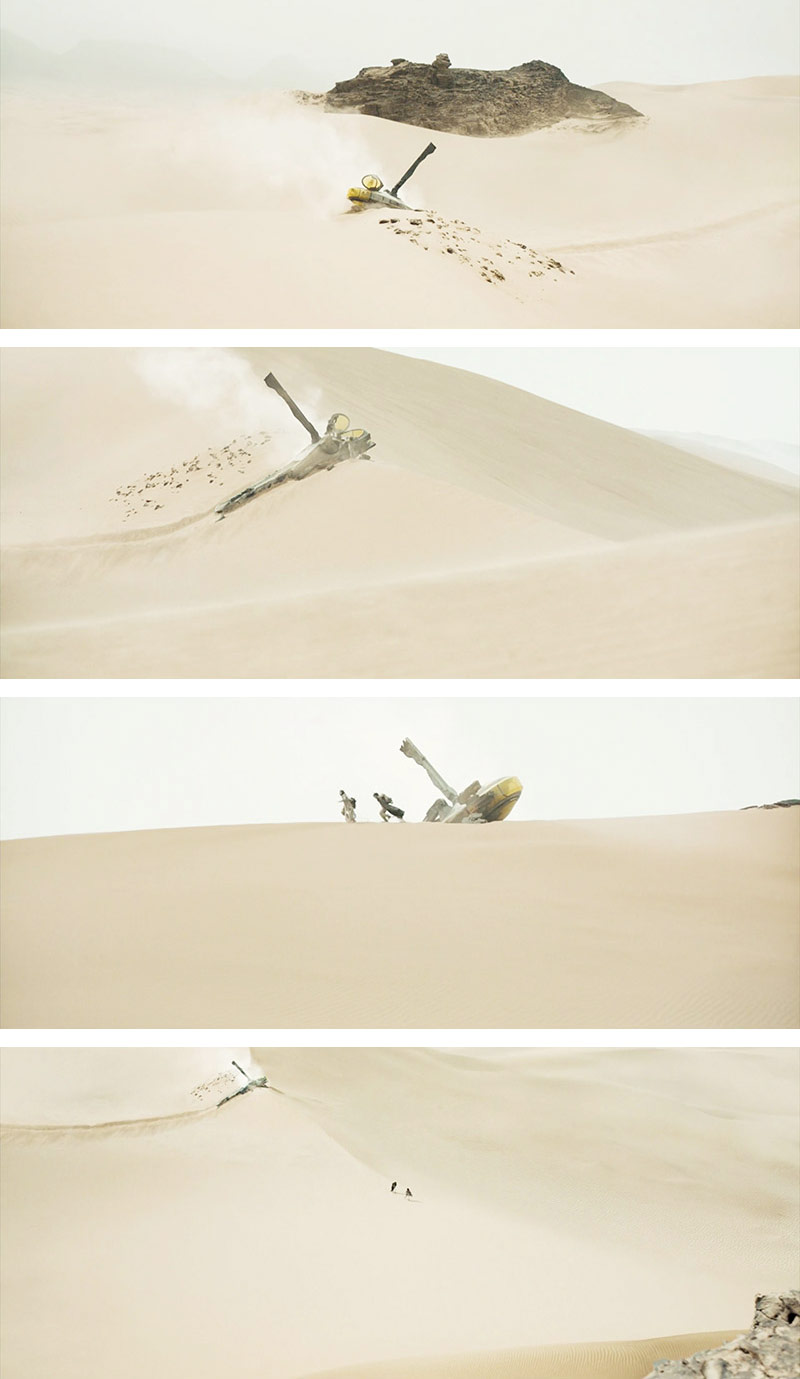
So if you’re not sure how to identify negative space, we can clarify it with this next desert scene. The sand creates interesting designs, but it is considered negative space because we are able to cut off a large chunk of it and still give the viewer the same context.
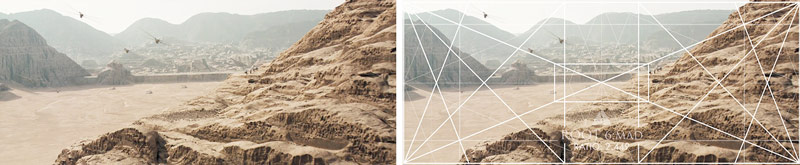
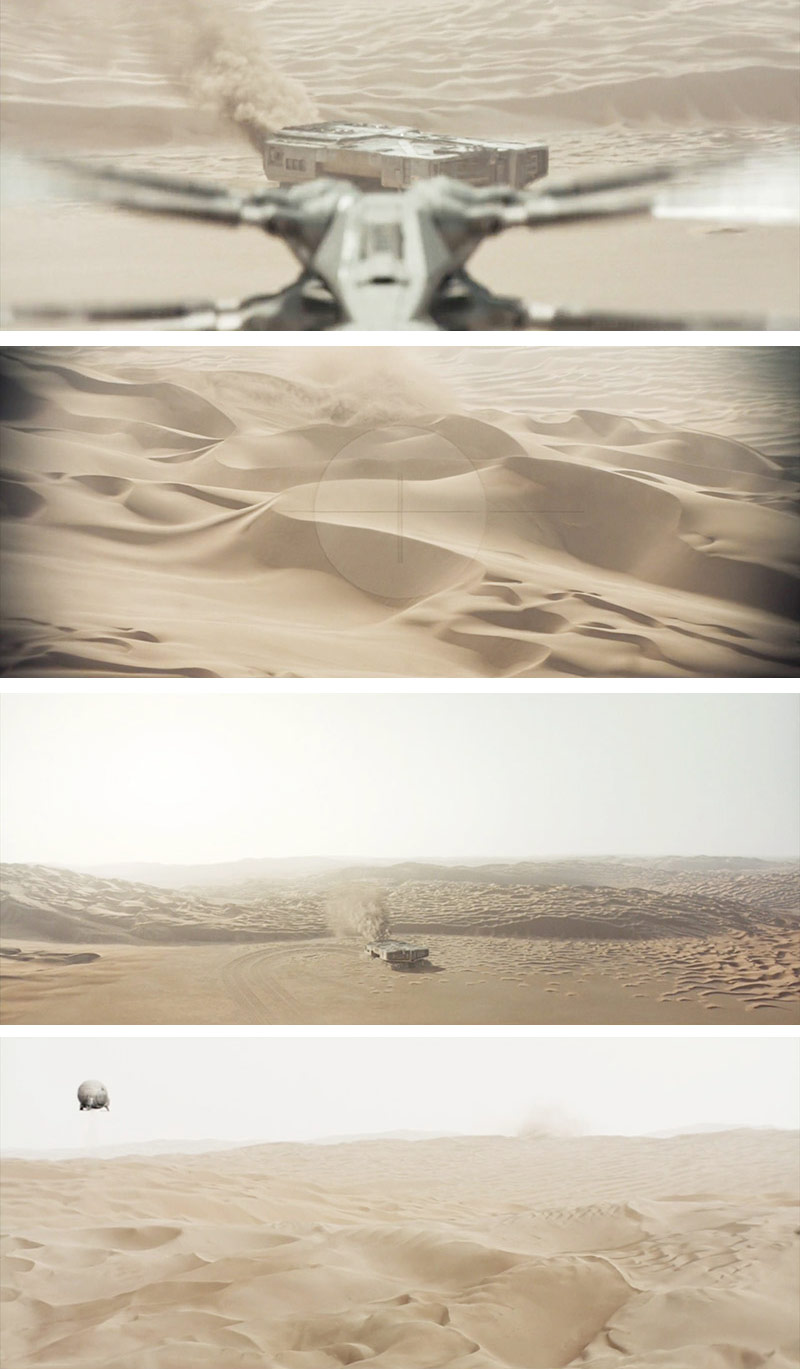
In the movie you’ll see the aircraft flying better, but it’s in the lower-center area. We could crop off a lot of negative space and bring more attention to the aircraft, but the purpose of this scene is to show the grand scale of the surrounding desert.

Here’s another cool scene with tons of negative space. Oh and look at that, it’s centered with nice FGR on the dark subjects!
When trying to show how hot and infinite the desert is on this planet, negative space is your friend!

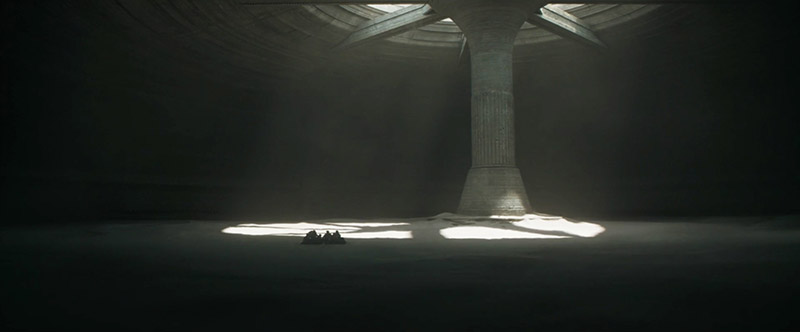
Aside from the negative space here, we can also notice that the characters sitting on the left have nice FGR and they are a counterpart to the large pillar.
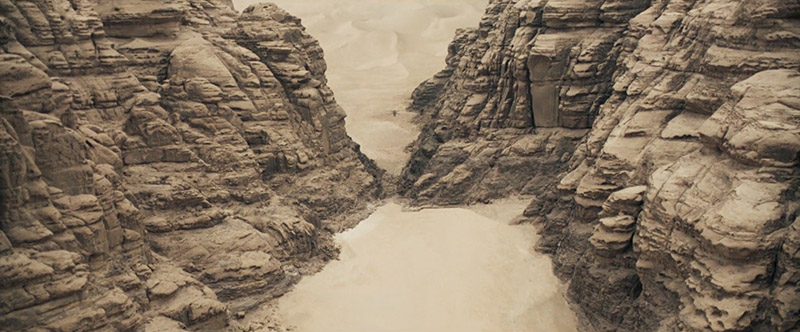
This scene shows a little cloud of smoke centered in the far distance, and surrounded by endless desert.
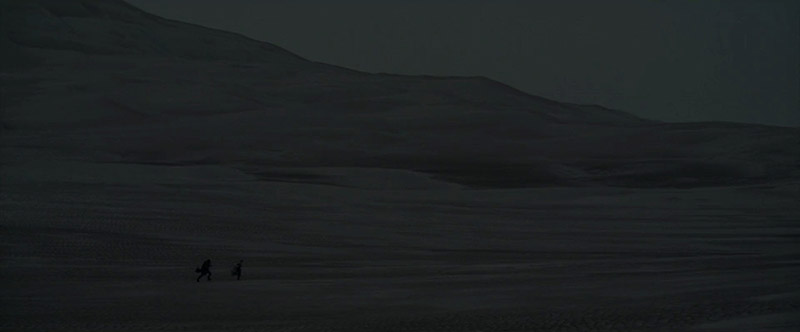
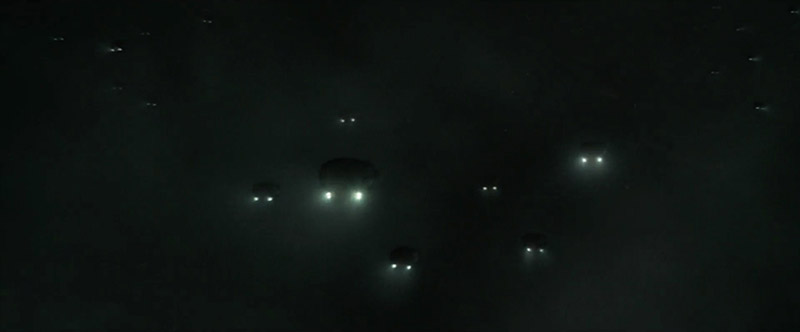
Enjoy these next scenes full of negative space. Can you see the other techniques they are using??


Dynamic Symmetry
When we measure the ratio of the cinematic rectangle used, we find that it is approximately 2.40. In the ratio guide of the Dynamic Symmetry book we find that the root 6 rectangle is very close to this ratio (ratio 2.449), so it can be used to create these cinematic shots.
In this case, we use a grid variation called the “Root 6 with Rebated Square and Phi Proportions – MAD,” which is quite useful for cinematography or photos shot with the same ratio.
There were several scenes with dominant diagonals, so the root 6 grid variation was overlaid onto them to see how they align. In this first one, we see that the distant mountains are paralleling the major sinister diagonals of the rectangle and rebated square (running from top-left to lower-right). The mountain in the foreground is also paralleling the baroque diagonal (running from lower-left to upper-right). Cool!
Note: Don’t forget to download the FREE GRID SAMPLES which includes a root 6 grid variation. Try it out on your next shoot! It’s easy, just align things to the grid, the deeper knowledge of dynamic symmetry can follow (see video).
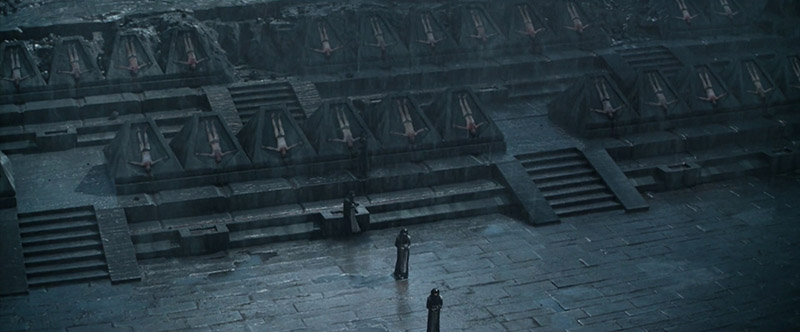
This large structure is paralleling the sinister diagonal. I like how the small character falls with an aspective view, and nice FGR in the lower-left pocket.

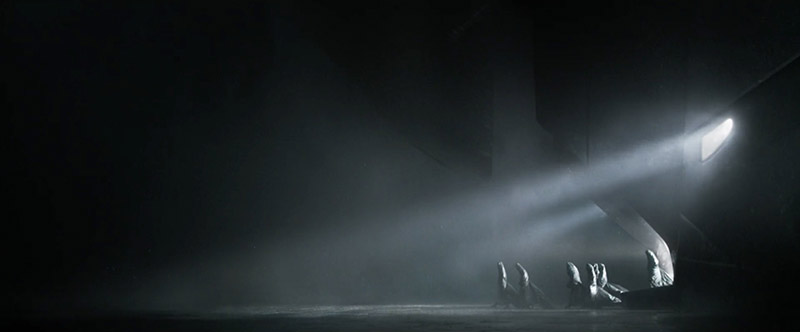
There’s a small desert mouse centered here with the dominant baroque diagonal. The horizon line is centered too! Hey, I thought the center was bad?? No, never!

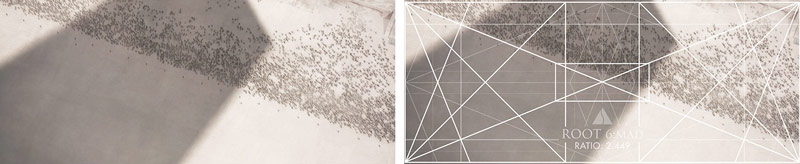
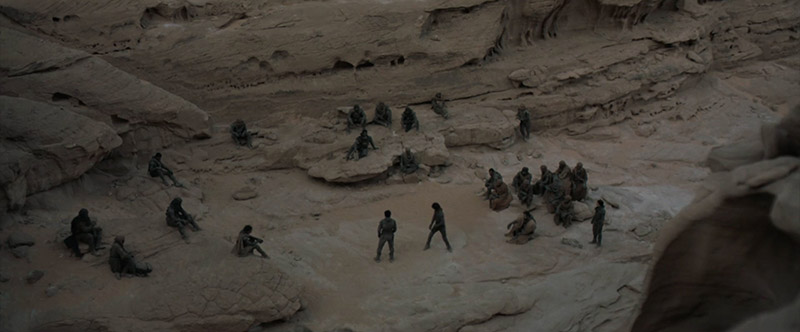
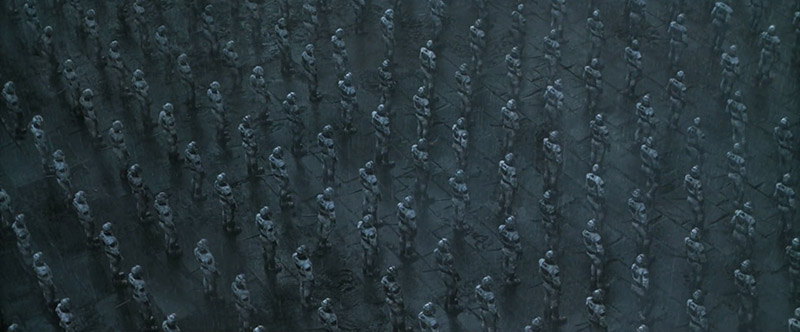
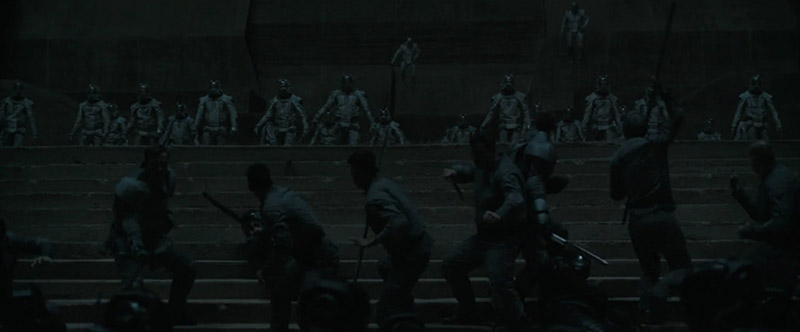
The crowd below is arranged on a sinister diagonal, while the looming shadow creates baroque diagonals.
Here’s a sinister diagonal being created with tube collecting liquid from their tent.

Sometimes the diagonals of a scene won’t lock-in perfectly, but do what you can. In this case, we see the characters shuffling down a sandy mountainside, but notice the diagonal in the rock structure. It is paralleling the sinister diagonal of the grid.

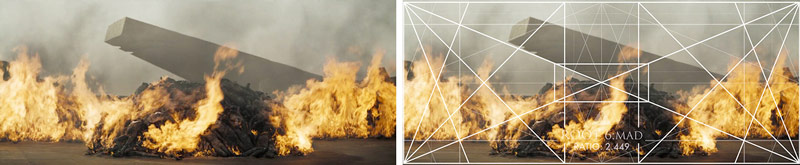
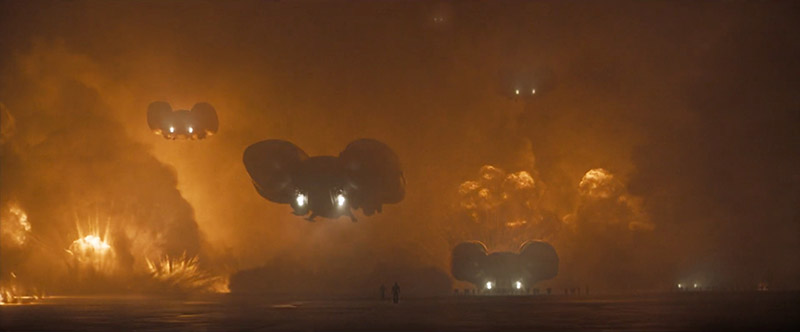
How do they make this dramatic fiery scene even cooler? Add a structure with a sinister diagonal in the background.
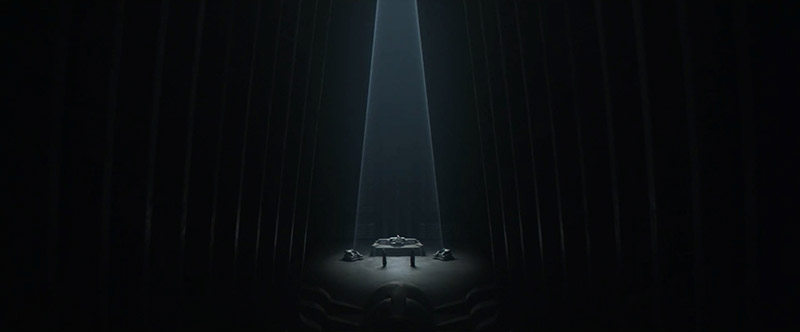
The table and leg in this scene are locking in and paralleling the baroque diagonal.
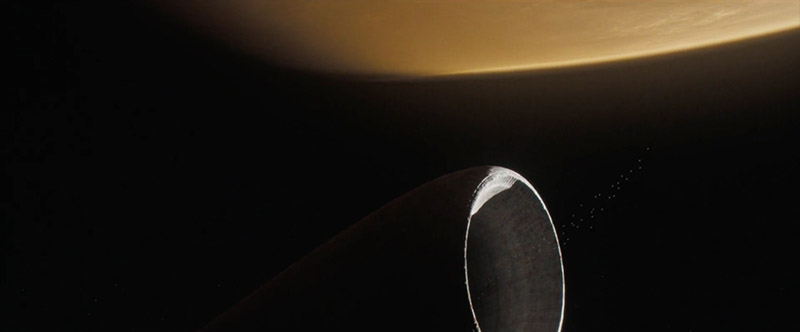
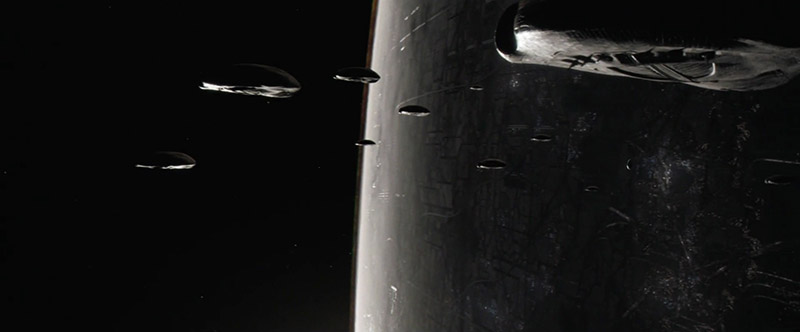
The upper-right part of the distant planet locks into the baroque diagonal here. Notice the nice FGR on the small centered aircraft.
This shot isn’t paralleling any major diagonals, but the important thing is that they are trying to incorporate diagonals. They add so much more to the scene when compared to straight vertical or horizontal designs.
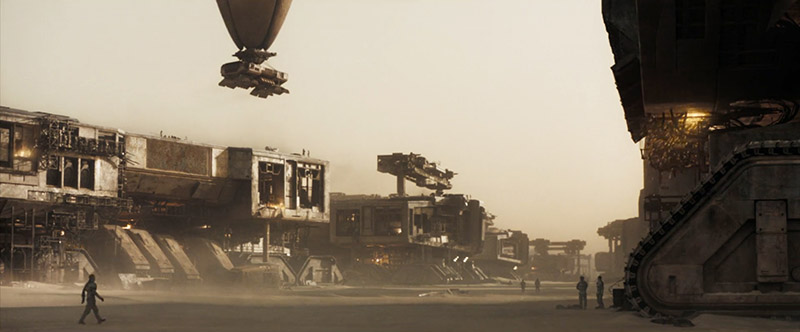
Aerial Perspective
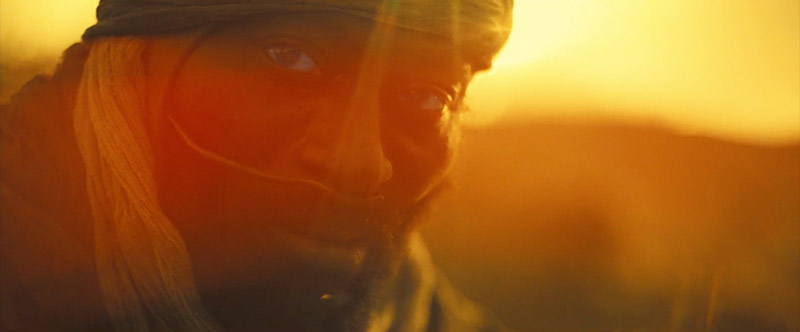
Ah yes, we can’t forget aerial perspective (see Day 42), one of the coolest techniques we see in cinematography. It has the ability to provoke the most emotion in the viewer (see Day 353), much like a foggy day. It also gives us a sense of depth by reducing the contrast between the foreground and background. In this case, it also helps the FGR.
Here’s a nice steamy scene with the grossest character in the movie. He’s actually even more repulsive in the 1984 version.

Can you find the aerial perspective in these next scenes? How about the FGR and other techniques?
Any dominant diagonals or negative space?
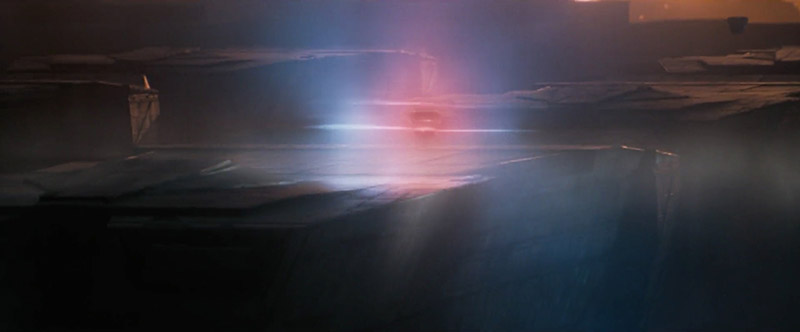
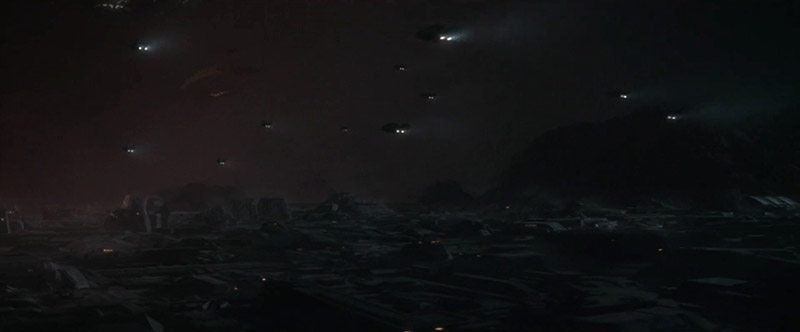
 Aerial perspective can be seen in many different ways, like smoke, fog, rain, dust, or lighting effects like lens flares. Anything that helps reduce the contrast and add that sense of depth. In this scene we also get a sense of warmth wrapping around the characters.
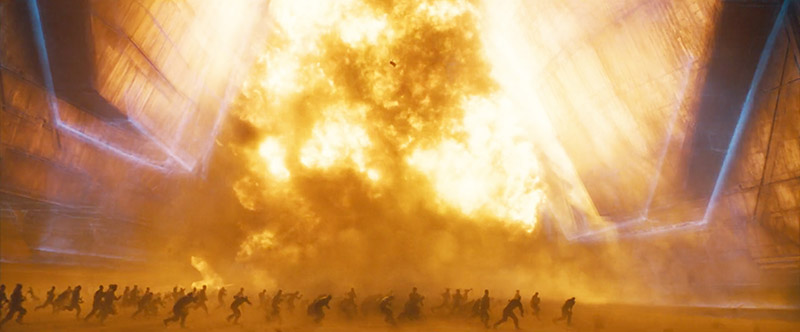
The explosion hits the shields in this shot and sends lighting effects everywhere. Lots of smoke here too!
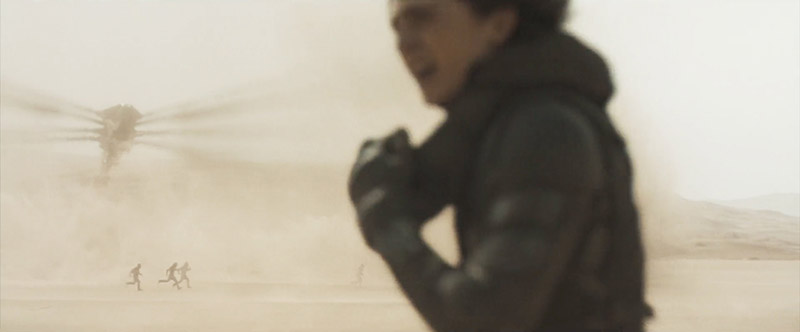
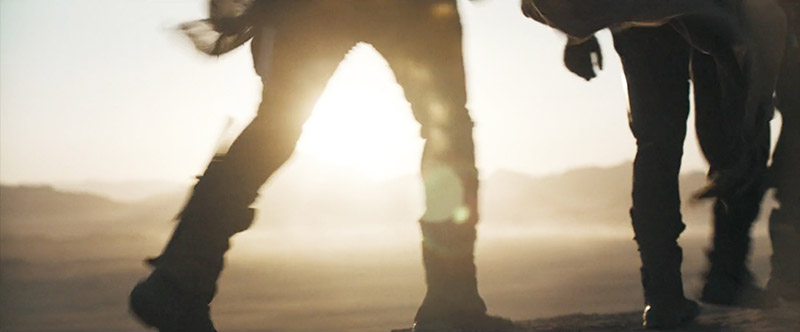
How do we know those are people running at the bottom? Both aspective view and FGR help us identify them clearly…even in this still image.
Lighting effects add more interest and depth to this scorched hand scene.

Check out these other shots with lens flares being used. Allow yourself to be impressed!
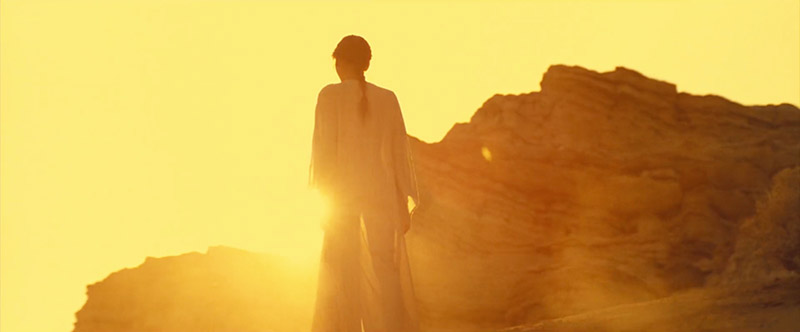
Can you feel the warmth of the sun?


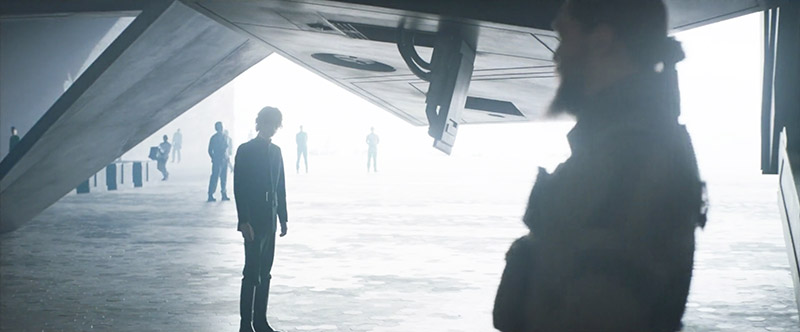
Separated Shapes
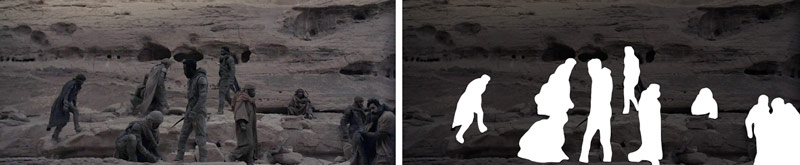
Aside from FGR and aspective view to help identify the subject, we can also use separated shapes (see #374). In this next diagram, we see how the characters are mostly separated to allow us to easily identify them. This is a moving scene too, so it looks even better in the film.
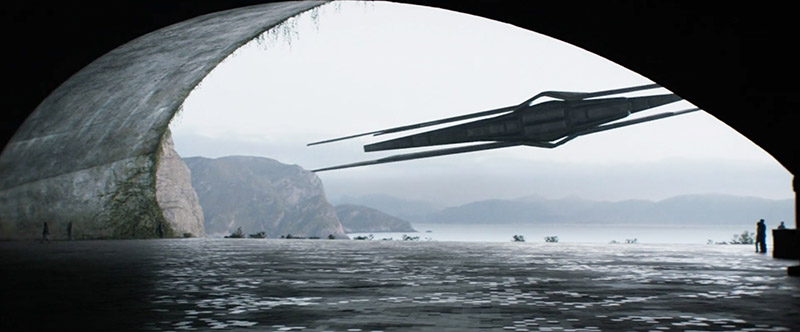
Notice the placement of the characters within this scene. Separated from foreground, middle ground, and background. The character on the right has the ship overlapped behind his head, but it is illuminated enough to give us nice FGR…clear separation except for the very top.
Most of the characters are separated in this one, with the main characters having nice FGR and an aspective view. They also create an elliptical shape (see Day 34) which gives the group more unity.
Can you see any baroque or sinister diagonals? They are there!
The characters are separated in this scene and the aerial perspective helps with visual clarity. As the characters recede we get that nice depth effect and a hierarchy of size (see #442).

Another great scene, but why? Can you identify the techniques being used?
Echoing Shapes
In these next scenes, we’ll see a lot of echoing shapes (see Day 90) which isn’t really a typical technique seen in movies. For the sci-fi genre it works perfect! It adds a nice repetition and works with the Law of Similarity (see Day 56), helping to create more unity.
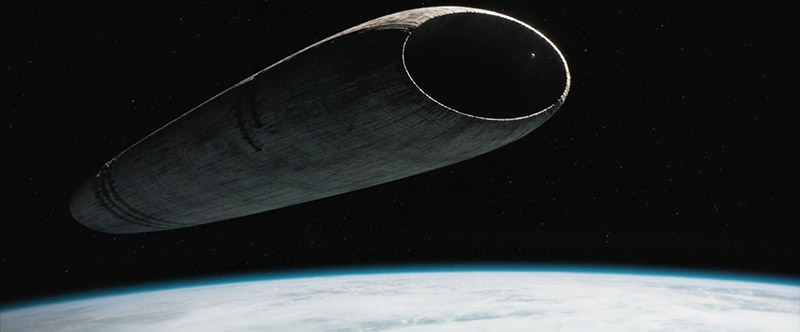
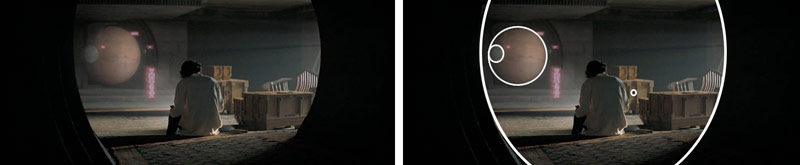
Here we see how the circular shape of the doorway is repeated in the planet holograms and the box holes.
With a similar shape being used here, we are being told that they are on the same side. Obvious when pointed out, but important to be communicated clearly. If they were all different shapes in a busy scene it might confuse the viewer. How do you like the aspective view, FGR, balance and aerial perspective? So many techniques being combined in this scene.
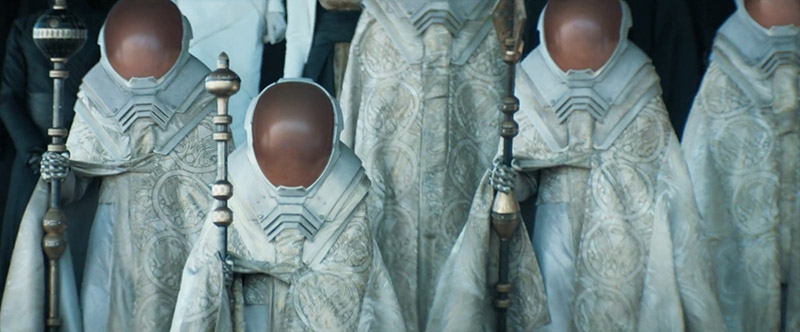
Here we see the characters masks being repeated, but they’ve also got repeating patterns on their clothes. Much like a Morris & Co design (see #674).
Here we have echoing shapes in a hierarchy with nice FGR, aspective view, and a lens flare for depth.

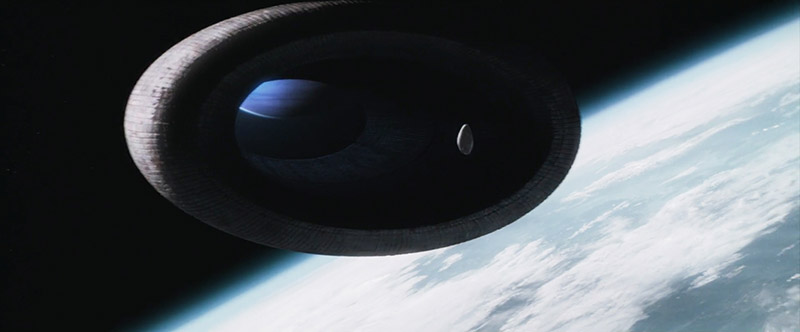
This is a cool shot, but it will look better on the big screen. Why? Well, the giant circular opening of the large spacecraft has a bunch of smaller shapes coming out of it…like a salt shaker.
Can you see the repeating circular shapes in this one? How about the nice FGR?

Tons of repetition here!
Enjoy these next shots with echoing shapes, while also identifying the other techniques. Take your time, flex your skills! It’s the best way to embed them in your mind.
Great Sequences
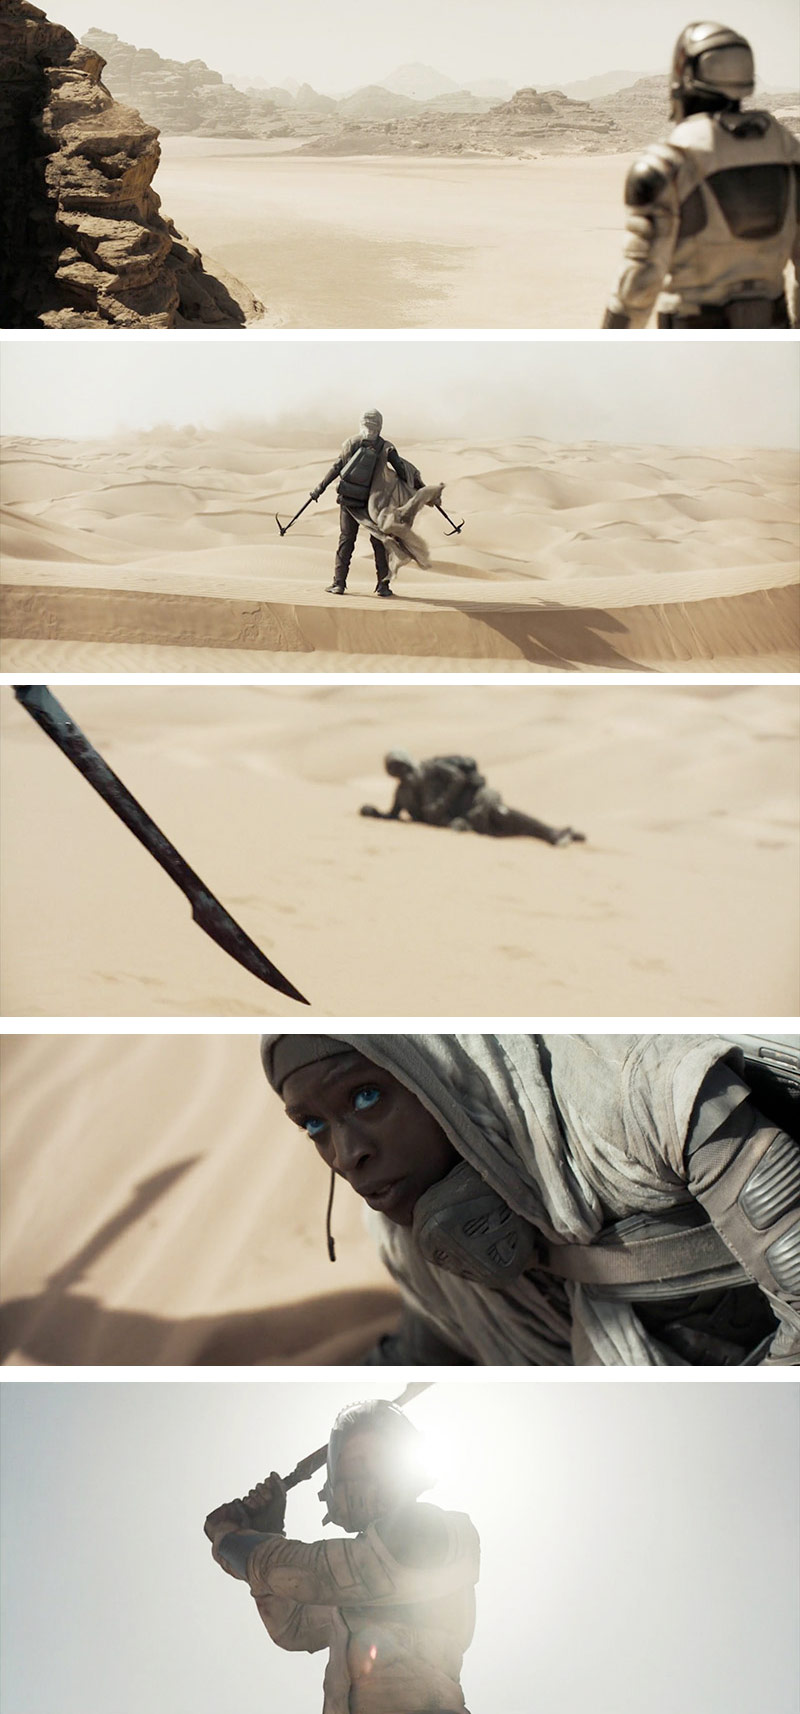
Now that we’ve covered a ton of composition techniques, it’s time to tie it all together and see some excellent sequences. This first sequence shows them running to the aircraft and exiting the structure. Notice how each scene is set up for success because of the techniques they used. This isn’t about dialogue, music or anything else. It all falls back on our composition!
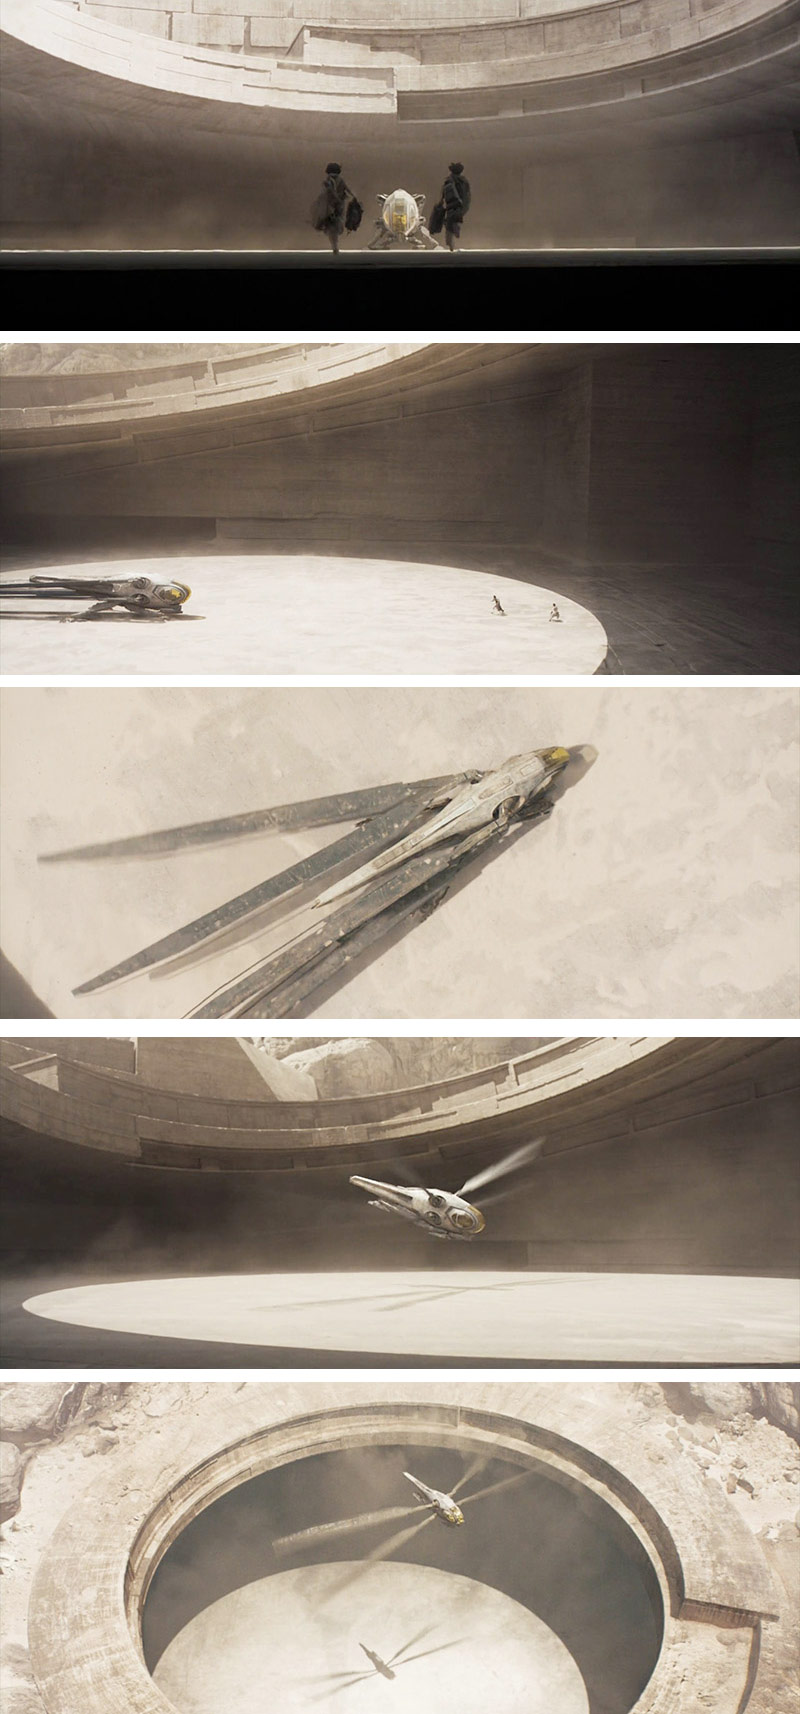
This scene shows characters escaping in a small aircraft in the distance, and is followed up by some great shots loaded with techniques. What was really cool is how they show the bad guy’s sword, then repeat it in another scene as a shadow. Then finish it with a good ol’ lens flare.
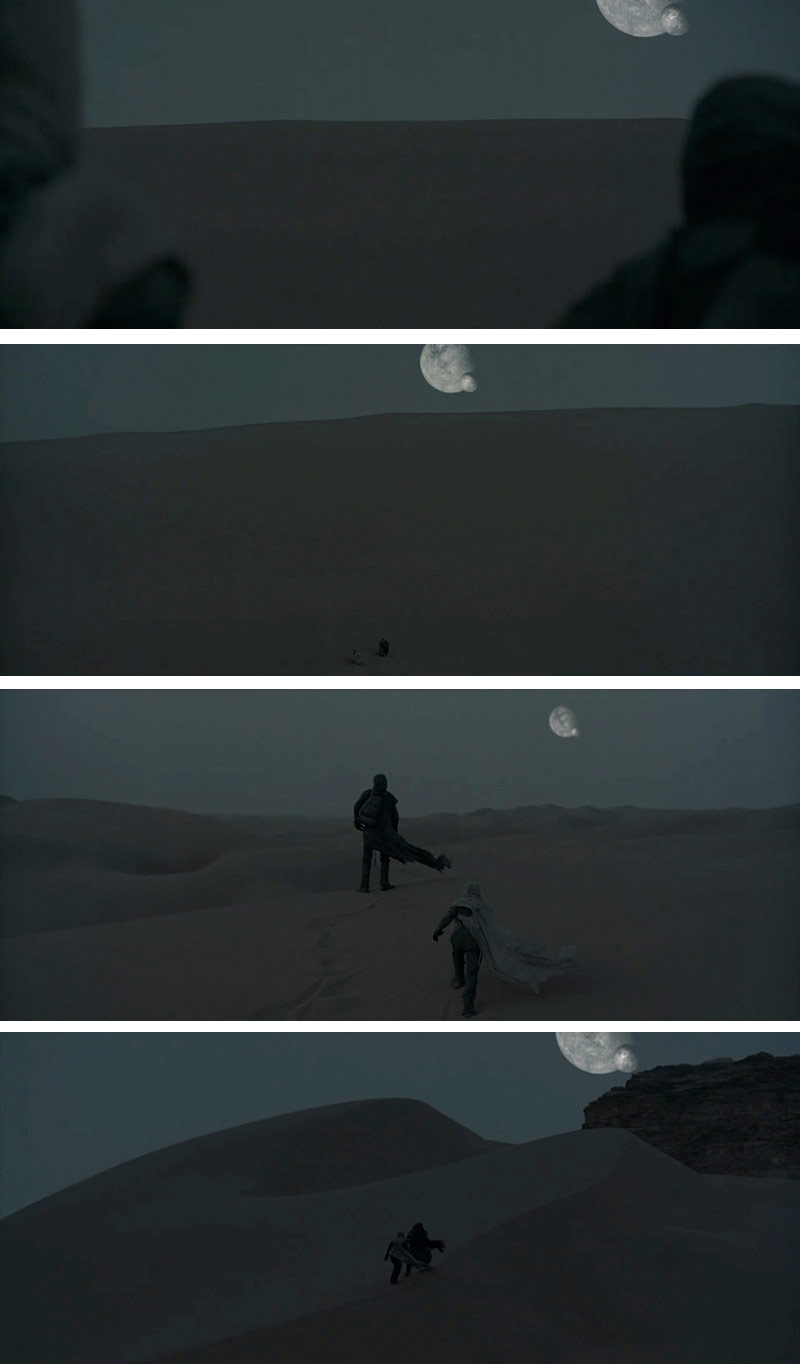
This sequence where the characters are running through the desert and the planets show in the distance. Lots of great compositions are created from the same subjects. Now that’s skill!
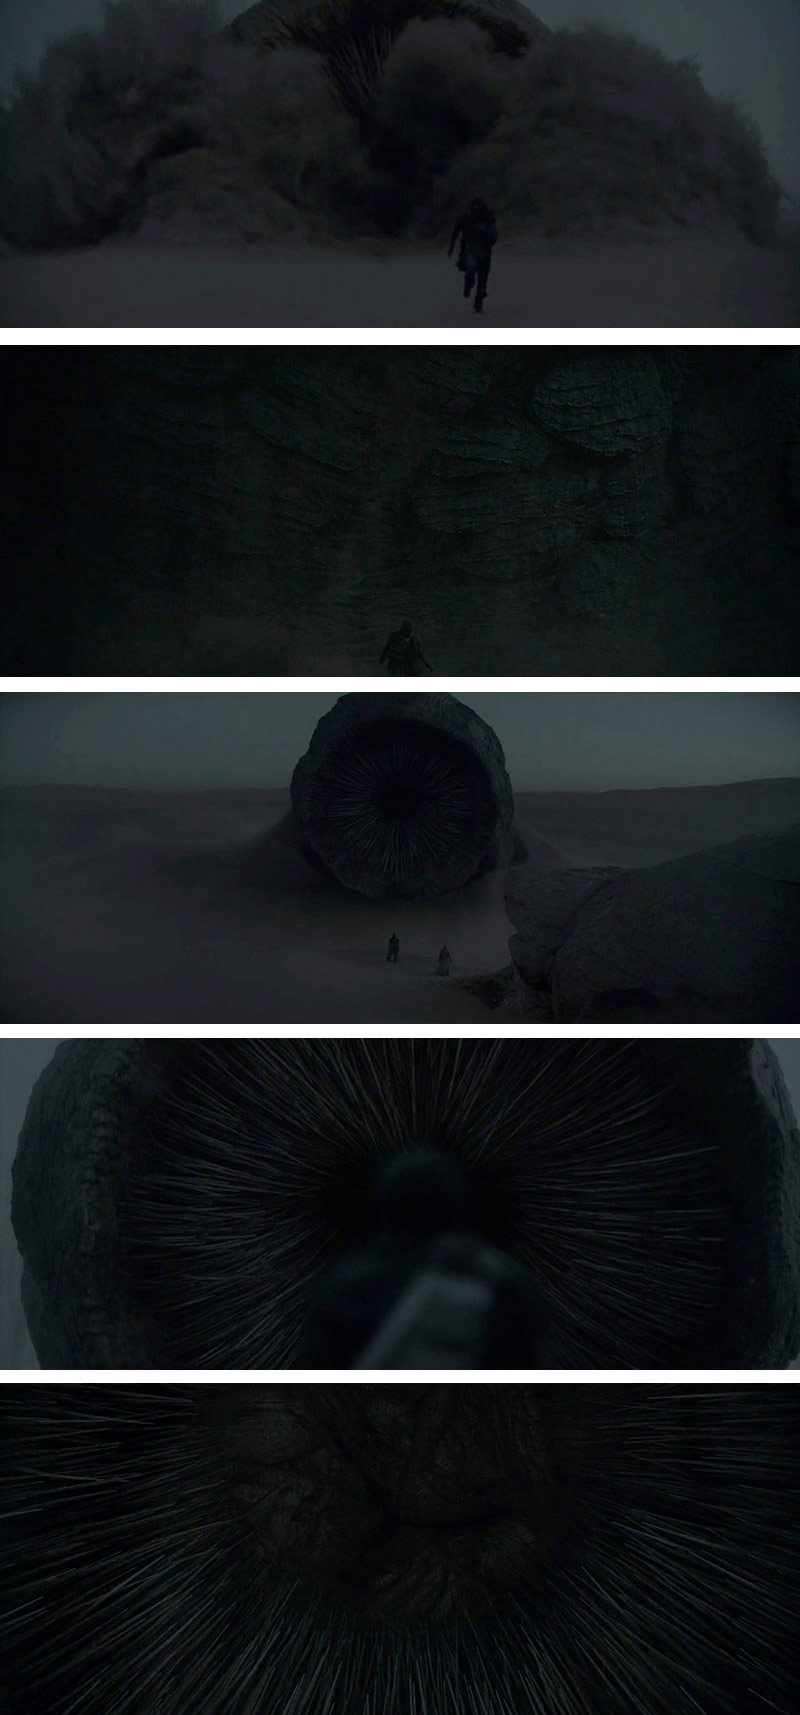
In this sequence they see a giant worm heading for one of their machines. Notice the center compositions, with aerial perspective and other techniques.
Some more dramatic shots of the same sequence can be seen here. So awesome! Especially the aspective view one of them on the aircraft ramp and the giant worm consuming things in the background.

This dark scene shows them being chased by a giant worm as it rises up to sing a menacing song for them.
Here’s another example of taking the same elements and creating fresh visuals each time. Eye-candy for any aspiring artists!
Conclusion
Your mind should be thoroughly blown by now! Especially if you’ve read both articles and seen the movie! Watch the movie again when you get a chance and watch for these composition techniques. You can turn movies into a learning experience if you actively watch. Enjoy the movie, but flex your skills by acknowledging the techniques.
As always, thanks for the continued support. You are much appreciated! See you next time!