Dynamic Symmetry Grid Package – Intro for Beginners (Ecosystem)

#600
Welcome back everyone, I hope you’re all safe and well. Thanks so much for your continued support!
Today we are going to be digging deep into the dynamic symmetry grid package and learning how you can use the grids in many different ways to create your masterpiece. The video and article will be an “unboxing” of sorts to give you a great idea of what’s inside and how you can get started. Let’s get into it!
Grid Package Video Dynamic Symmetry
Dynamic symmetry is a great tool for organizing a composition, but that doesn’t mean it’s easily understood. It’s easy to use once you’re properly introduced to it, but until then you may just see random lines and feel confused. There are so many questions surrounding its use, so this video will help tremendously to show how any beginner can get started in the right direction.
Feel free to check out some written explanations further below.
Video
If you’re short on time, just skip to the minute marks listed below that interest you. It’s recommended to watch the whole video if you want a deeper understanding of how everything works together.
:30 unzipping
1:50 Reading Material – Included Pdf’s
2:48 Camera Grids – How to use them (photo and video)
6:17 Phone Grids – How to use them (photo and video)
8:35 iPad Grids – How to use them (photo and video)
9:47 Lightroom Grids – How to use them (photo)
13:53 Computer Grids – How to use them (photo)
17:39 Computer Grids – For digital artists
20:00 Diagonal Gauges – How to use them (analyzing Rubens)
24:14 Light Table Grids – How to use them (designing a drawing)
26:14 Putting it all together (photo, drawing, painting)
The Grid Ecosystem Dynamic Symmetry
If you’ve watched the video or have already downloaded your own grid package, the examples below might look familiar.
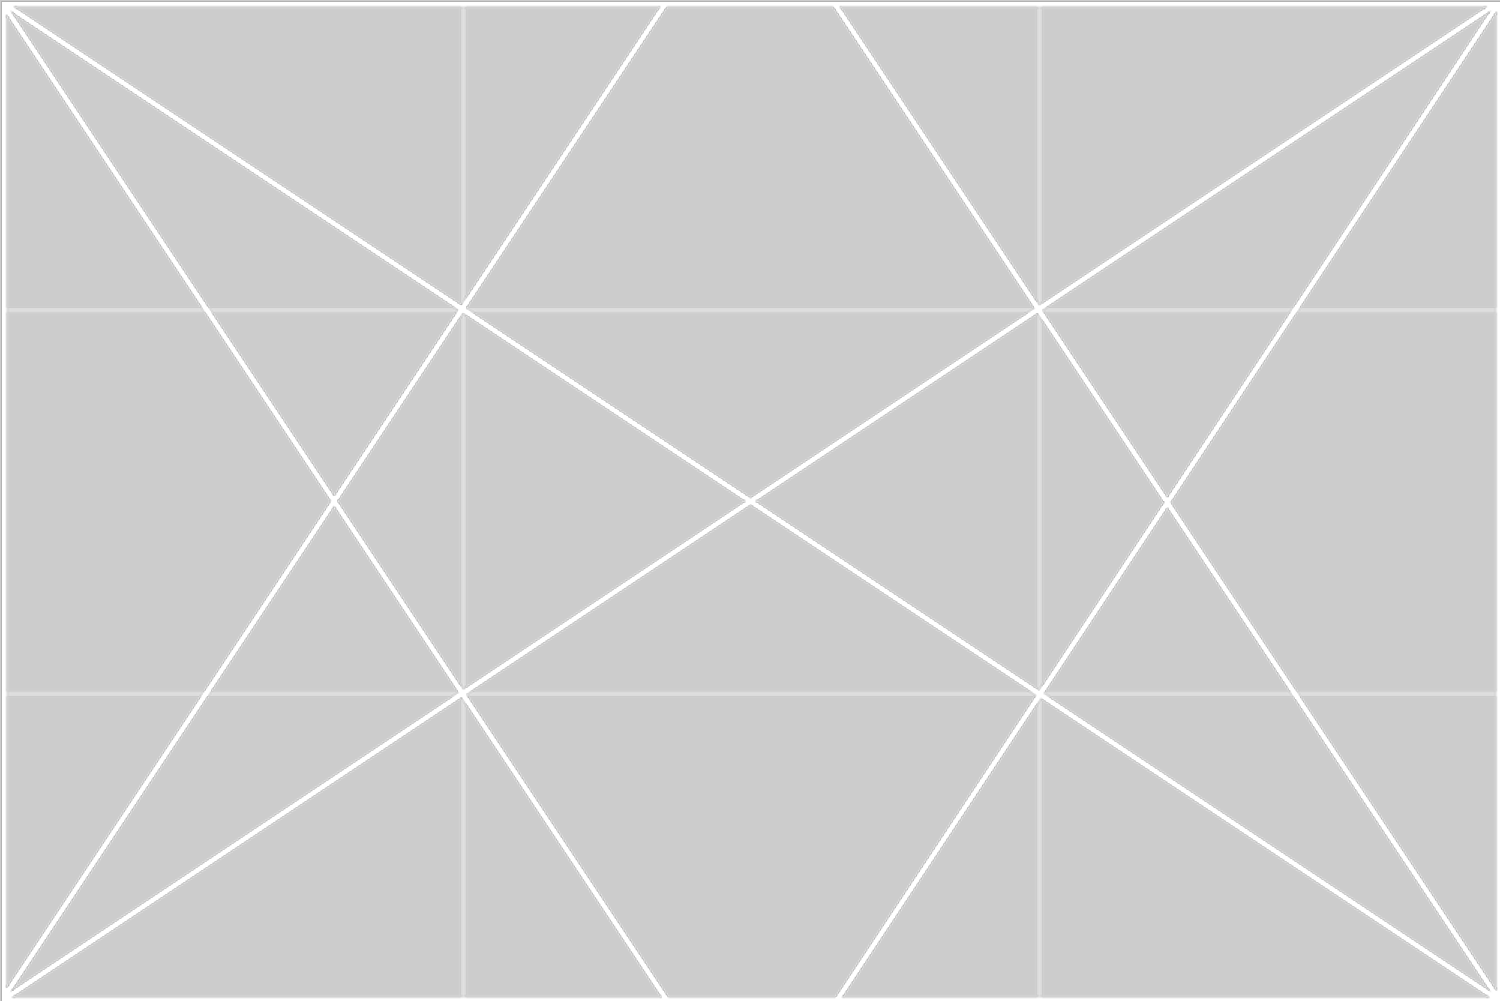
If you’re a photographer, you can print the grids onto transparency film and adhere them to your LCD. This will help you break any rule of thirds habits, while also promoting some very important techniques. Dynamic symmetry grids promote unity, movement, rhythm, strength and dominant diagonals, which are all explained further in the video.
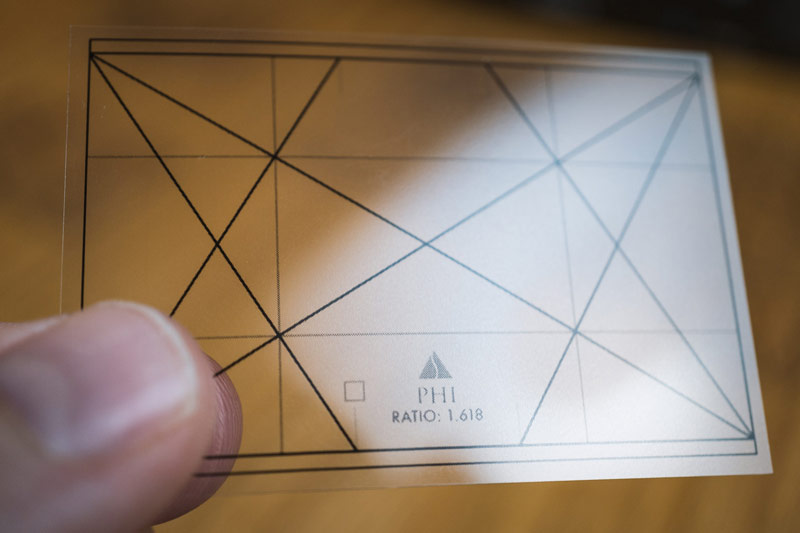
This is what it might look like when you adhere the grid to your LCD. Try to keep it simple in the beginning and start with the baroque diagonal (see THIS video). That’s the diagonal going from bottom-left to upper-right. Don’t get stuck on a certain point…there is no point that is better than the other. It all has to do with the image as a whole; how all of the elements are designed and tied together. Focus on getting nice figure-ground relationship (see Day 21) and using the baroque diagonal. Parallel the baroque diagonal if you can’t align the subject to the grid.
We want to take advantage of the geometry within the frame, so if the diagonal of your subject is the same as the grid, you’re applying it the correct way. It’s similar to perfectly playing a chord on a piano.
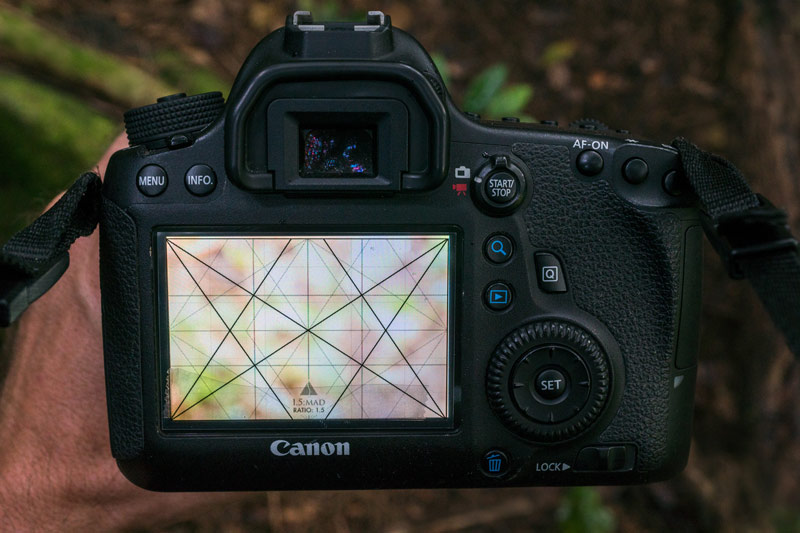
The camera grids are ready to print, but they can also be reorganized with the Photoshop file. Each LCD size will have its own PSD file that you can adjust to fit your needs. 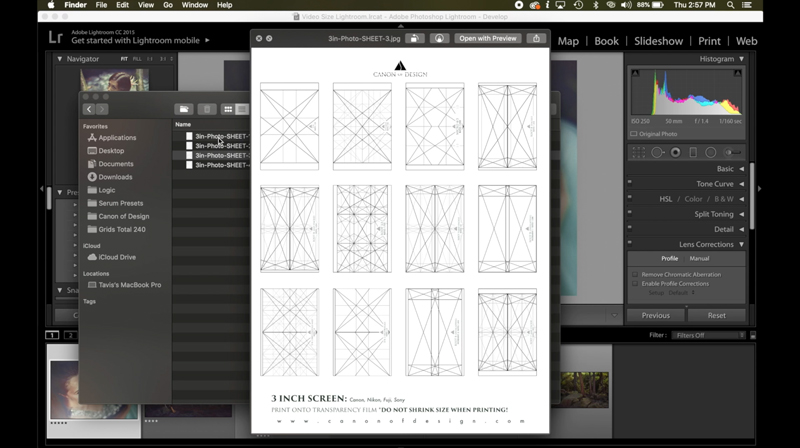
If you’re using the phone grids, you’ll find photo and video grids that are sized to fit the screen as it switches between the two options. The photo view will be exactly the same ratio as the 4/3 grid. When it’s switched to video it will be the popular 16:9 cinematic ratio (1.777), which is almost an exact root 3 grid (ratio 1.732). 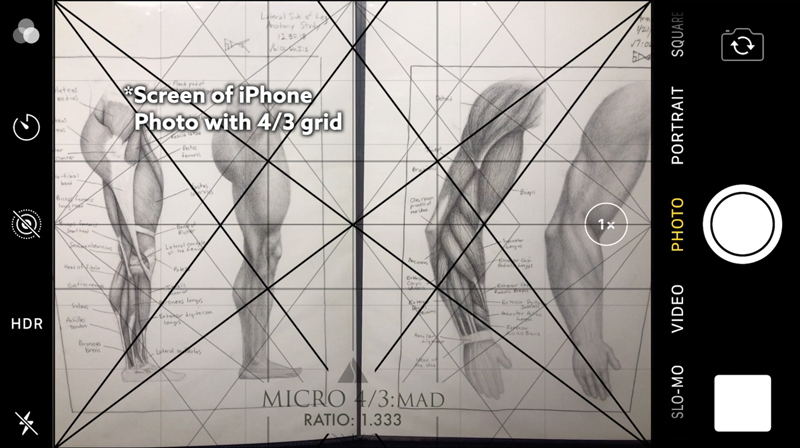
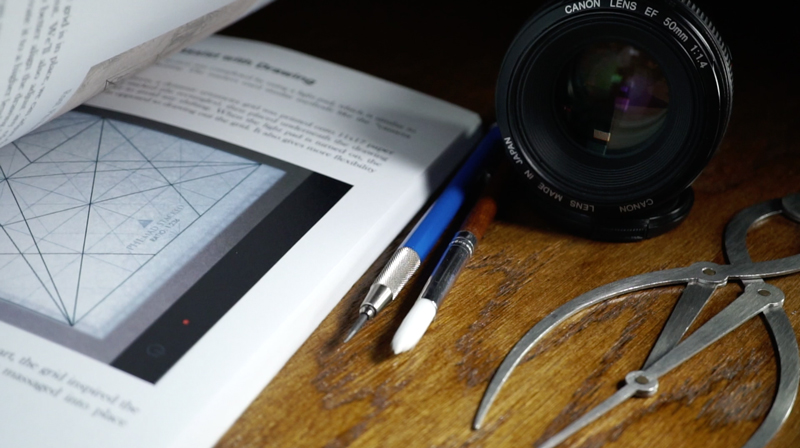
Within the dynamic symmetry book, the next self-portrait (see #526) you’ll see is explained in detail, but it’s also briefly covered in the video. To capture the photo in an environment with a dominant diagonal, I used the diagonal gauge. This helped me discover that the fallen tree in the distance was exactly the same as a root 9 rectangle.
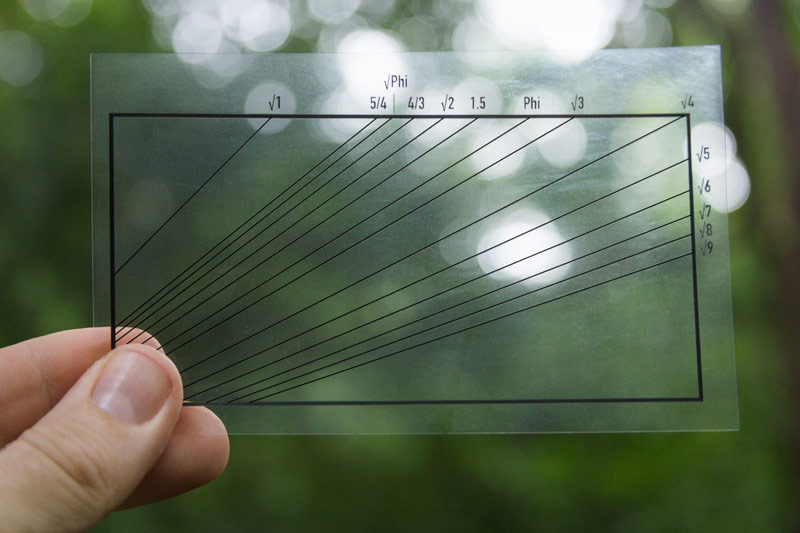
As the diagonal gauge is held up, you can measure the diagonal within the scene, then use an appropriate grid and pose the model with the same geometry.
Do you know the root 9 grid configuration that equals the 1.5 rectangle of the camera?
Since the diagonal of the tree in the distance was a root 9, the stacked root 9 rectangles could be used within the 1.5 rectangle, and the model could pose to have the same geometry. Notice how my arm is paralleling the baroque diagonal. This creates a gamut (see Day 39), which unites the subject with the background and creates a subtle rhythm. This might sound advanced (a.k.a. confusing), but it’s really easy to understand once you get the hang of it (see THIS video).
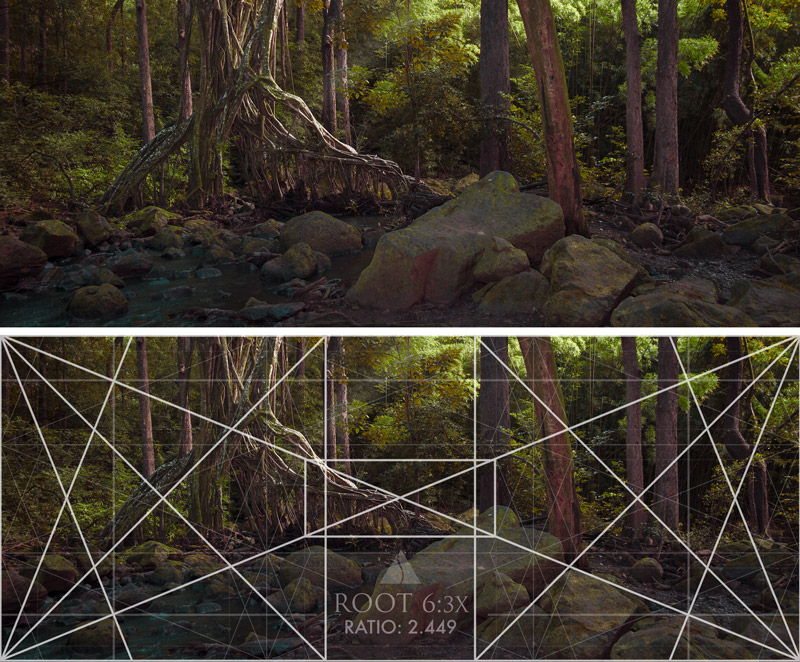
Within the dynamic symmetry grid package, you’ll find photo and video grids for cameras, phones, and iPads. Grids galore! They are sorted to give you the best grids for each task, but you can use the photo grids for cinematography, and the video grids for photos. Use them however you like! As seen below, the root 6 cinematography grid was used to capture a panoramic landscape image.
Here’s another example of using the video grid on your camera to capture a cinematic still.
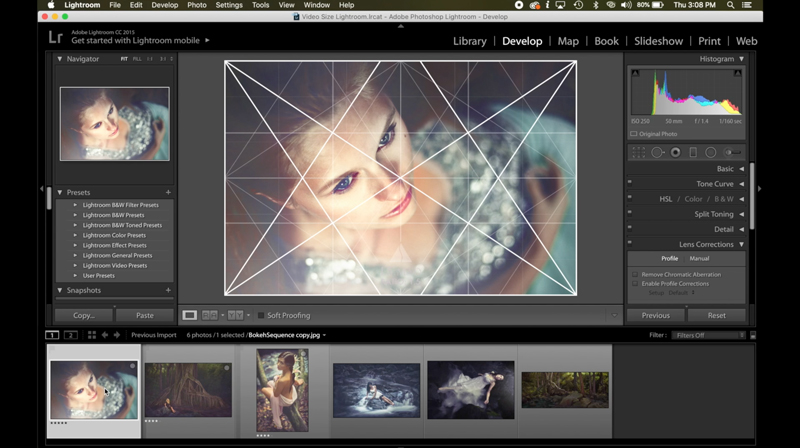
You can analyze your photos, new or old, in Photoshop or Lightroom. I prefer Photoshop, but if you’re flipping through a bunch of photos, Lightroom grids will come in handy. You’ll learn how to use them in both programs as well as keyboard shortcuts and tips for efficient use.
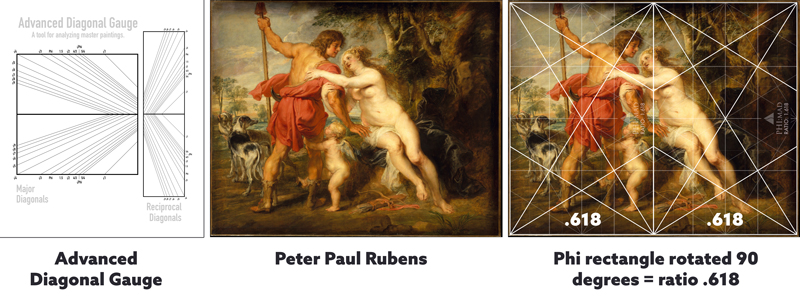
A really important part of improving your knowledge of dynamic symmetry is by analyzing master painters. In the video, you’ll see how the advanced diagonal gauge is used to analyze a Peter Paul Rubens painting. Understanding how the masters used the grids will give you ideas of how you can use it in your own photos, paintings, drawings, sculptures, movies, quilts…almost any form of art.
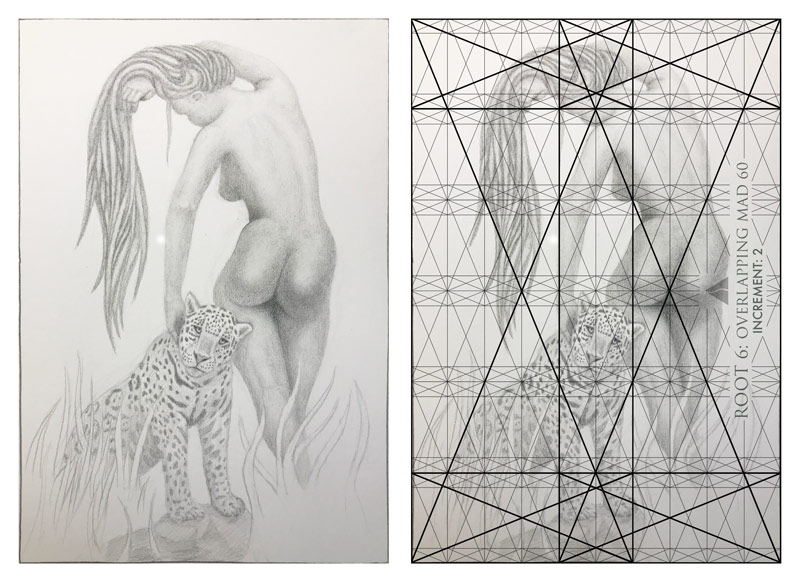
Digital artists can also take advantage of the dynamic symmetry grids by using them in the computer. The example below is done with a graphite pencil and paper on a light table, but it will give you an idea of how the grid can be used on the computer to guide your composition. The way you use the grids for digital art is exactly the same way you use it in-camera or on paper.
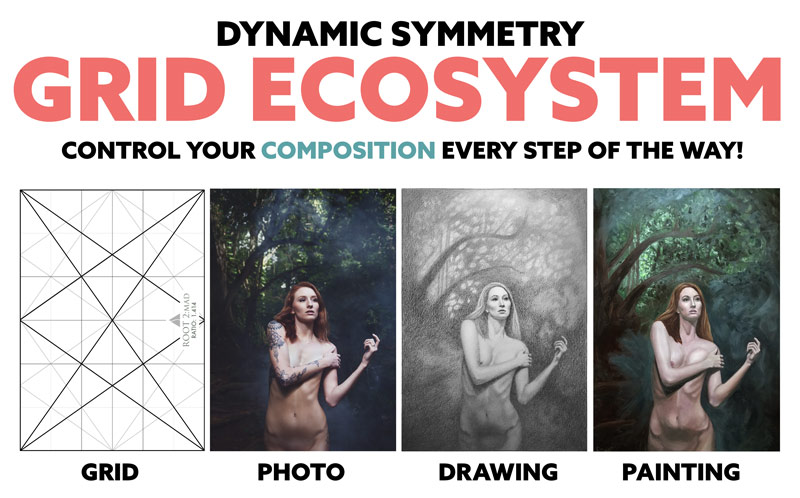
When you look at the bigger picture, you have a method of composing a masterful composition from start to finish; an ecosystem of grids. If you’re a painter, you can design a reference photo with the grid on your LCD, draw the reference photo by using the grid, then transfer the drawing to a canvas.
Conclusion
Hopefully by now you’re seeing the potential these grids have, and how you can use them in your art. Many of us are interested in different expressions of art like sculpting, drawing, quilting, or painting, and the grids can be used for all of them.
Thanks so much for joining in today and showing your support! See you next time!


