#574
Much love for all of the continued support everyone, welcome back!
Today we have a really important article that can save you time editing and frustrations while photographing. I’ll show you tons of examples, guide you on what to look for and how to achieve simplicity in busy scenes. Let’s get into it!
Why Bother? Cropping In-Camera
So why crop in-camera and not just wait until you’re on the computer to crop things? Well, one great answer is that you’re eliminating a step. Personally, the less editing I have to do, the better. Not only to save time, but to challenge myself and get the photo I’m wanting as pure as possible. Nowadays it’s hard to determine what is real and what is manipulated (see #499). Henri Cartier-Bresson was known to apply dynamic symmetry and never crop his photos (even though his most famous negative is massively cropped…see #434), so I think it’s great to follow in the footsteps of the masters as much as I can.
Another great reason to crop in-camera is to know exactly what you’re getting right when you press the shutter button. Often times, things aren’t as good as you thought when you get back to the computer and there’s usually not a second chance to capture the subject…especially if you’re traveling.
The most important reason to crop in-camera is to eliminate distractions. This is super simple to do and only requires a little creativity on your part. We’ll see how to do this as we work through the following examples.
Oh, and a great thing to note is that I’ve presented the images as they were captured. None of them were cropped and there was only minimal exposure and white balance adjustments. Sure, I would snip a few, edit out some more distractions, and convert some to black and white, but for the most part they are captured as I intended.
Crop In-Camera How to
Every time I travel somewhere and plan on capturing a variety of subjects I always bring a zoom lens. In my case, it’s the Canon 28-135mm on the Canon 6D. This isn’t an expensive lens (or camera), it’s light weight, and I love the range; I can go wide or tight. The other camera I used during the 2019 Paris trip is the Ricoh GR III, which has a fixed 28mm equivalent lens.
Both camera setups can be used to crop in-camera and eliminate distractions. There’s nothing more annoying than trying to capture a beautiful monument and there are distracting people in front of it holding selfie sticks and making duck lips. It’s bound to happen wherever you travel though, so best be prepared with methods of making them momentarily disappear.
Panning for Gold
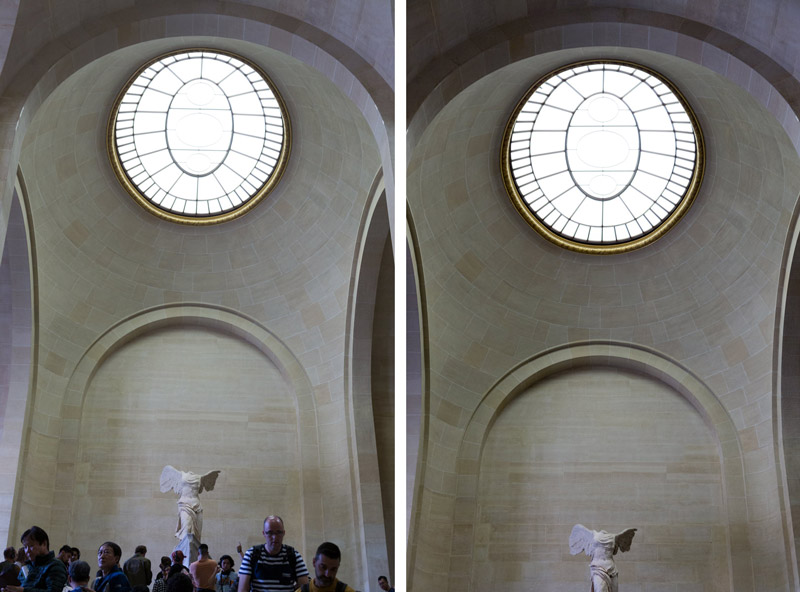
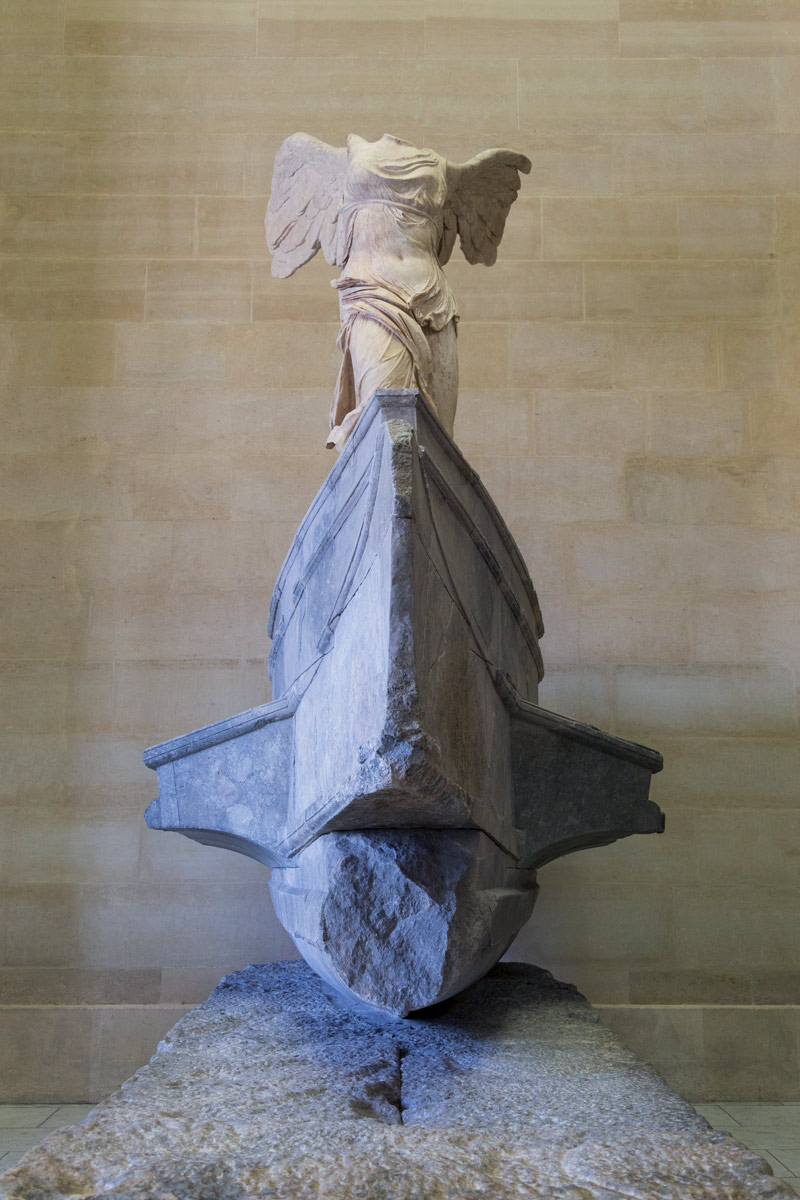
There are several easy ways you can crop in-camera to eliminate distractions. The first is to simply pan your camera until the scene is clean. In the next photo (left), you’ll see hoards of people surrounding the famous “Winged Victory of Samotrace” sculpture.
With a simple pan up, they disappear! Why wait to do it in the computer, just crop them out now. There are other variations below that used various methods of cropping in-camera.
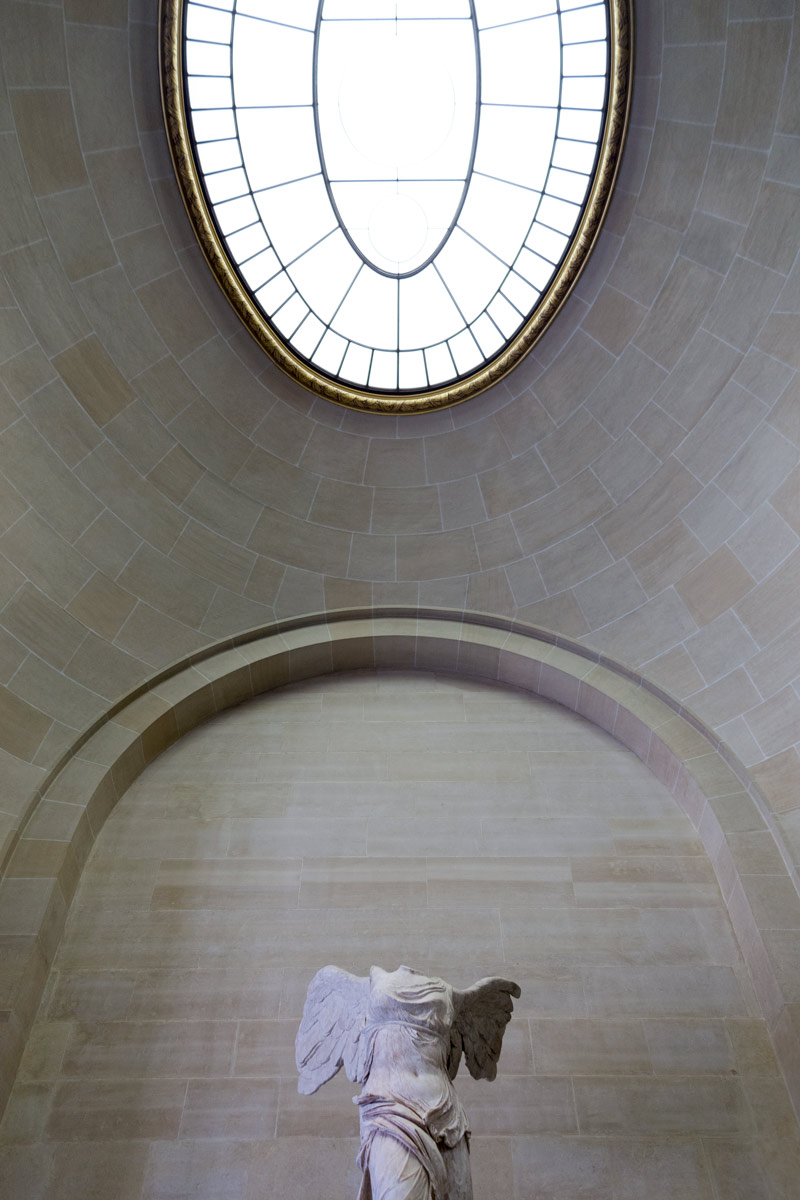
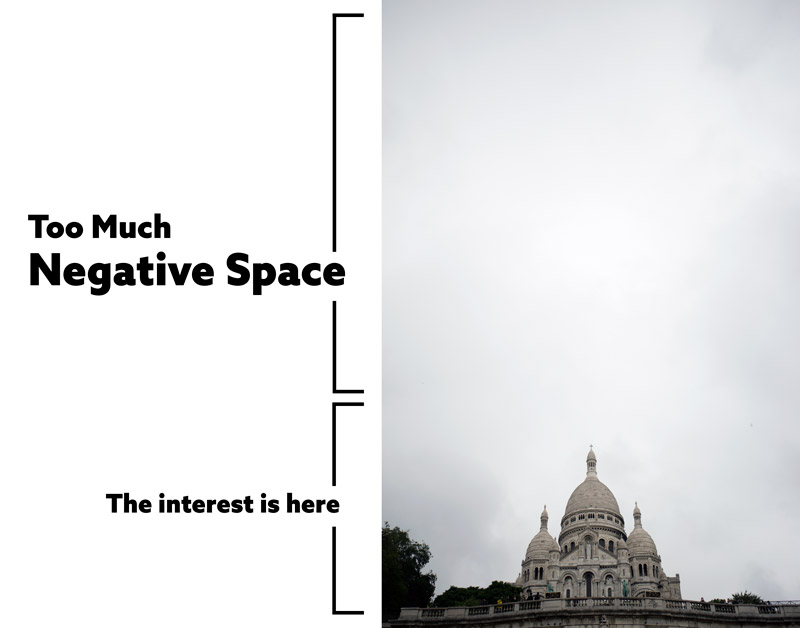
Something to look out for while panning your camera around and eliminating distractions is excessive negative space. In the next example, you can see how panning up has created way too much negative space. The interest is on the bottom, not the boring sky.
Zoom Baby Zoom
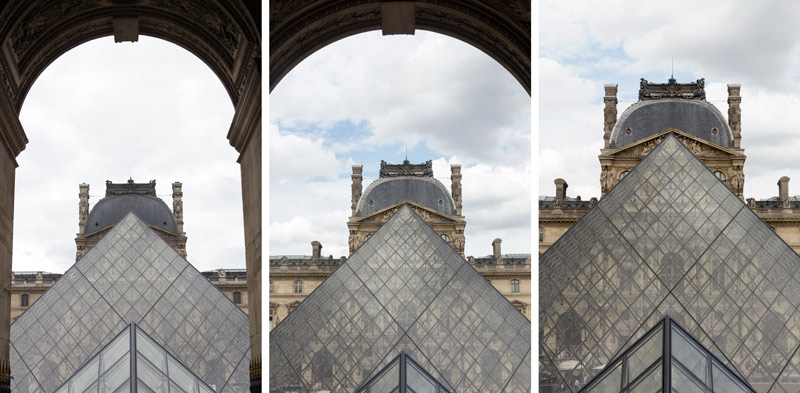
Another technique I like to use to eliminate distractions is zooming in on the scene. Sometimes you can get a better composition doing this too. Here’s a series of three images where the camera was panned up, and I slowly zoom in to get different compositions. Which one do you like best? All of them are better than the ones with people wondering around in them.
Move Your Butt
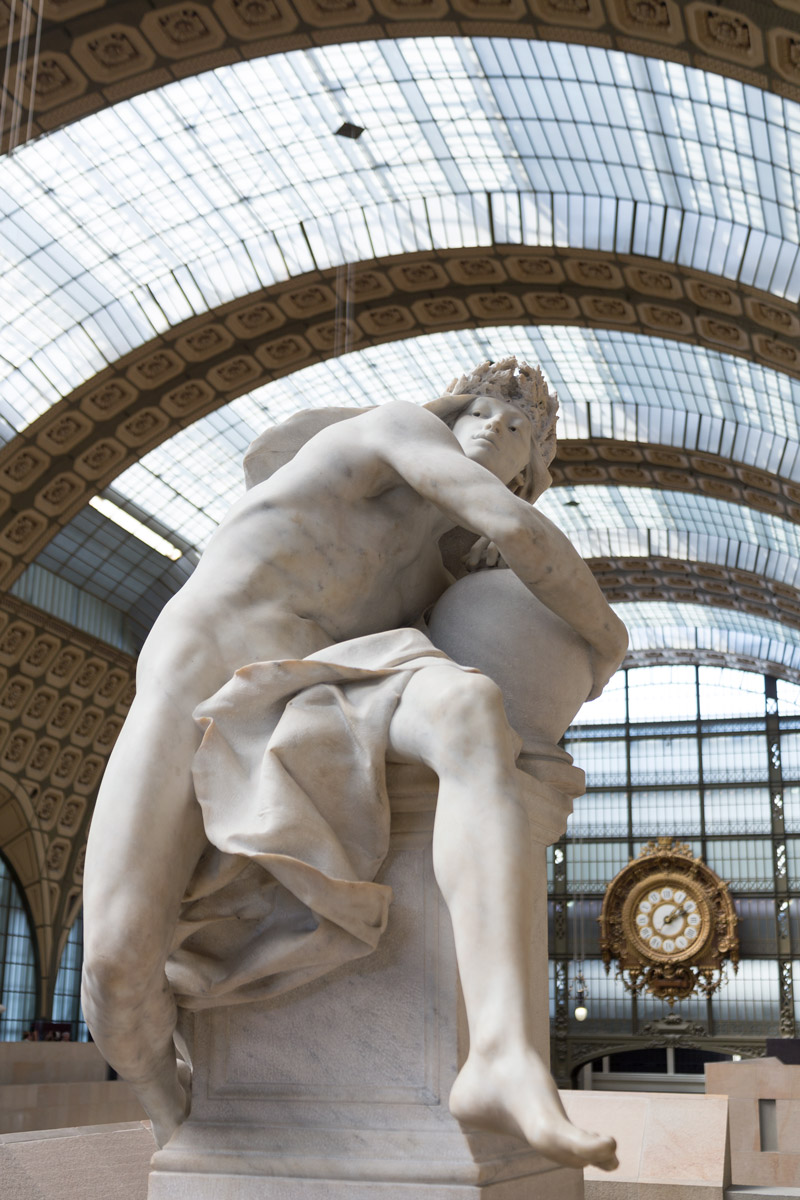
Another easy way is to crop in-camera is just change your position. Sometimes if you get closer, move to the right, or just back up a bit, the scene will clean up around the edges or completely eliminate the distractions. In the next shot (left) you can see that there are tons of people trying to get a shot in front of the big clock. Way too many distractions makes for a crappy photo!
In order to get a better shot (right), I got much closer, then I zoomed and panned to complete the composition. Not bad compared to the previous image, right? The yellow highlights near the center and at bottom-right are distractions that could be edited out. In fact, I’d probably convert this to black and white to see if it worked better, but I promised not to touch anything 😀

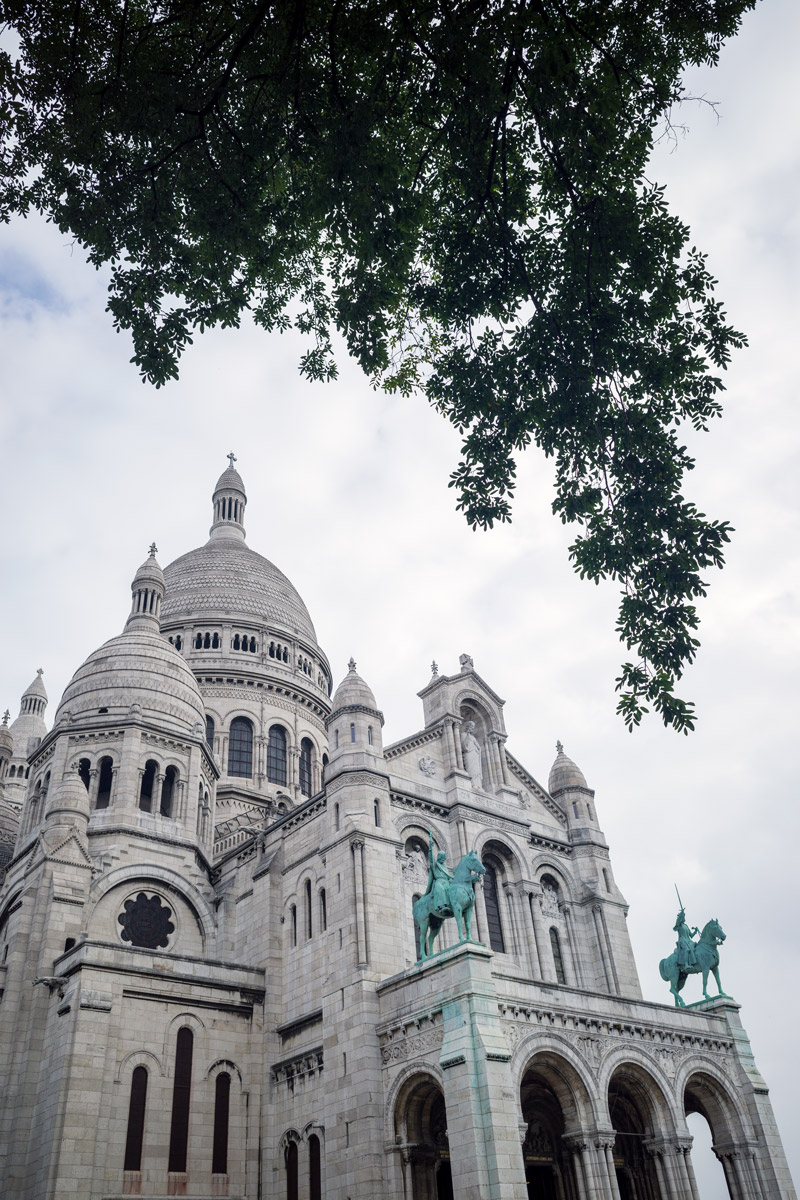
Fill the Grid
Take all of these methods of eliminating distractions and combine it with filling the grid (see Day 83), and you have a nice arsenal of tricks you can use to substantially clean up the scene before you capture it.
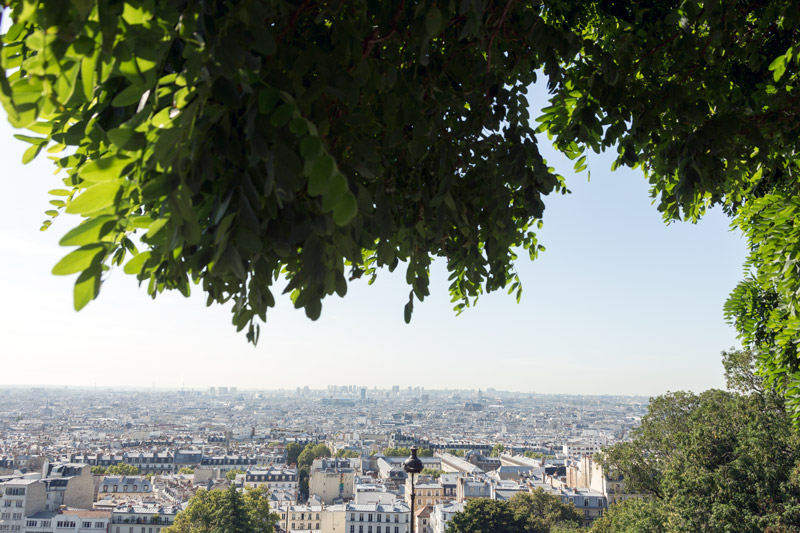
In this next image, we see the distant city of Paris, but no interesting clouds in the sky. Boring! I needed to fill the grid with something interesting to avoid excessive negative space (see Day 83). What I did was walk closer to the tree to see what it looked like. I noticed that there was an arabesque (see Day 17) being created by the leaves, so I decided to use that to fill the grid and help the movement of the composition.
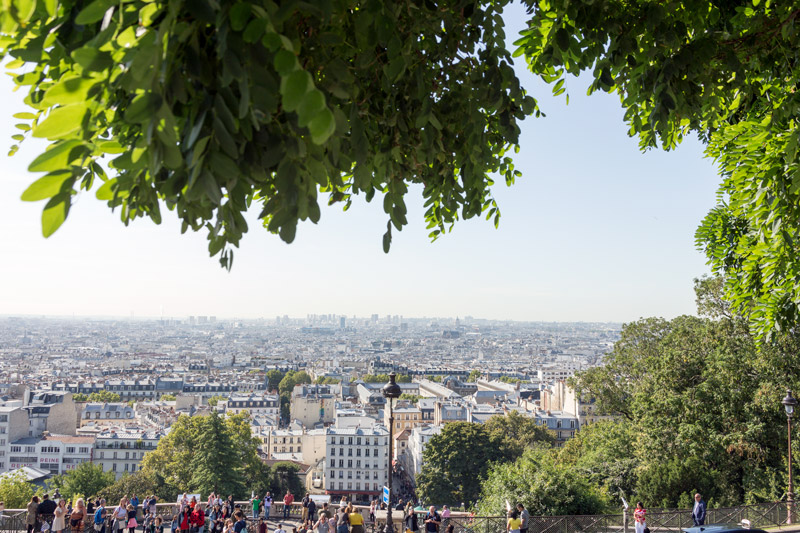
When I pan the camera up just a bit I’m able to eliminate the people below. The people add a nice sense of scale, but can be eliminated (especially the ones on the far right because they aren’t part of the group); either way seems to work.
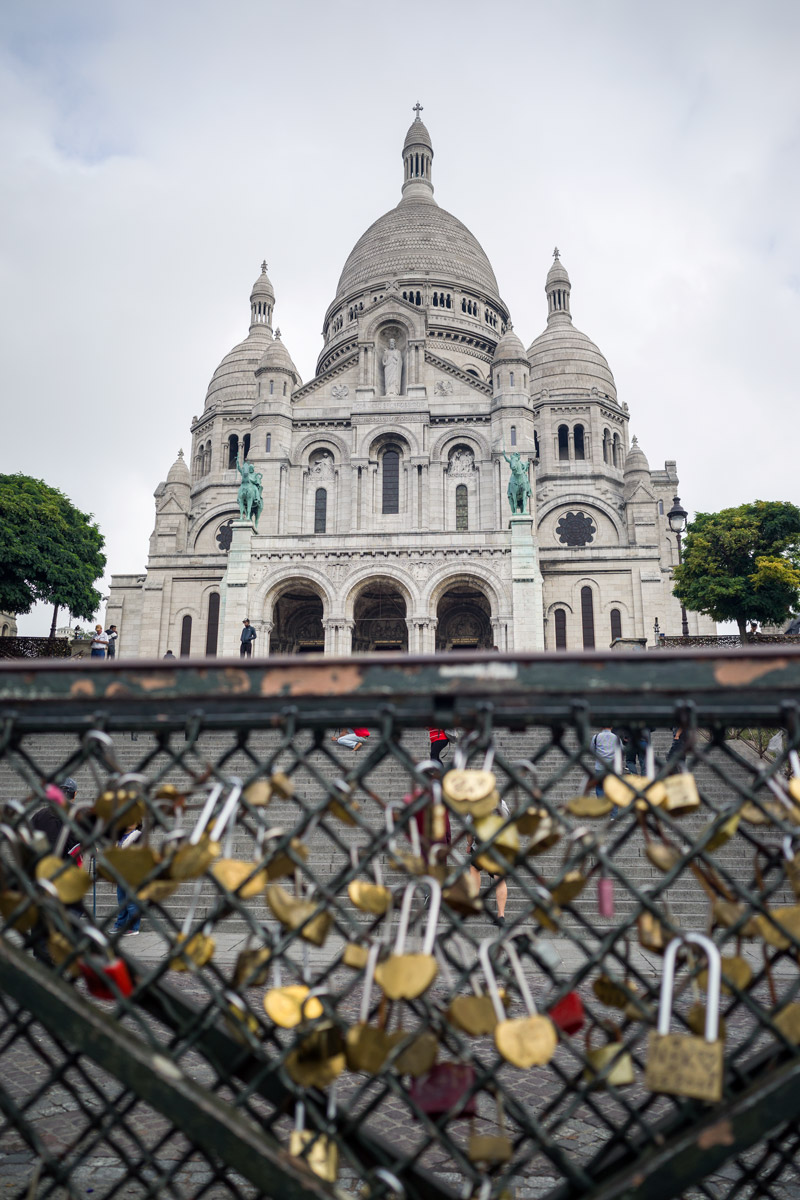
As you fill the grid, you can also use things to cover up distractions. In this next example, we can see how the fence with locks on it covers up most of the people in the background and also tells a deeper story of the location.
I used the 1.5 dynamic symmetry grid (see DS page) on both the Canon 6D and the Ricoh GRIII, but not all of the images will conform to the grid. I still tried to incorporate other design techniques like figure-ground relationship (see Day 21), balance (see Day 57), aspective view (see Day 78), edge flicker (see Day 49), proper overlapping (see Day 48), and more.
Unique Compositions
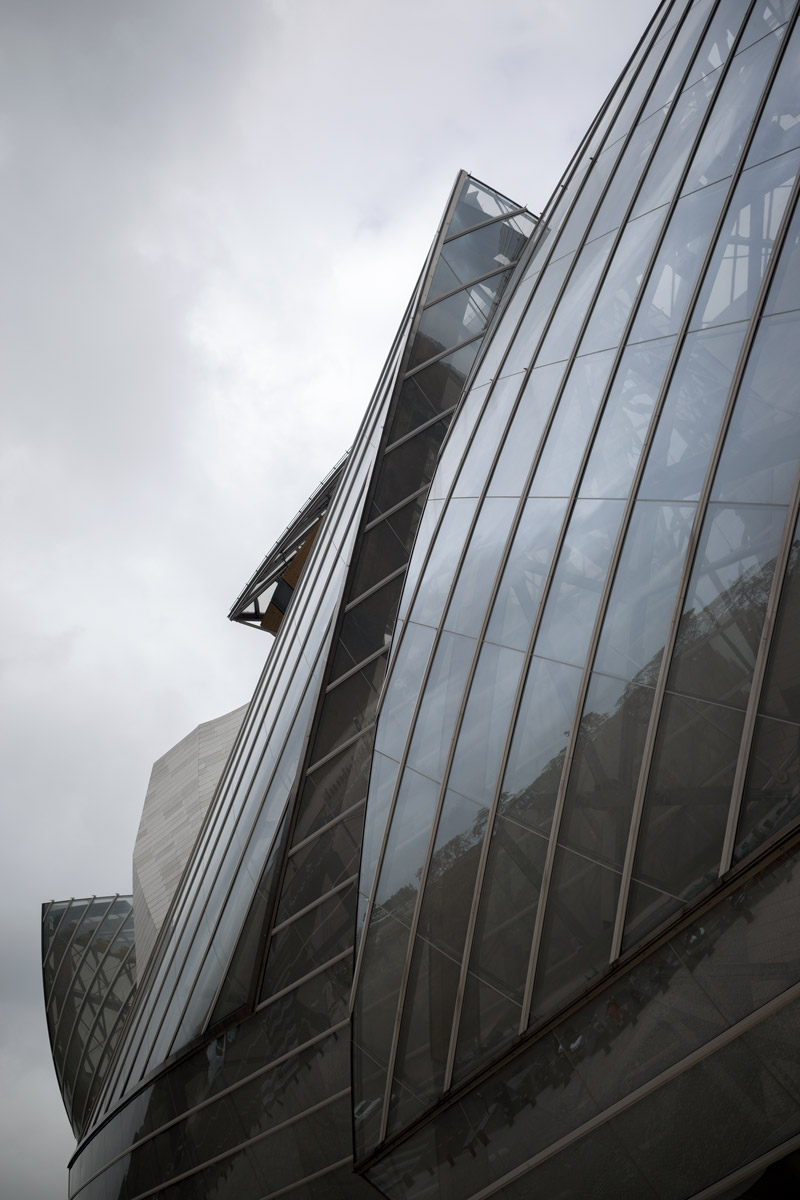
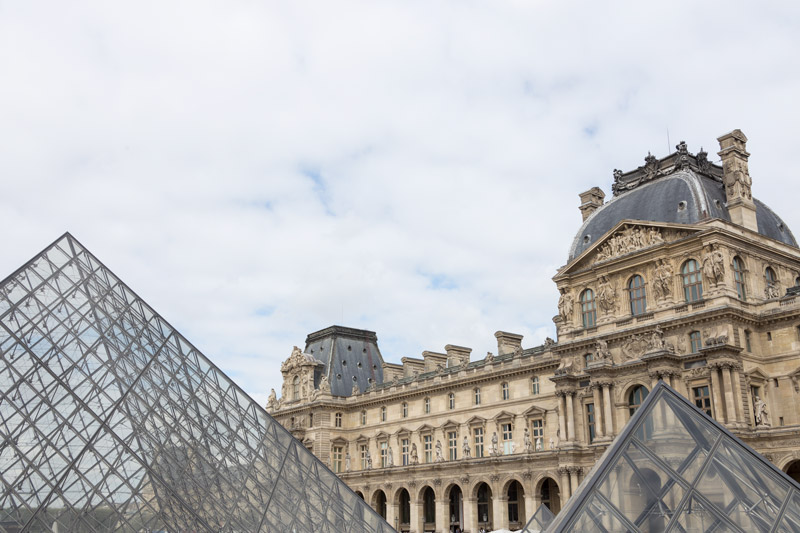
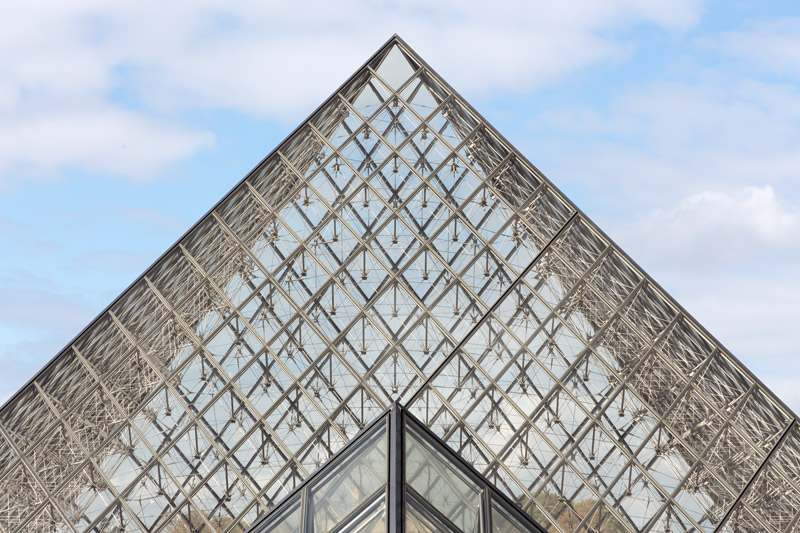
Sometimes when you eliminate distractions, fill the grid, and use design techniques in this way, you’re able to create interesting and abstract compositions. In this next photo, we’ll see the Louis Vuitton Foundation, which is on the outskirts of Paris. It’s an art museum designed by the creative architect Frank Gehry. Unfortunately it was closed when I arrived, but at least I got to capture the exterior with minimal distractions. The people in the image can quickly disappear if we use our in-camera cropping techniques.
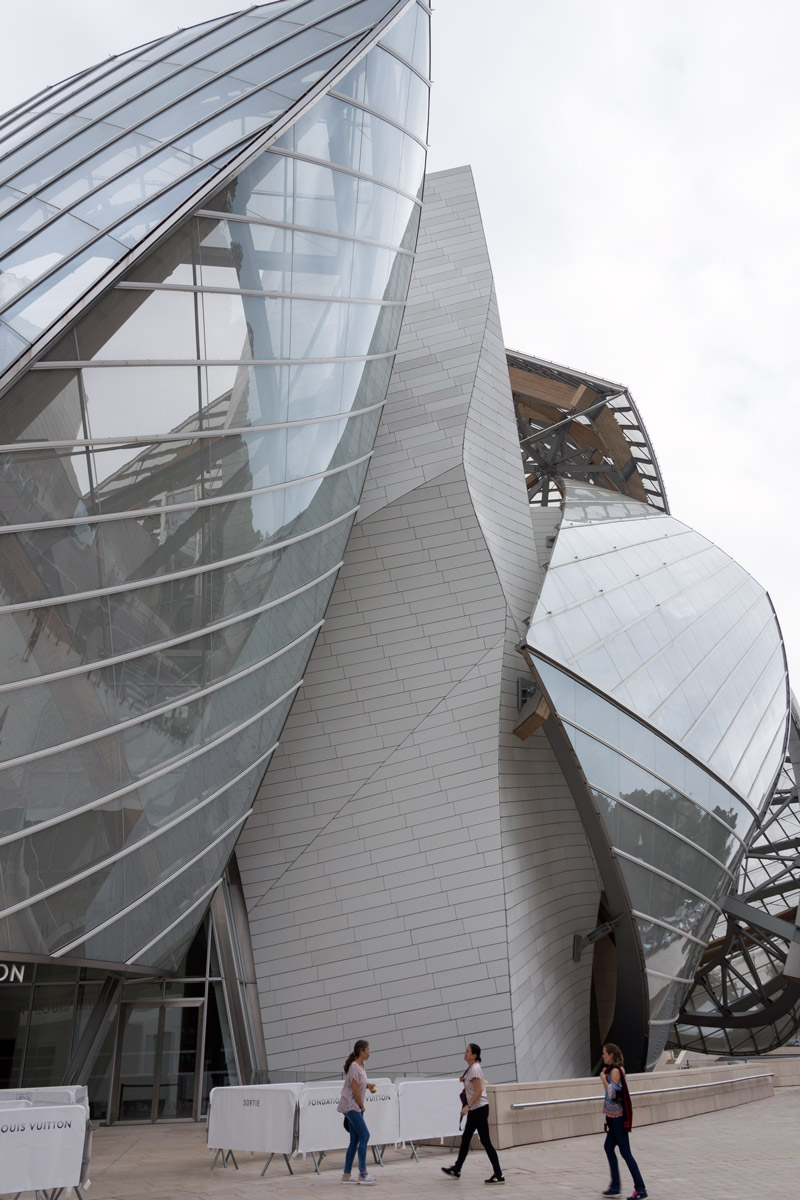
Can you guess which technique I used in these next two photos? I panned up and “poof” everyone is gone!

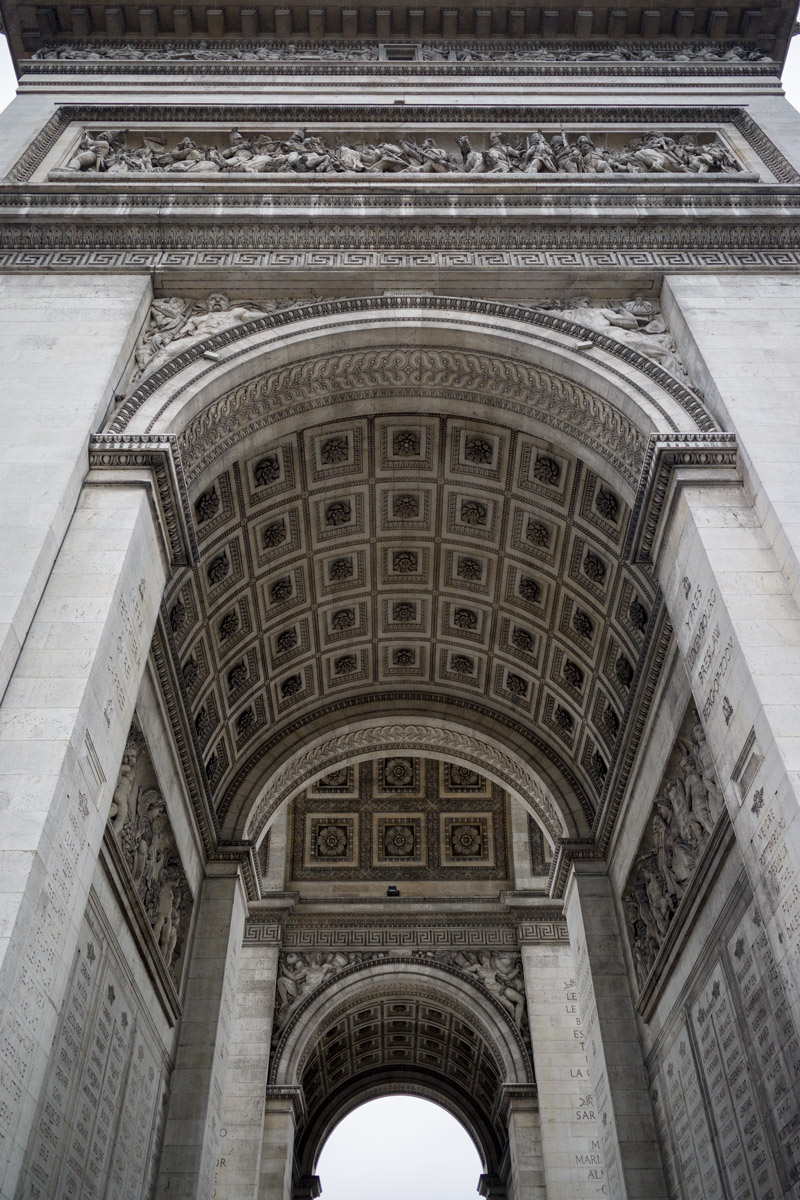
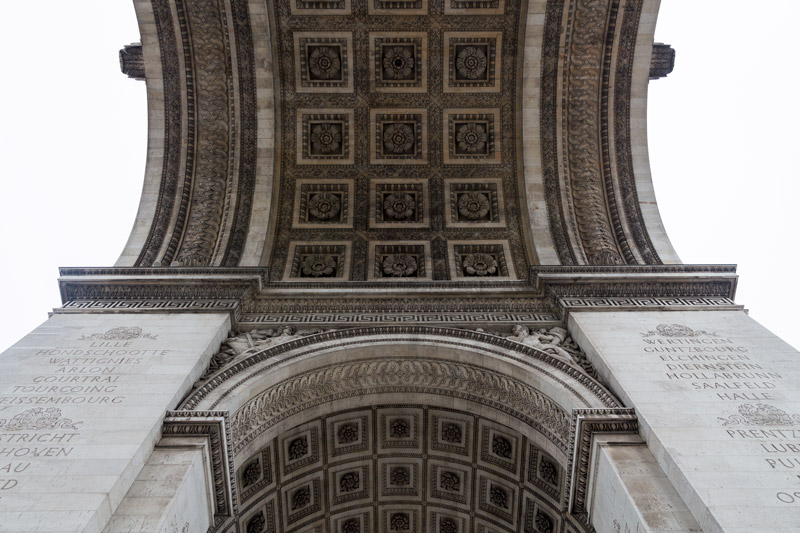
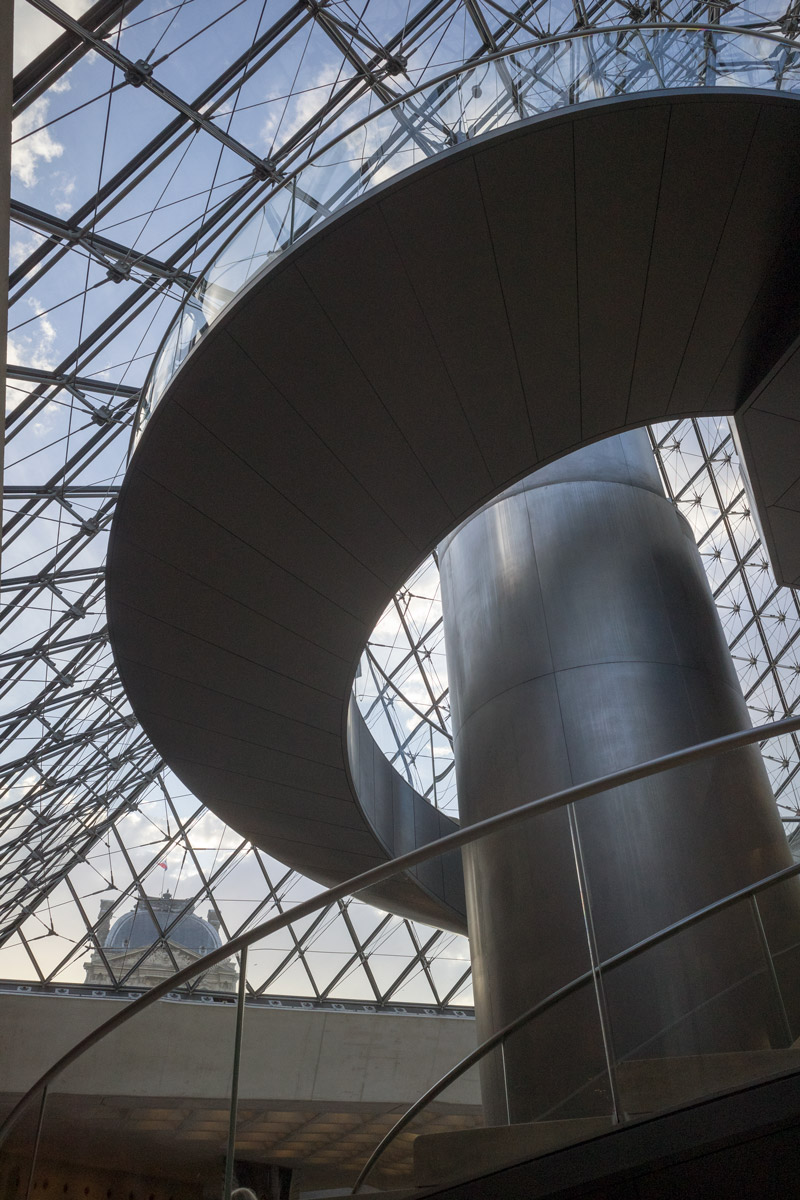
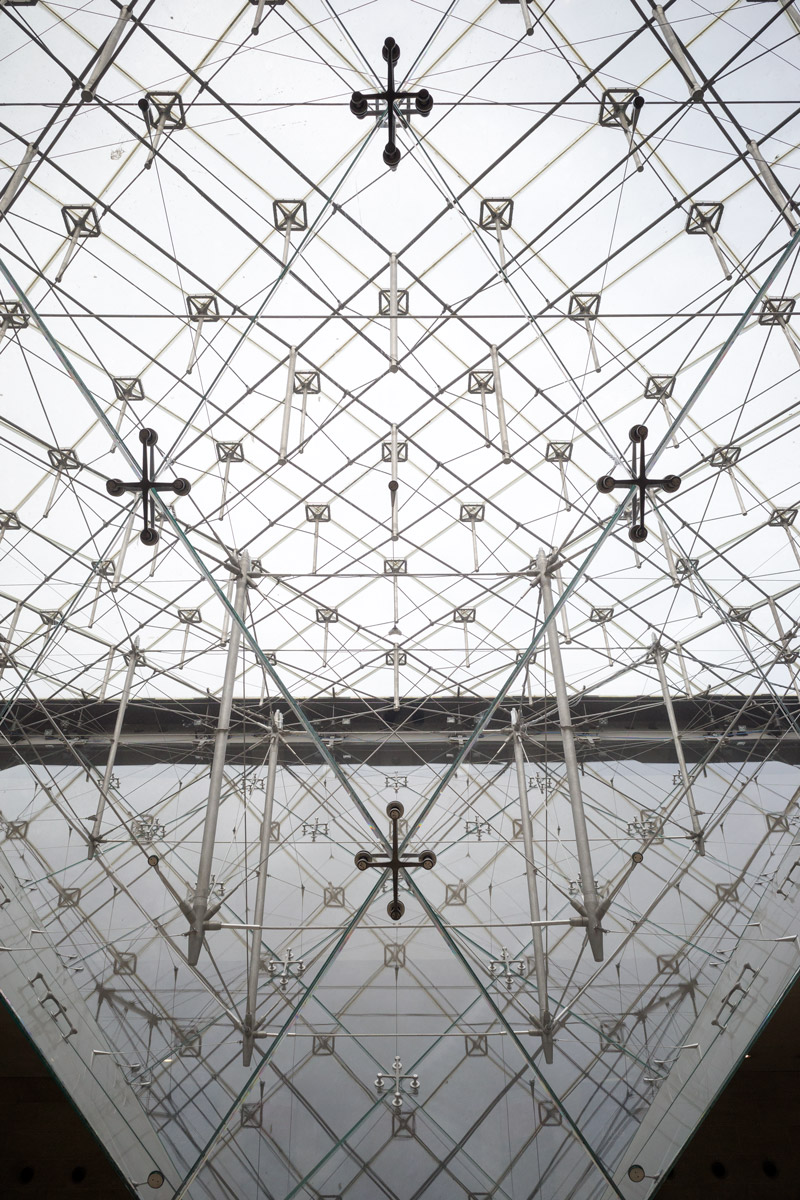
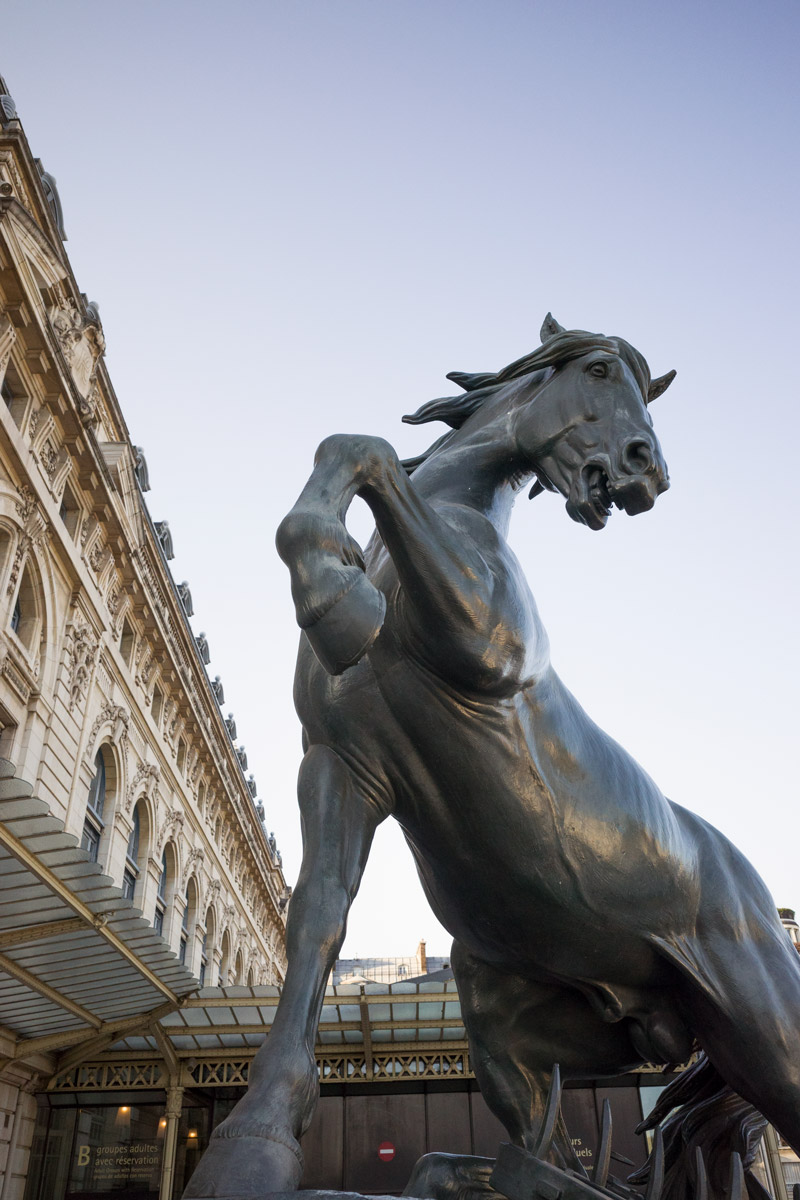
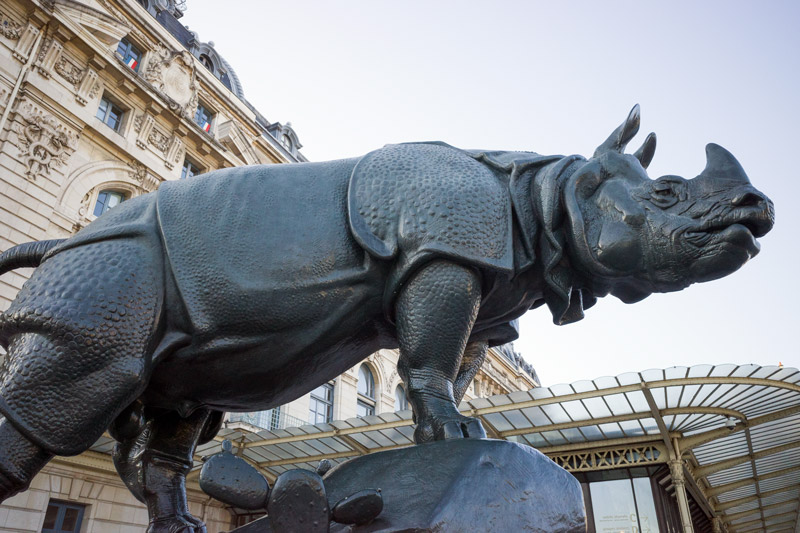
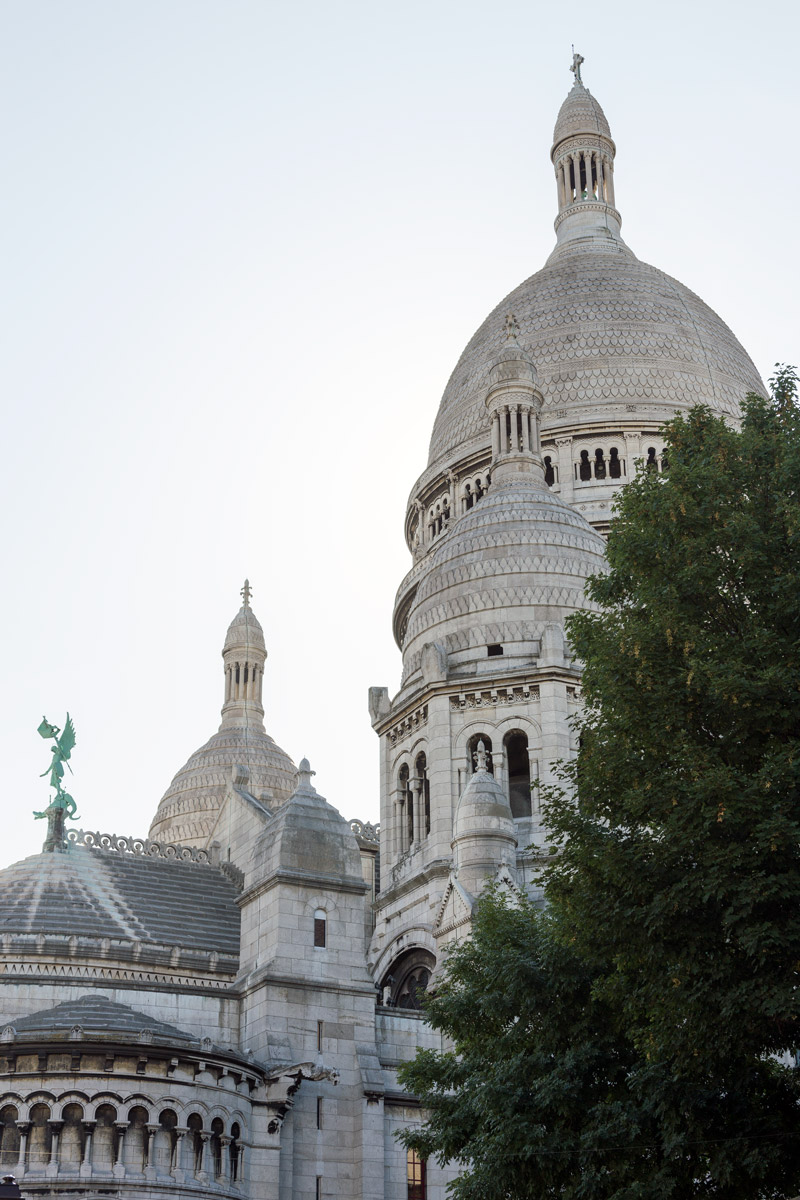
More Examples
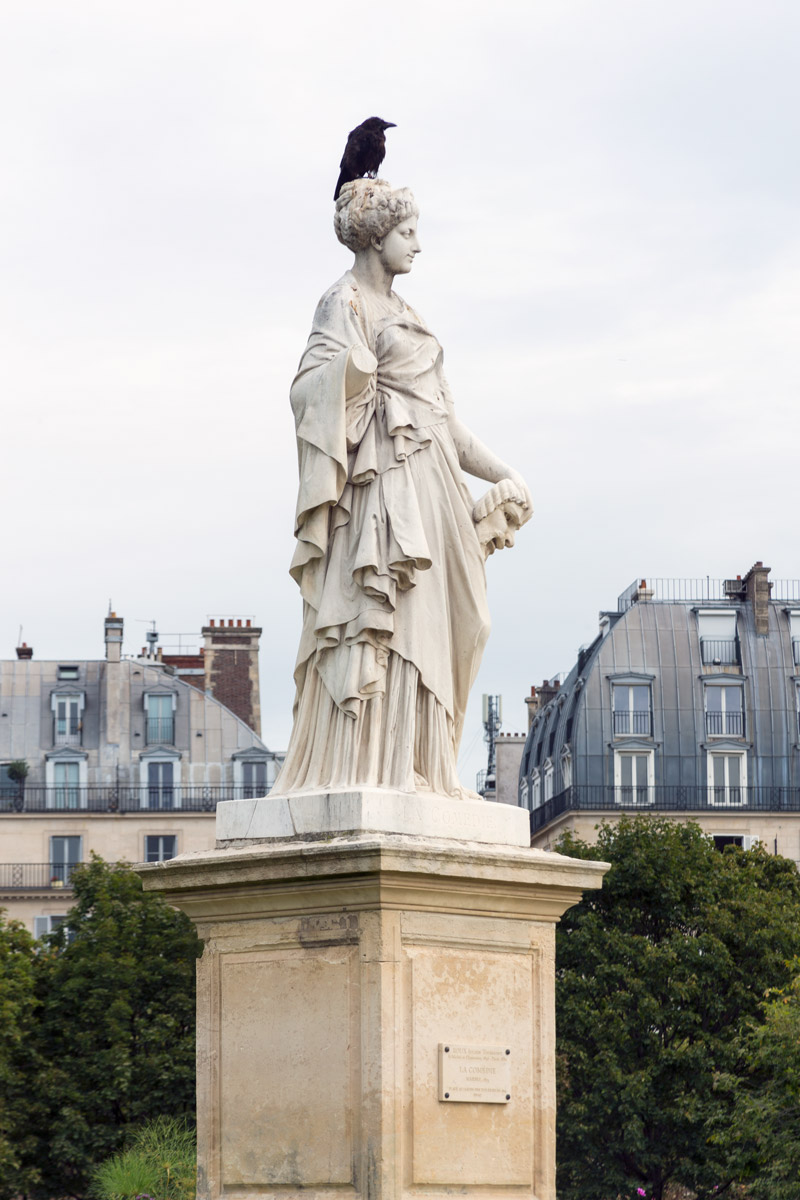
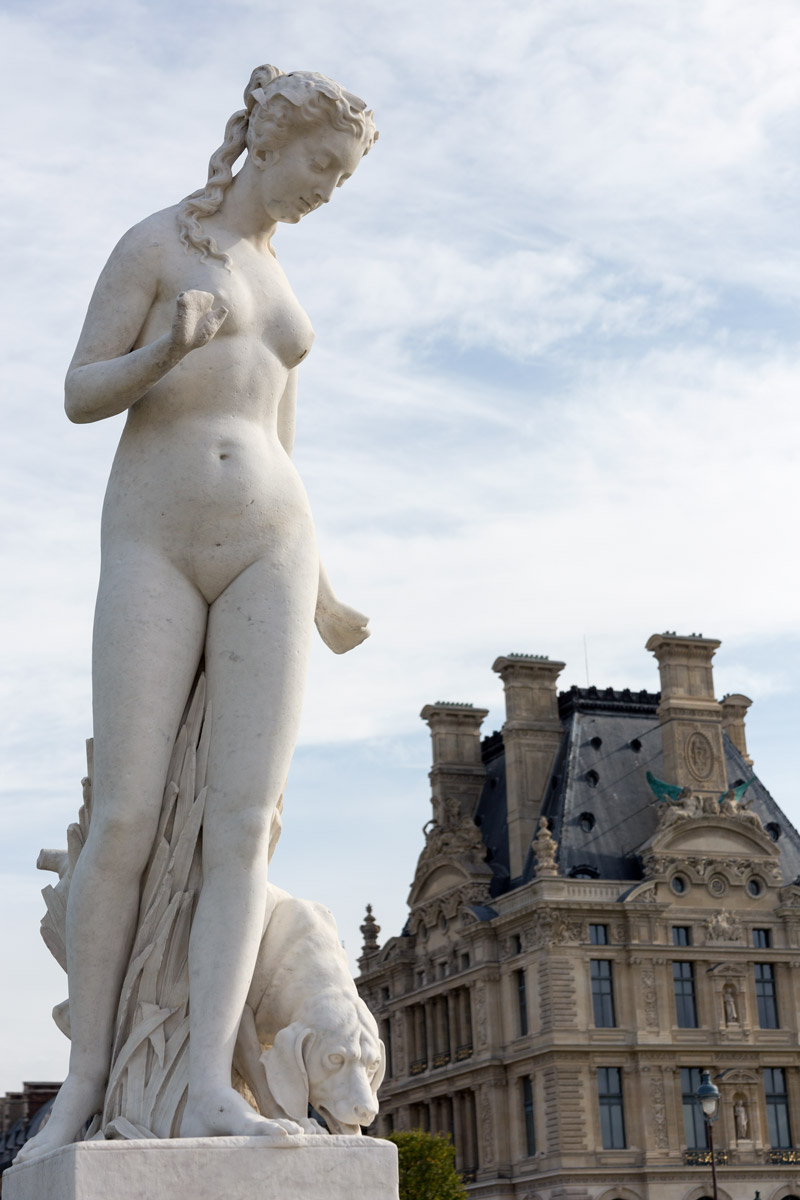
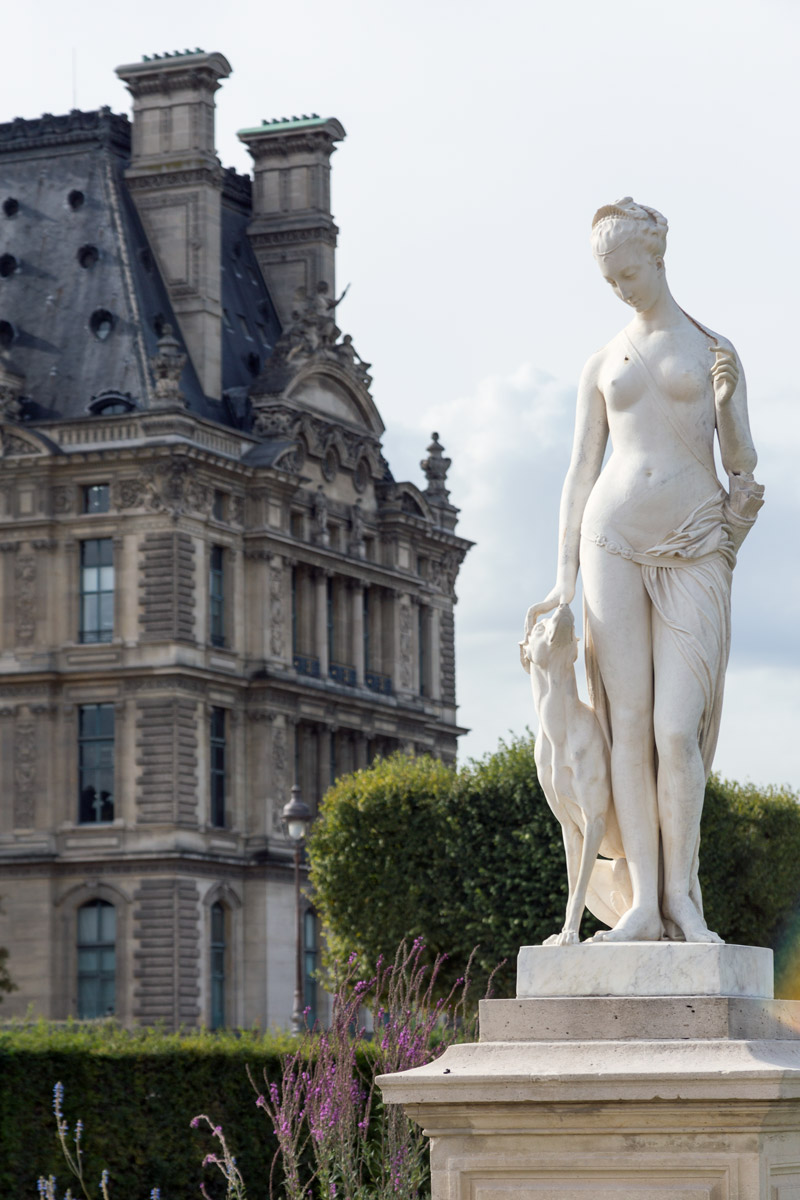
I’ll let you enjoy some more images that use the same methods of eliminating distractions. I’ll add a caption at the bottom of each image to let you know which camera was used. If it was the Canon, I most likely combined all of the techniques to get the best composition possible. If it is the Ricoh, then the only thing I couldn’t do is zoom.
Side Note: When I visit Paris again, my “touristy” photos will most likely already be captured, so I will only bring the Ricoh GR III because of it’s compact size and quality. The zoom lens can help capture some great compositions and is recommended if traveling to somewhere new, but the Ricoh can capture 80% of everything you see. Crop Sensor or Full Frame; in my opinion, it doesn’t matter. Sure, I’d love if the Ricoh GR III was full frame, but you can’t have everything…yet. The lens is what made the major difference; zoom or fixed. You’ll notice this especially in the photos with statues; the Ricoh couldn’t capture these and result in a similar composition.

Conclusion
Hopefully by now, the gears in your head are turning and you’re starting to see how you can improve your compositions in-camera. Practice all of these methods of eliminating distractions (panning the camera, changing position, zooming, fill the grid) and you’ll be on your way to mastering an important part of photography. Heck, you may even save some time in the editing room!
That’s it for this one, thanks so much for joining in! See you next time!