Photography Composition and Tips for Beginners [Digging Deep Into 8]
#515
Thanks for all of the amazing support everyone, we’ve got a fun little article today!
Have you been wanting to up your photography skills, and had no idea where to turn? Well, did you happen to check out the two-page spread published in a magazine for Costco members? That’s what this article was inspired by! The Costco article is directed at beginners and is loaded with “great” techniques like improving your composition by using the rule of thirds. OK, maybe there’s a little sarcasm there, but what can we learn from this? Are the tips valid for beginner photographers that want to reach the master level, or do they lead them down a dead end road? Let’s dig into it and find out!
Rule of Thirds Costco Teaches
As you probably already know, the rule of thirds has had a crippling effect on photography and painting compositions for centuries. The placement of the subject on a third is a copy of everyone else’s composition tactic and lacks originality.
Why do people keep repeating the same rule of thirds technique over and over again? Because it’s easy for beginners? Well, just because something is easy doesn’t mean it’s good for them. McDonald’s burgers and fries are easy, but they aren’t nutritious enough to sustain a healthy life. Just like the rule of thirds lacks the compositional nutrition to sustain a healthy art life. Teaching the rule of thirds as an essential composition technique to beginner photographers or painters is like teaching a child to eat fast food all the time instead of learning how to cook (see #496).
That being said, let’s dig into all of the techniques mentioned in this Costco magazine and we’ll see if we can improve them with a few more important details. Here is the article within the magazine, and we’ll list them further below as we go.
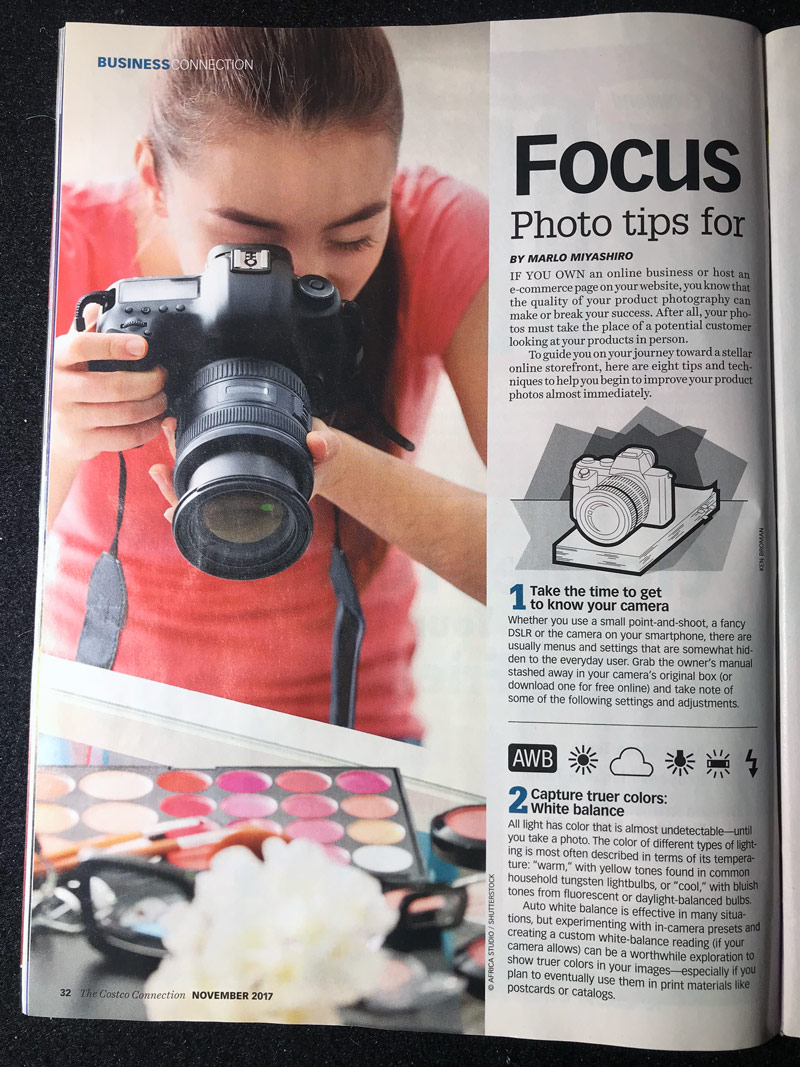
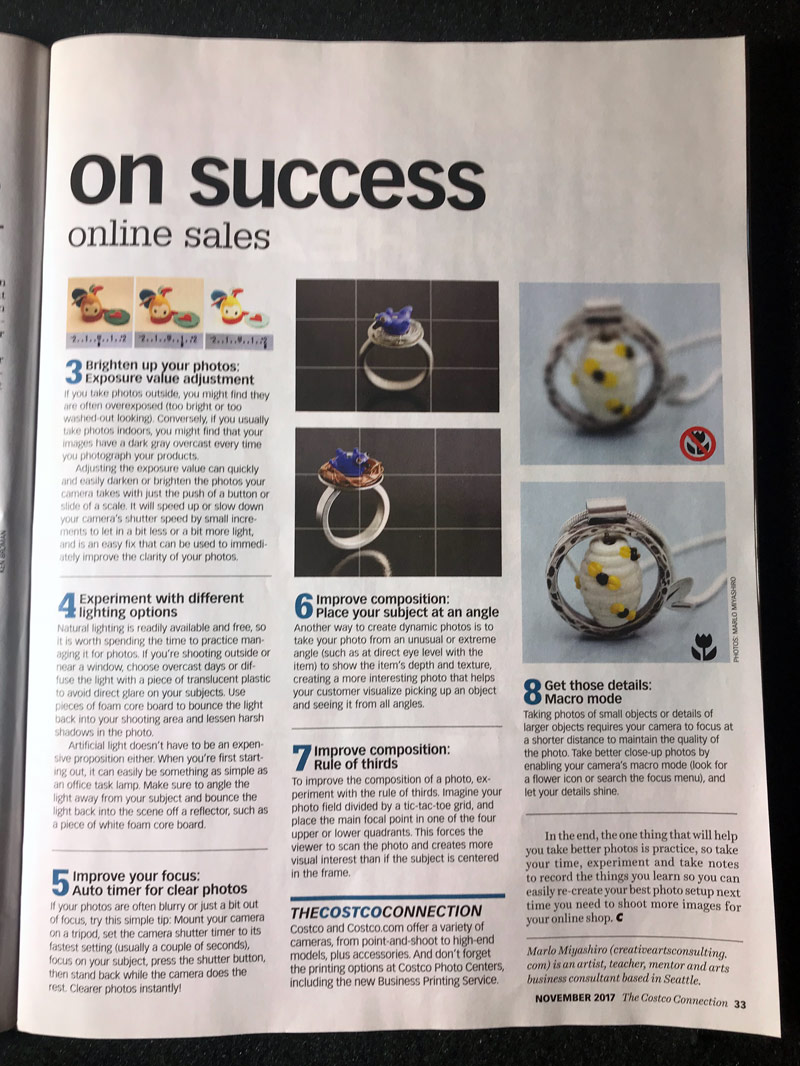

Digging Deep Better Tips for You
Understanding Your Camera
The first tip, “Take the Time to Get to Know Your Camera” is pretty valid. Every photographer should do this, but it’s not really a technique. It’s more like common knowledge for most beginner photographers. Others may wing it, skip reading the manual, then learn new buttons a year down the road. If you’re like me though, you do a ton of research before you even by a new camera, film or digital, and already know what it can do.
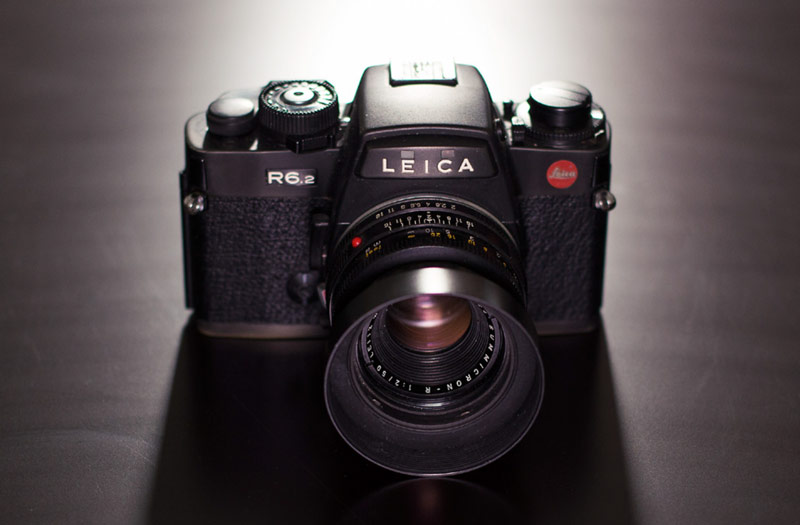
Here’s one of my old film cameras, which I love, but has a bad shutter. I’m waiting to get it repaired, but the $330 fee from KEH seems kind of steep.
White Balance
This second tip, to learn about white balance is good, but there’s one thing I could add. Auto White Balance isn’t good for all situations, but it can come in handy when shooting in environments where the lighting conditions are changing rapidly. Like weddings for instance. Following a bride from outside on a cloudy day where it’s bluer (cool temperature), to indoors where there are incandescent lights that are more orange (warm temperature). When the setting is on “Auto White Balance” (AWB), the computer in the camera does all of the thinking for you and you don’t miss a shot. You may have to make some adjustments later in post, because AWB is not perfect.
This shot was taken on a cloudy day with auto white balance when I didn’t understand the difference between temperatures. It turned out fine, but knowledge is power when it comes to creating your art efficiently with your tools of choice.

In other cases when using a flash, the computer on the camera typically gets the temperature of the scene a little wrong. For example, I was shooting on a warm sunny day on a golf course with my flash, and the camera was set to AWB. Unfortunately, the image was looking bluer than what appeared before my eyes. This is because the flash has a cooler color temperature.
To remedy this, I switched to “K” (Kelvin) to select my own temperature. I started at around 5500, then turned on the LCD to give me a good reference for the color temperature I was seeing in front of me. I made my eyes go out of focus to see the colors better. Sometimes when you do this it simplifies the scene and you can see the subtle variations in color.
It needed to be a little warmer, so I went back into my white balance settings and changed it to around 5600, which looked truer to life. See, the computer of the camera saw the light from the flash and sun, surrounded by green grass, and got confused. Using the LCD and “K” setting can help you fine tune things to your needs.

Proper Exposure
With the tip “Brighten up your photos: Exposure value adjustment” it is also important to know if you are shooting in auto mode. I always recommend photographers learn about how a proper exposure is created by using Shutter Speed, Aperture, and ISO. Learn to shoot in manual, then use the computer to help you when the conditions change rapidly. It’s easy enough to learn and gives beginners a better foundation to learn from. I’ve tutored photographers and had them shooting in manual mode within an hour, so it’s not difficult at all. Understanding how to adjust the three settings according to the subject, lighting, and conditions is vital.
Experiment with Lighting
When the author writes “Experiment with different lighting options” I completely agree. There’s not much more to say other than the cost of some wonky foam board is about the same price as a small product softbox. Remember, the Costco article is relating to product photography.
They sell the small portable ones on Amazon for about $15, which would work fine for the products they refer to in the article. If photographers aren’t willing to invest in nice-enough equipment, then they can’t expect much. DIY gear will only get you so far. Trust me, I’m all about making affordable ways to achieve the same result, but there’s a threshold. We have too cheap and cumbersome, too expensive and not needed, or just right for the needs and budget. Buy something that is right in the middle, just like the porridge in “Goldilocks and the Three Bears.”
I recently threw away my huge reflector because I never used it. It sat collecting dust for three years. I’d rather use external flashes and softboxes, or natural light. Sometimes the reflector created unflattering bounced light from below the subject, and it’s difficult to use without an assistant.
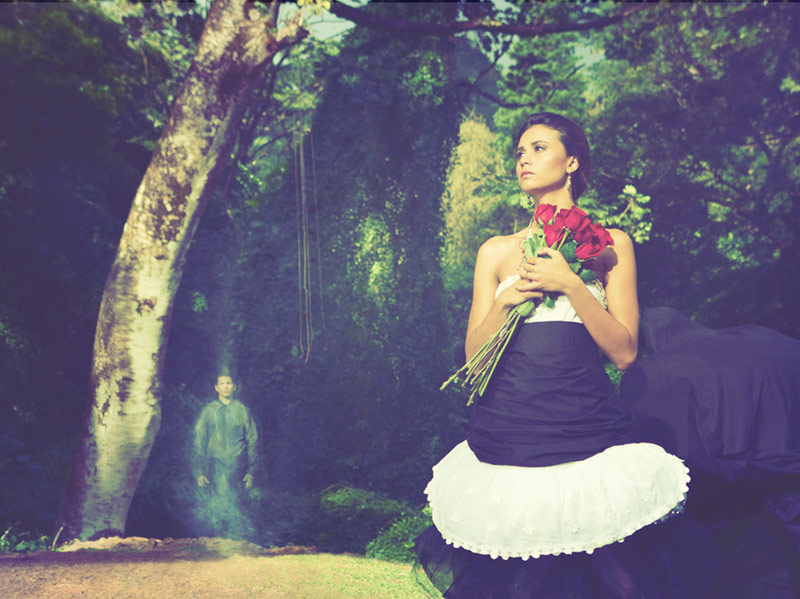
This photo below was taken with a large softbox and if you look close you can see it in her eyes. The shutter speed was high as well to freeze the movement.

Shutter Speed
When wanting to “Improve your focus” it is a good idea to sometimes use a timer or remote control for the shutter. This is great for long exposures when the shutter has to stay open longer than usual. This is when understanding exposure comes into play. If you know how to properly expose an image, then you may not have to rely on a timer or remote. Especially for product photography. The product isn’t moving, and it’s usually well lit, so there shouldn’t be a reason that the photo is not in focus, or has unwanted motion blur.

Different Elevations
OK, now we’re talking about composition! The tip reads “Improve composition: place your subject at an angle,” which is a little misleading. At first, I thought they were going to mention diagonals as seen in our dynamic symmetry grids. But no, they are talking about getting lower to the subject, which in their example, is a ring. If we pretend this ring is a person, then we get a better sense of what they are trying to say.
Of course getting lower at eye-level would improve the composition, but there are tricks we can play with depending on how high or low we are. If we are shooting a person from a low elevation, they appear more powerful. If we are shooting them from a higher elevation, then they appear inferior.
In this next photo, we can see how the female model is portrayed with power because I’m shooting her at a lower elevation.
Better Balance Without ROT
Ah yes, the status quo of improving composition, the “Rule of Thirds.” This technique makes its way to the top of most lists about photography composition. In fact, Phlearn just released an article listing it as the number one technique to have “perfect” photography composition. Who am I to tell them differently? Anyway, we don’t need to go into detail on this one, but if you haven’t seen this article and video, please check it out when you can.
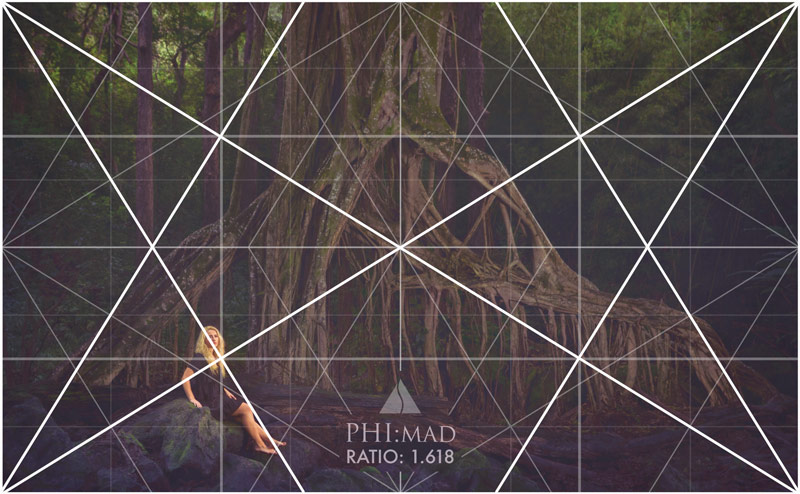
If you’re placing your subject on one side, without a counterpart (see Law of Symmetry) on the other side, the image will look unbalanced. As visual creatures, we are always seeking balance. In the next image, we’ll see the girl on the left, with the tree acting as a counterpart on the right to complete the balance.
We can also see how it was composed with the phi dynamic symmetry grid.
Depth of Field with a Macro Lens
Finally, we have “Get those details: macro mode,” which I can agree with. When I had a small point and shoot camera, before I wanted to be more committed to the craft, I used the Macro setting all the time. It’s important to note that when using a macro lens on a professional camera while photographing a small object like a ring, we have to treat it like we are shooting a portrait in terms of depth. When we are closer to the subject, the depth of field is reduced dramatically and creates bokeh (blurry background). With most macro lenses, we are extremely close to the subject. Sometimes it is desirable to have a blurry background, but in the case of shooting a wedding ring, we may need to increase the aperture to increase the depth of field (also see #503). It all depends on your needs, which is why it’s important to understand how aperture works in combination with shutter speed and ISO.
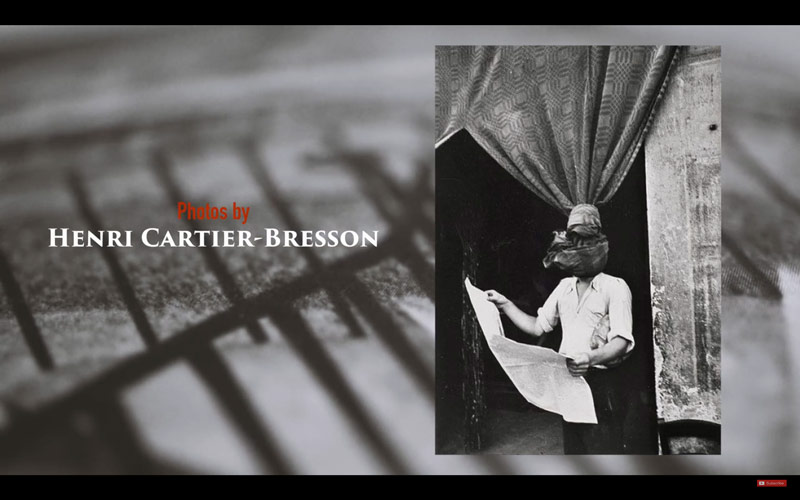
I love using my macro lens for cinematography. In the video clip below, we can see how the macro lens had a shallow depth of field which created a nice backdrop for the scene. You can watch the full video here if you are into Henri Cartier-Bresson.
Conclusion
By now you should be noticing the similarities in each rectangle, as well as their slight differences. Remember the shape and ratio first, take care of the easy major diagonals, and note how far the reciprocals are from the vertical centerline. Everything else should be a piece of cake. Drawing the grids out by hand and analyzing work with dynamic symmetry both help build muscle memory.
That’s it for today, thanks so much for being a Master Pass member. See you next time!

