5 Reasons Why Scanning Your Own Film is Better [Great Tips!]
#383
This article is for anyone curious about scanning their own film…or knowing how we’ve all been duped when sending it to the lab. I’ll also be showing plenty of examples, some of my new scans, and even a new challenge/commitment to myself. One which was inspired by the Master photographers of Magnum Photos…heck, even Garry Winogrand played a part.
1. More Expensive – My initial reasoning for scanning my own prints was the cost. Go Figure! Man does it get expensive when sending to the lab. I bought the Epson Perfection V600 scanner and it works great for my needs. It only cost about $200, so when I did the math, it was worth it for me to do it myself and have control over the process.
To get each roll developed locally it’s only $5. If I didn’t have a scanner I would have to pay them to scan as well which is $13 per roll (medium resolution which includes developing). If I send it off to the lab, thedarkroom.com, the cheapest is $11 per roll and that’s very low resolution. But one bonus (if you don’t prefer to process yourself) is that they come back ready to upload and share…for the most part (I’m recommending self-processing for reasons covered below). So if I shoot my usual 5-7 rolls per month my cost is sometimes only $25-$35 as opposed to $55-$77. In 2-3 months of shooting my scanner will have paid itself off. Totally worth it to me…especially once you see what other benefits there are to scanning at home.
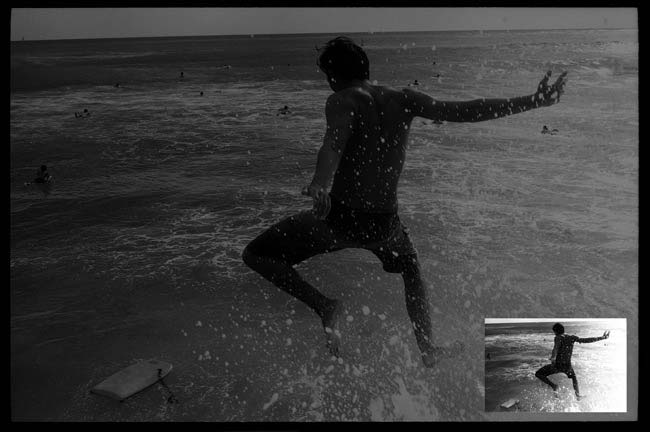
Here’s a comparison of what the resolution difference is compared to scanning at home or sending out for $11. I’m able to get roughly 7000 pixels horizontally…plenty to blow it up as a poster or whatever. The measly $11 will allow you to print a postcard…it works if you’re just uploading to Instagram though.
Here’s the original photo which I scanned and processed at home.
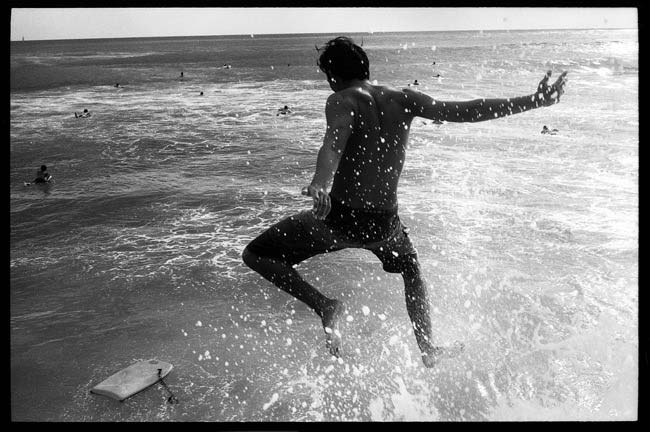
2. All Images from the Lab are Cropped – Most of the labs develop and scan automatically and get this…the machine crops to 4×6. What’s the problem with that? Well, the actual frame is a bit bigger than that. I know, I wasn’t aware of that either until I started scanning my own images.
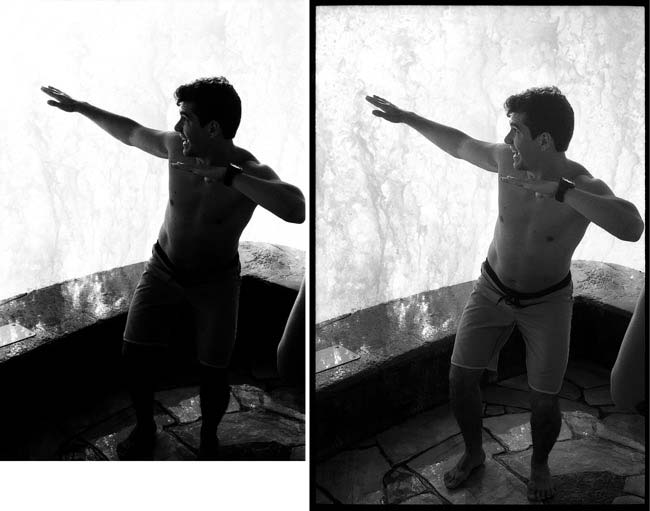
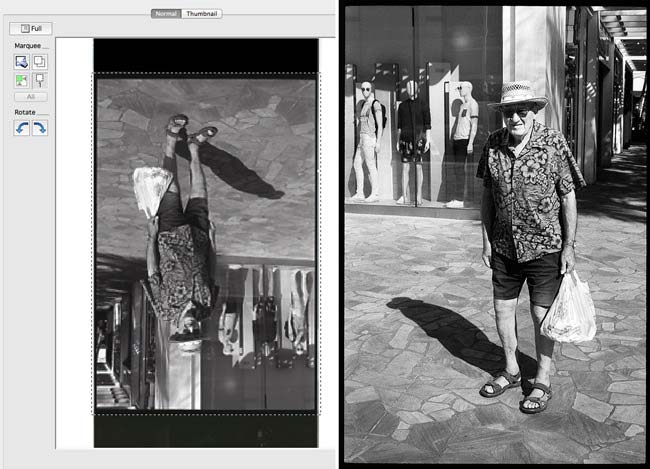
In this next photo, you can see the lab’s version on the left, and my scanned version on the right. Yes, they sent it back to me looking like that. He’s completely black! They didn’t take the time to preserve any details. I’ll get into more of that below, but take a look at the crop. In my version I was able to save his foot and elbow. Small differences can make or break an image.
In fact, when I first started scanning at home, my scanner would automatically crop the images to 4×6 because of my settings. It would give me an option to slide a marquee to the right or left to adjust for the aspect ratio 4×6. I later found out it was cropping from the top and bottom of the image as well as forcing me to crop more off the right or left. What the hell? Henri Cartier-Bresson would have a hissy fit if he had to work like this.
Later, I discovered that I could scan the outside of the image and capture more of the film border. This way I knew I had all of the images and I could crop it to my liking when necessary…which you’ll later see is only hurting my photography.
You can see some of my scanner settings for Black & White Film below. The Target size will depend on the size of your Marquee. I have Medium Unsharp Mask and zero adjustments. Unfortunately, Digital Ice can’t be used to take out dust and hairs…you’ll have to do that in post (it only works for color film for some reason).
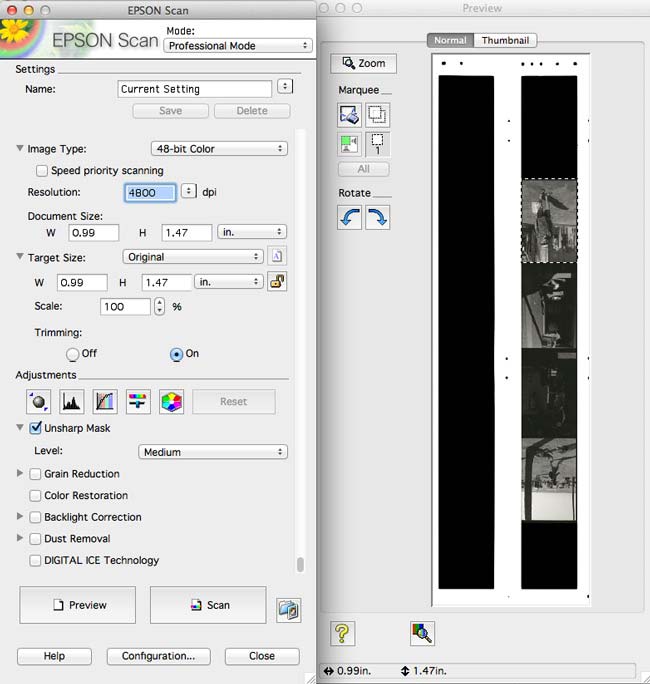
You can see on the left where I’m pulling the marquee outside of the image to preserve the black film border. The final image with the border is on the right. (Sometimes if the black border is barely there I will add black to make it even border, but I won’t mess up the “organic” edge of the film.)
3. One-size-fits-all Processing – Not only does the lab scan and crop automatically, they seem to have an automatic processing system. I guess ignorance truly is bliss because most of the pictures came back looking ok in my opinion. But if you’ve been photographing and processing your images as long as I have you know that there’s not one setting that will work for all images. I wish there were! The exposure, colors, etc will all be slightly different from picture to picture. The lab doesn’t care about each individual picture as you do. Not to say they don’t care at all, but not like you. This is your art!
So for a while there, I thought I just had my exposure wrong, or I completely hosed a shot, but it was the one-size-fits-all processing they slapped on every photo. When comparing their processed image to the one I scanned at home I could see a major difference. First off, I was able to preserve all of the information in the negative where everything had been pushed to pure white or black from the lab (See Splashing Image above). And this whole time I thought I was screwing things up…ignorance is bliss.
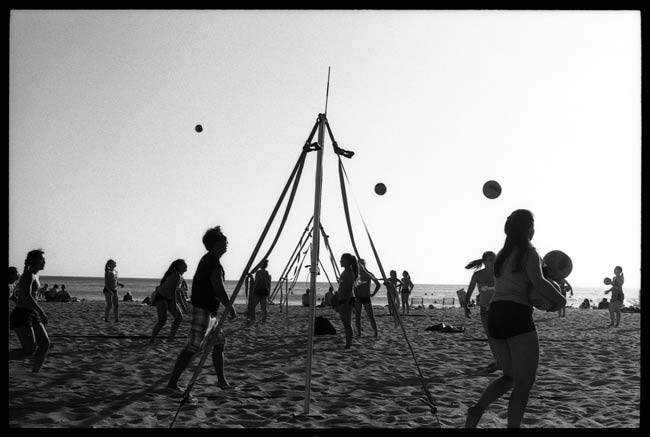
This next photo was also processed by the lab. Pure black in the shadows, and pure white in the highlights, very little mid tones. Again, I thought I screwed up. I use mostly the same camera settings in every sunny scenario, so I was scratching my head. Didn’t Ansel Adams quote something about the black in an image…how the only pure black in the photo should be a keyhole into an unlit room? I remember hearing that somewhere…anyway, it’s something to keep in mind.
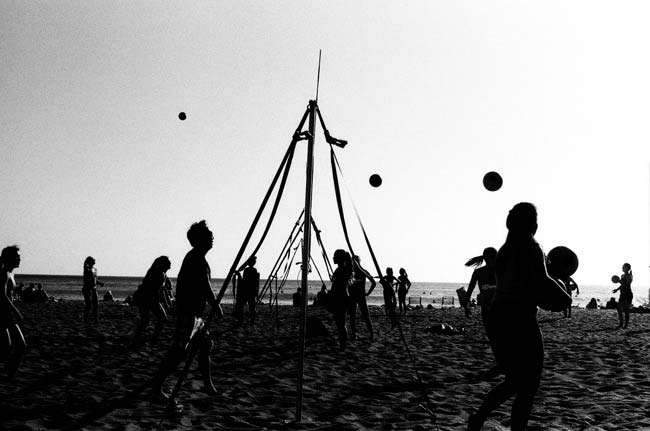
Here’s the one I scanned at home where I was able to preserve the blacks, whites, and mid tones.
4. It’s Fun and Relaxing – Scanning your own images at home has always been a pain…at least that’s what some photographers will claim. I don’t see it this way. It’s actually a fun process…like unwrapping a gift. You hit that preview button, it scans a low-resolution image of the negative, and voila, you see your creation. Some are good, some are bad, but they are all fun to see.
It’s also relaxing too. Depending on the resolution you are scanning each image (You can scan very high resolution), and if you’re using the “Digital Ice” technology that removes dust, a scan of 10 negatives can take about 30 minutes. Now’s your chance to edit photos you already scanned, read a book, watch a movie, research the masters, draw…whatever floats your boat.
It’s not that bad…at all…to scan your images, plus you’ll be able to organize each roll and file them away for safe storage.
5. Preserving the Edge Like the Masters – The more I look at the master photographer’s work, the more I see a reoccurring black border. It wasn’t until I started scanning at home that I realized what it was. They are preserving the border of the film to show that they aren’t cropping.
Once I learned to scan the negatives correctly, without cropping, the black border started to grow on me. It showed this organic wavy edge that represented the film. I wanted to keep it, I loved the look, but everyone always crops it off. Well, that’s what I thought until I started looking at Elliot Erwitt’s photos. Then I saw it on Bresson’s, and even Garry Winogrand’s. These masters were holding themselves liable for their actions and exposing their flaws to uphold the integrity of the photography genre. Street photography or photojournalism is to represent the honest to goodness truth. No frills, special effects, adding clouds, straightening the horizon line, cloning stuff out. This isn’t fine art, it’s grittier than that. It’s (suppose to be) the most honest genre of photography…or at least that’s my understanding of it.
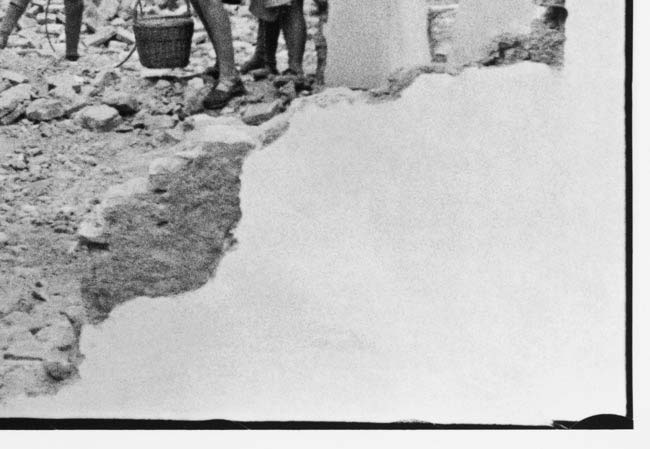
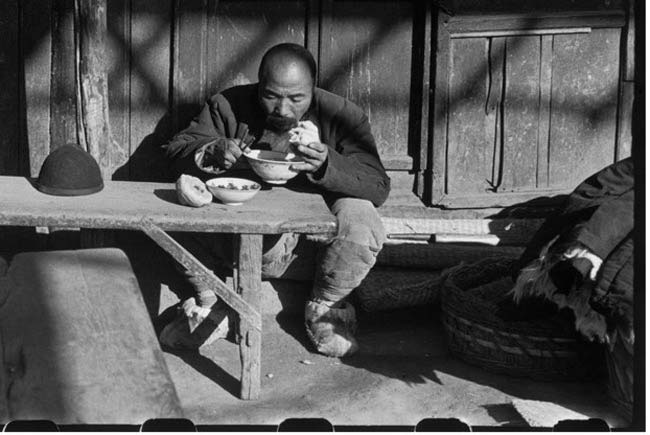
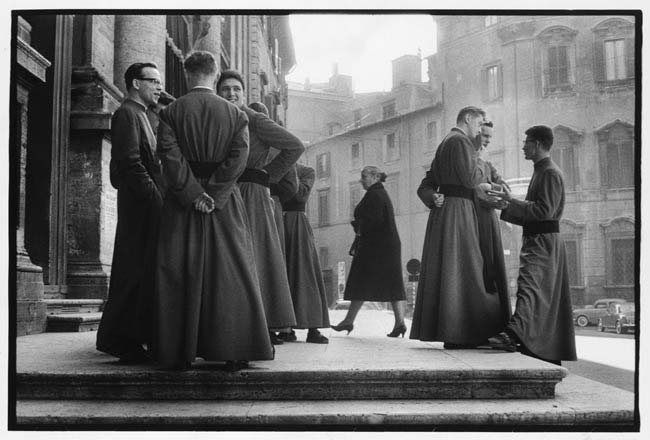
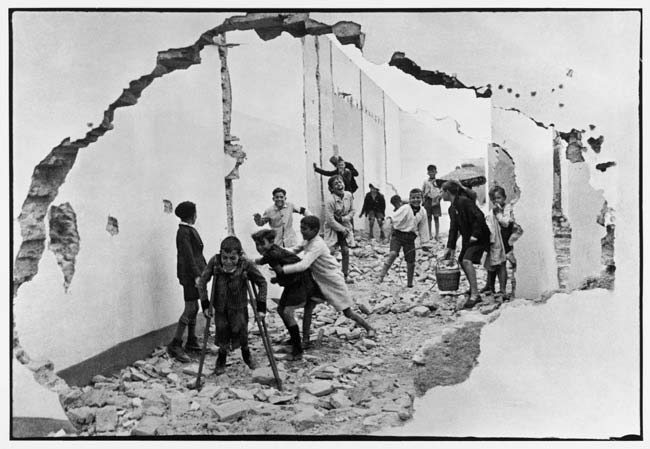
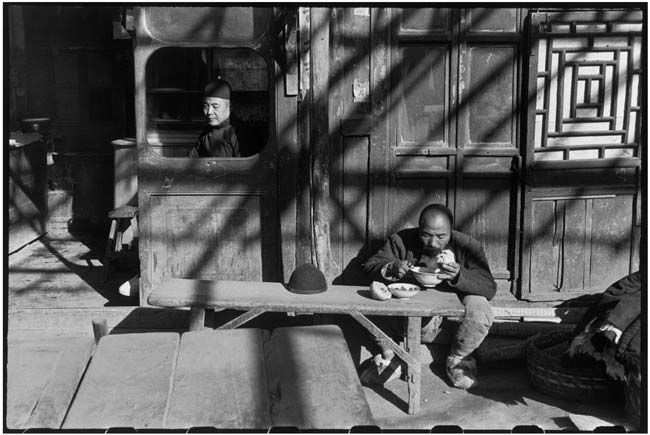
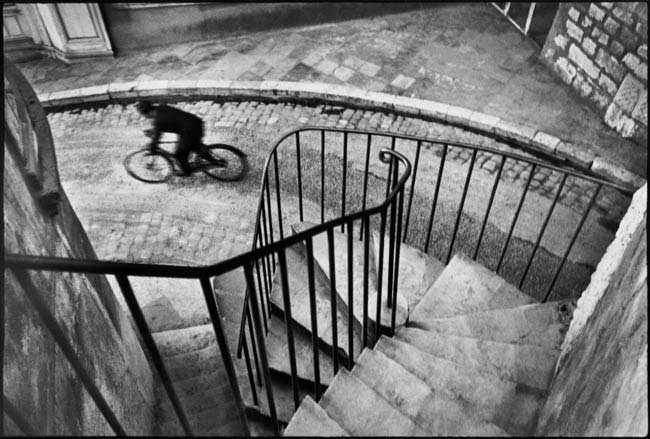
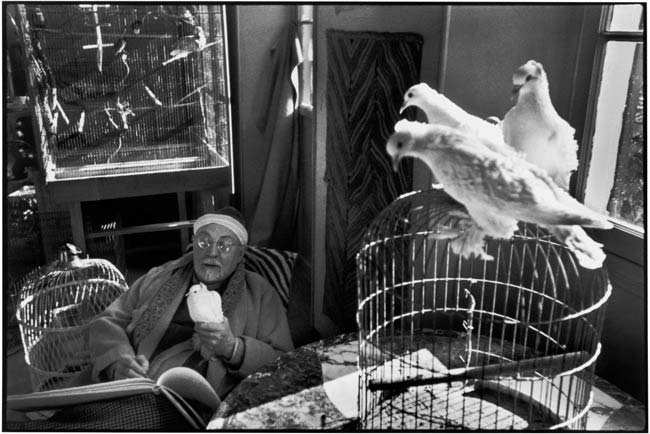
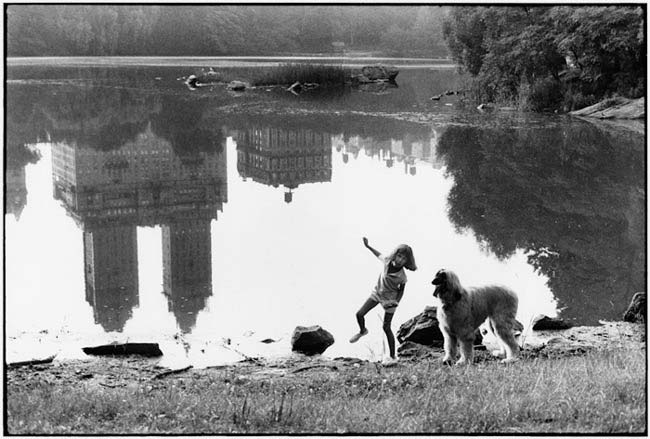
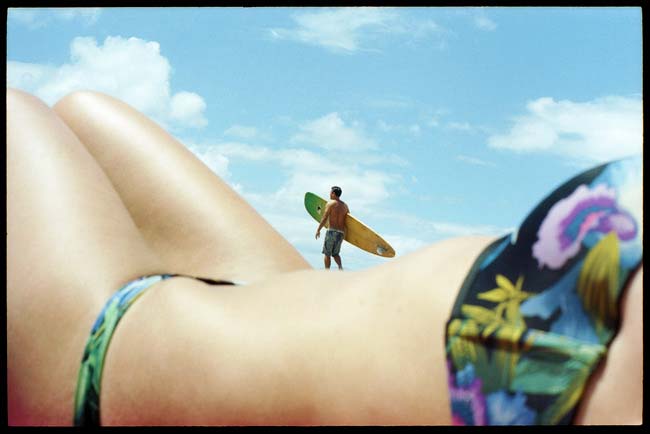
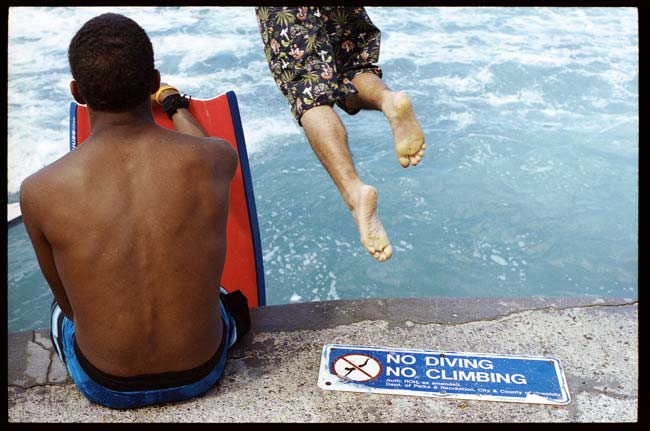
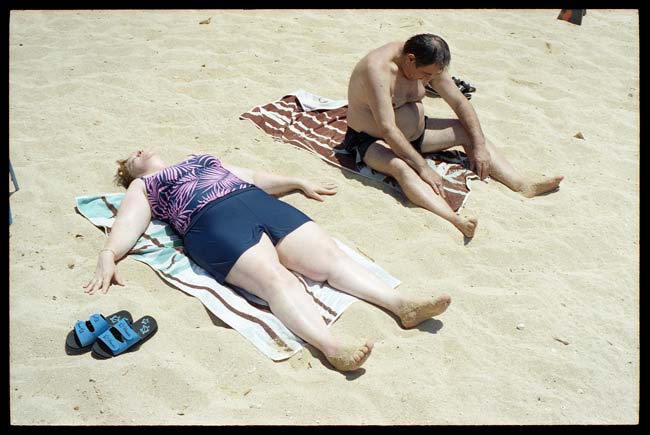
Here are some great examples from the masters where they show the black border of the film…demonstrating their tremendous ability to get everything right in camera and not having to rely on cropping to save their image.
This is a detail shot of the bottom right corner.
Another detail shot of the above image. This time you can see the notches in the film.
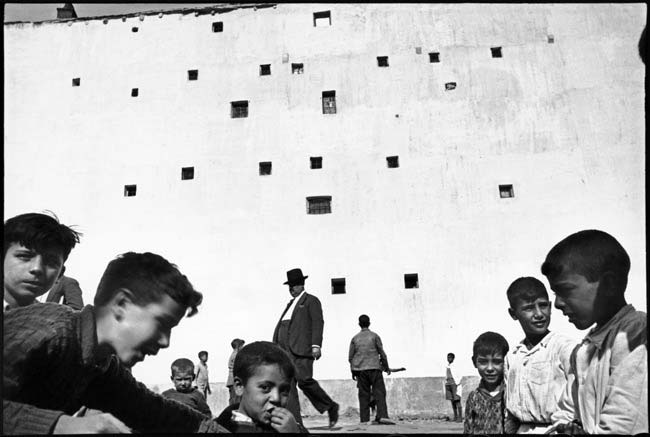
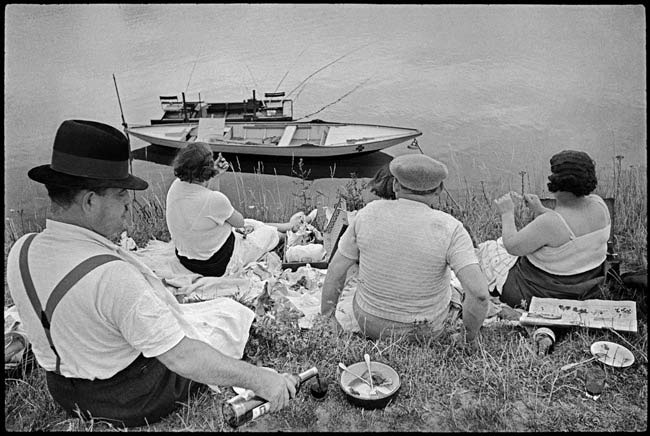
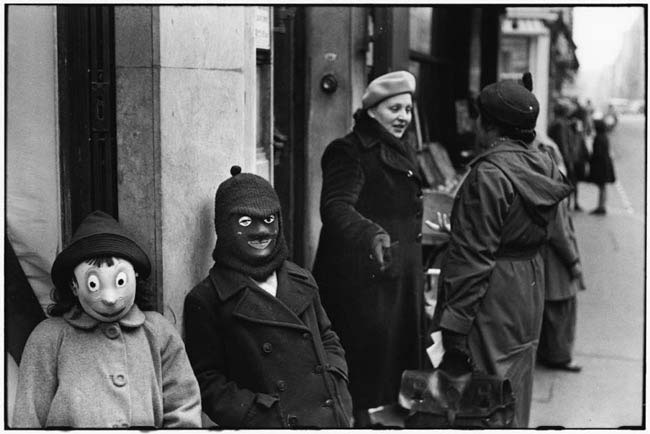
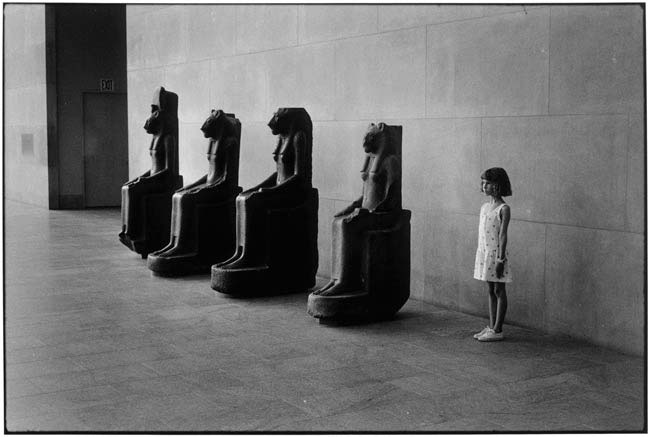
My New Commitment and Challenge
So, my new challenge and commitment to myself, after I’ve seen how the masters are doing it, is to scan each negative and leave the black border to show that I haven’t cropped into the photo. Sure I could photoshop an edge like this, but I’m not willing to lie to myself anymore. To prove what? I’m not selling my photos or using them commercially, I do this for myself. When I shoot Fine Art I will retouch whatever I have to and clone out whatever I have to to make it look presentable. It’s not Street Photography though. It doesn’t have to be an honest representation of reality.
This challenge will make my life easier too. I find myself putting off the processing part of it sometimes. I like doing it and seeing the final image, but man, I’d rather be out there shooting more instead of in front of my computer. There are too many questions floating in my head when processing…is it on the grid, should I clone that out, should I crop it more, should I crop at all??? It turns the whole process into a nightmare.
From now on, I’m leaving the black border intact, I’m only adjusting for exposure and color correction, a little dodge & burn if needed, and I’m not cloning out anything unless it’s dust or hairs from scanning. Sometimes I’ll reduce the contrast of certain things, add a dash of vibrancy, and darken some corners just a touch, but nothing else. Yes, this will make my bad photos even worse, but by exposing my flaws I can learn from them and be more honest with myself, the genre, and everyone that cares to view. Let me focus on my composition, color theory, lighting, and story in camera…no more trying to complete the image after the fact. Now I feel like a big monkey has been lifted off my back!
Here’s a scanned photo where I would typically clone out the distracting objects near the edge (see Edge Flicker Day 49). Great for painting or fine art, but that’s not being honest to the genre of Street Photography. It’s the best shot I could get at the time and it’s completely honest. I’m learning from my flaws.
Can you imagine if all of the street photographers straightened, cropped, and edited out objects from their photos? We wouldn’t know what was real or manipulated. Does this image below look like a Garry Winogrand photo? It doesn’t if you know his work. I straightened and cropped this in Photoshop.
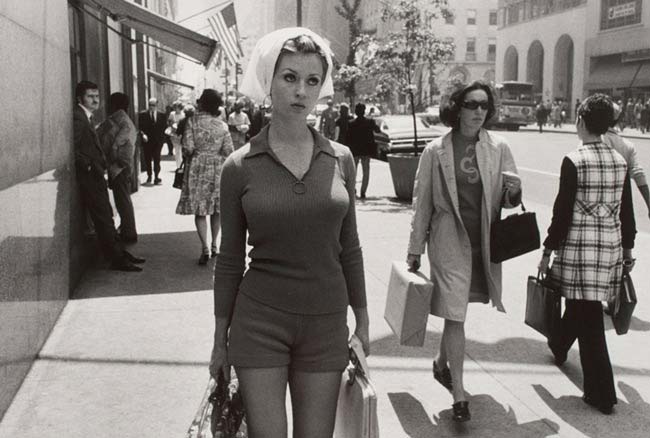
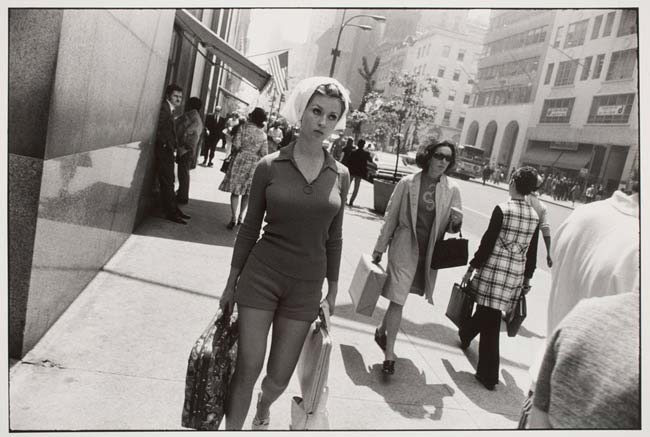
Here’s the original which has his signature tilted look. He whips his camera around so fast to take pictures that he doesn’t appear to have time to square up the shot completely. It’s perfectly fine though. It’s part of his style. You should see him shooting (check out THIS video) because he plays with his camera like a noob to fool people of his intentions, but shoots quick like a wizard. I didn’t like his stuff at first, but it grew on me.
I hope this article has helped you see the benefits of scanning your own film negatives. If you would like to follow my street photography as it progress, feel free to check out my Instagram or Flickr. See you next time!

