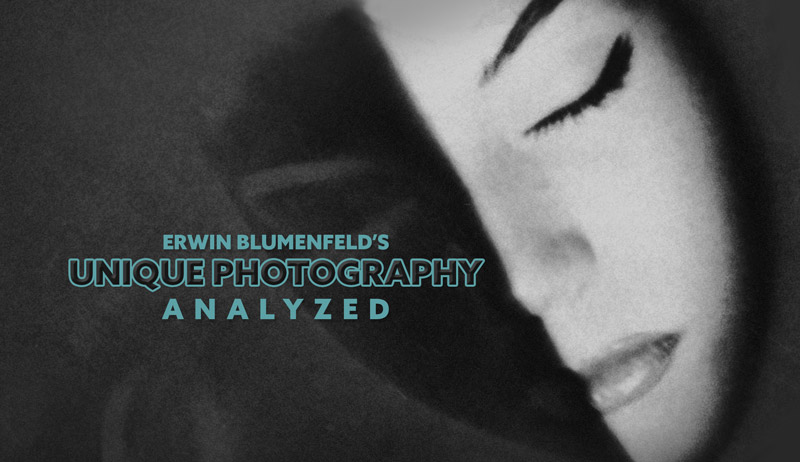
Erwin Blumenfeld’s Unique Photography-ANALYZED
#610
Hey everyone, thanks for joining in! I appreciate all the continued support!
Today we are going to dig deep into the photos of Erwin Blumenfeld. He’s one of those photographers that once you see his work, you become immediately inspired. What techniques did he use to create his unique artistic style? Let’s find out now!
Erwin Blumenfeld Who was
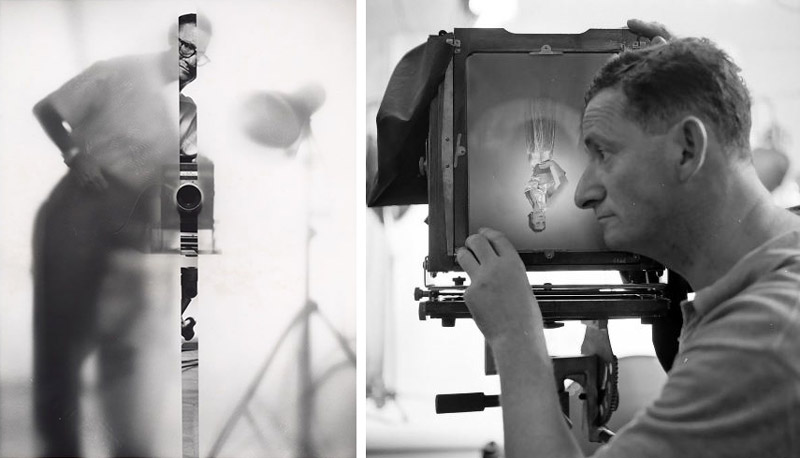
Erwin Blumenfeld (1897-1969) was one of the most unique American photographers in his time. Even to this day, his creativity surpasses many photographers. He was born in Berlin, then emigrated to the US. His success wasn’t immediate, and he actually started out working in a Women’s clothing store. This is where he met some artists in the avante-garde scene. He liked to draw, make collages, and write poetry, but nothing was as consistently amazing as his photography. We can see in the image below that he liked to use his large format camera.
After lots of photos and developing his artistic style (see Day 122), he began to gain some traction. He ended up free-lancing for big magazine companies like Life, Vogue, and Harper’s Bazaar. As we’ll see in his photos further below, he was a master experimenter in the dark room. If he had Photoshop back in those days, just think of what he could come up with!
Artistic Techniques Digging Deeper
Layering
Erwin uses many different techniques to express his unique artistic style, but let’s start with layering. He tends to use materials like sheer fabric, silk, netting, glass, and mirrors to put in-between the camera and the subject. This creates more focal planes, or layers, within the photo.
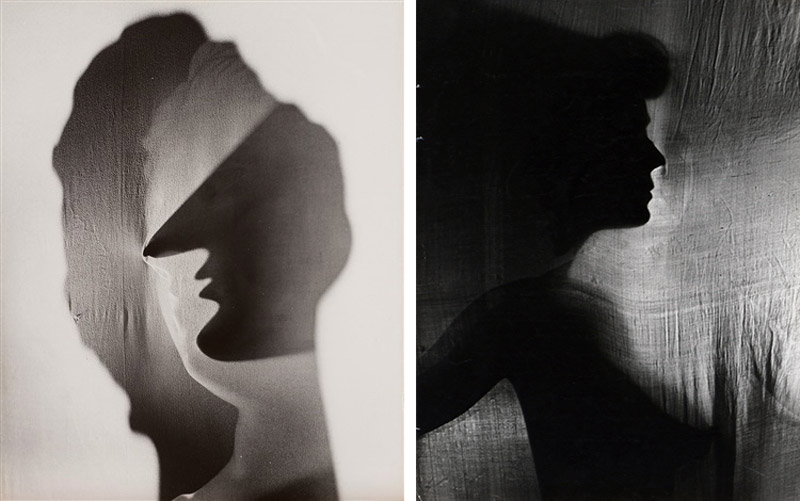
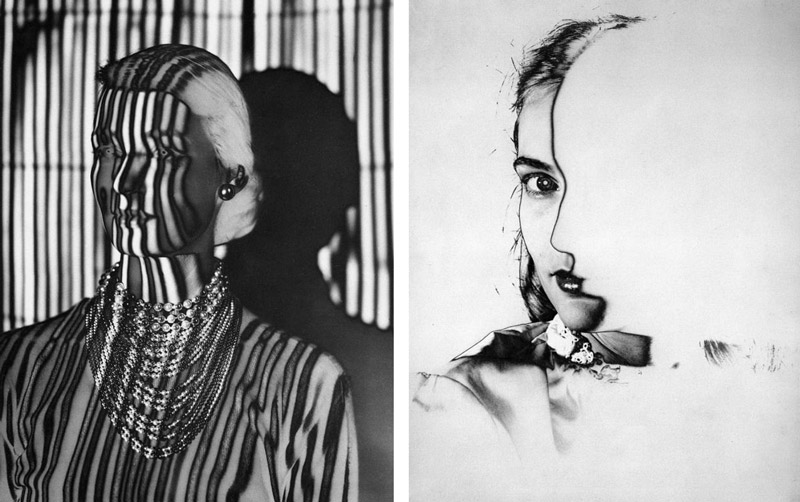
These first few examples could fall under the creative lighting section further below, but the fabric catching the shadow is definitely a huge part of the final image. Erwin is able to create such mystery with simple tools; a figure, lighting, fabric, and a camera.
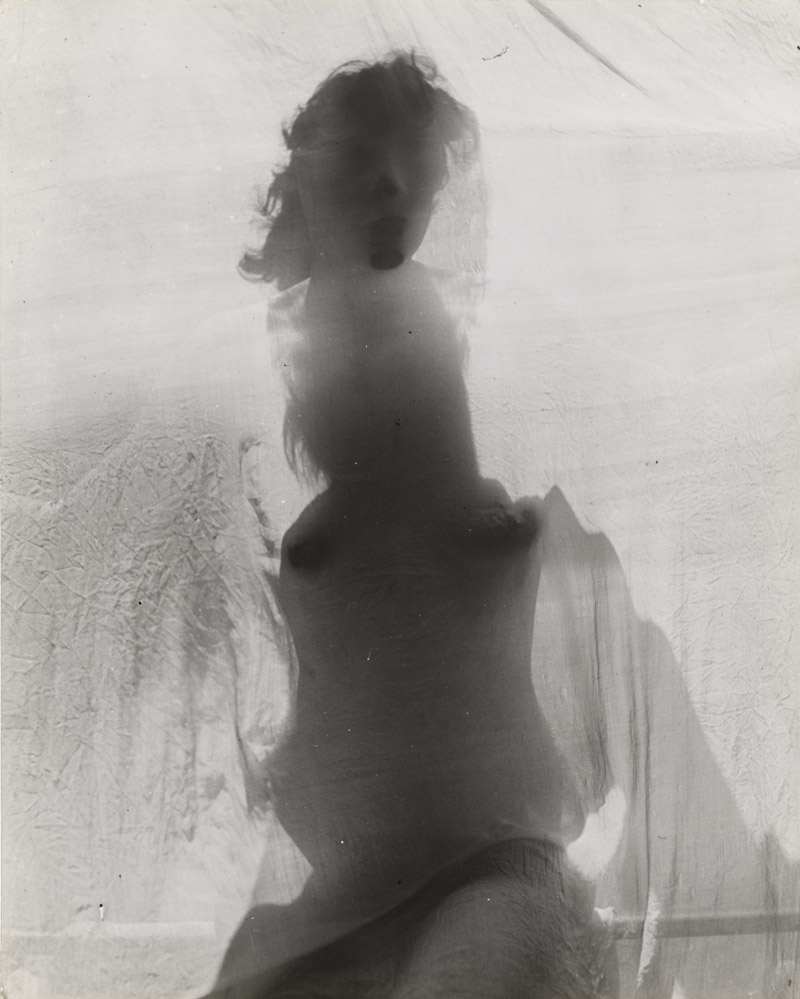
This one is really cool! Look at the way he has the shapes of the shadow coincide (see Day 48) with the shapes of the figure.
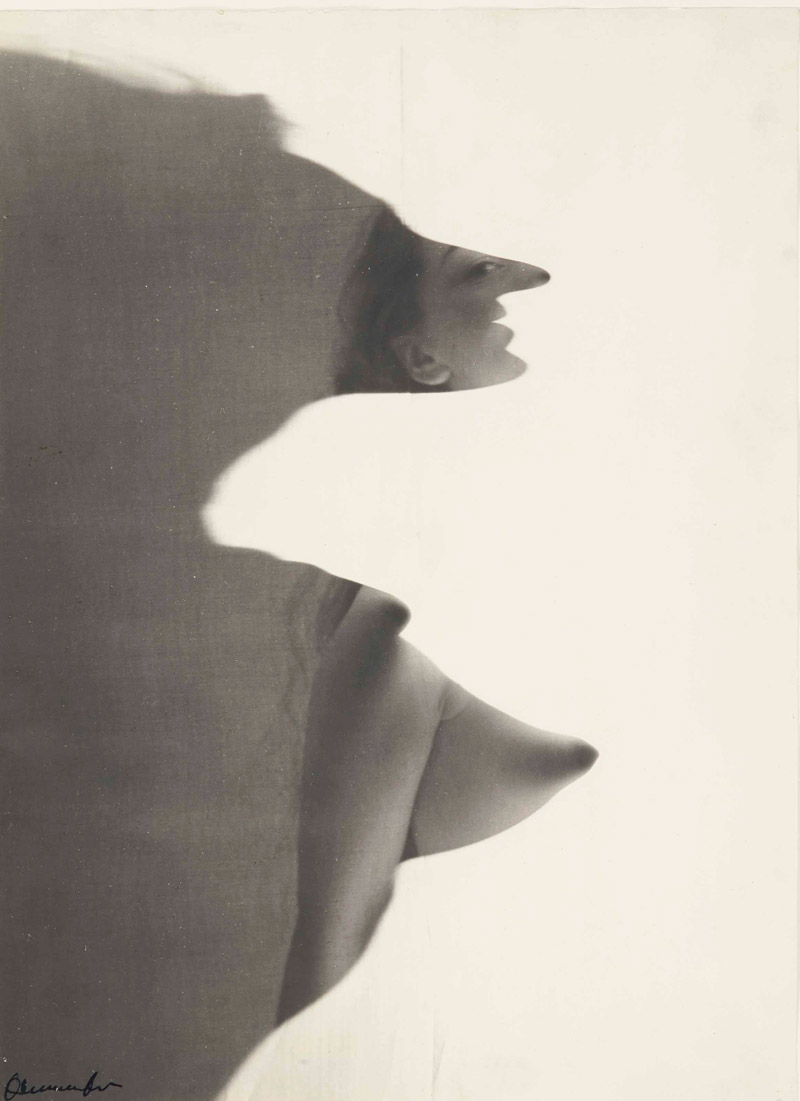
Here’s more photos using the same fabric and lighting technique.
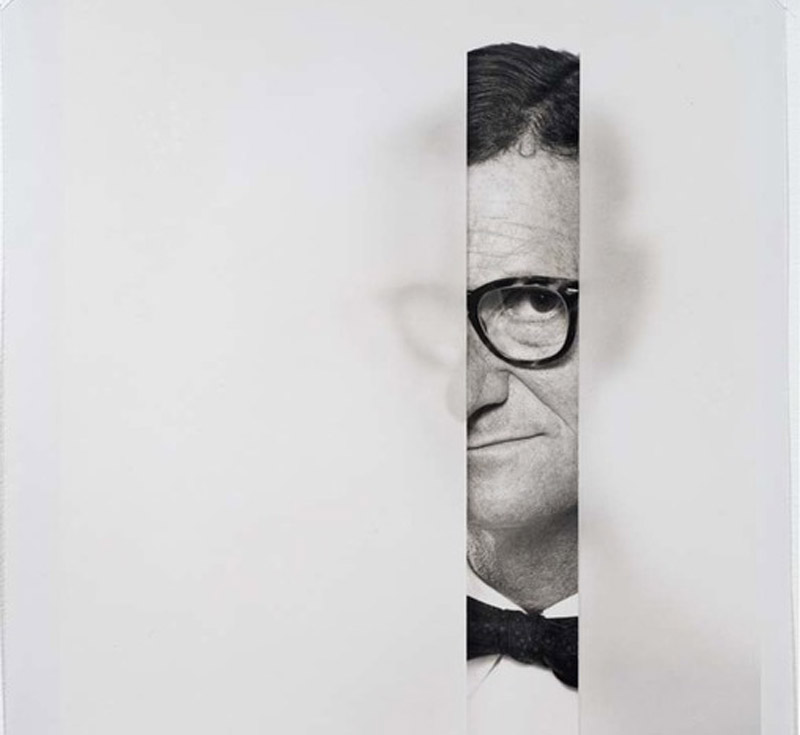
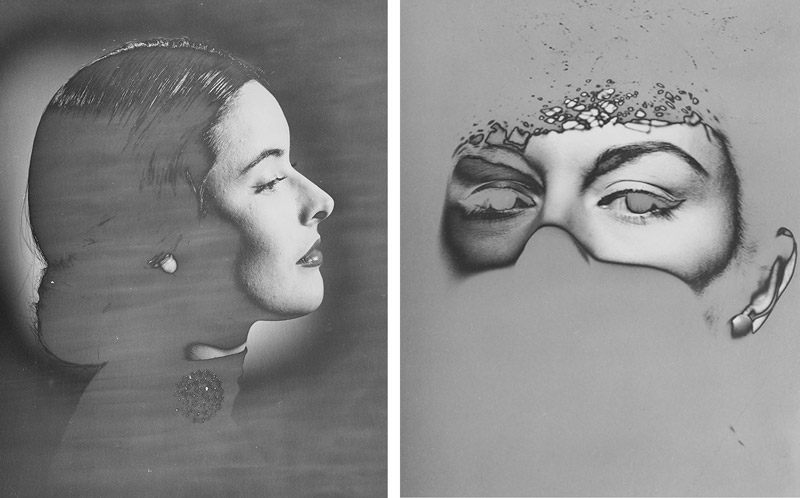
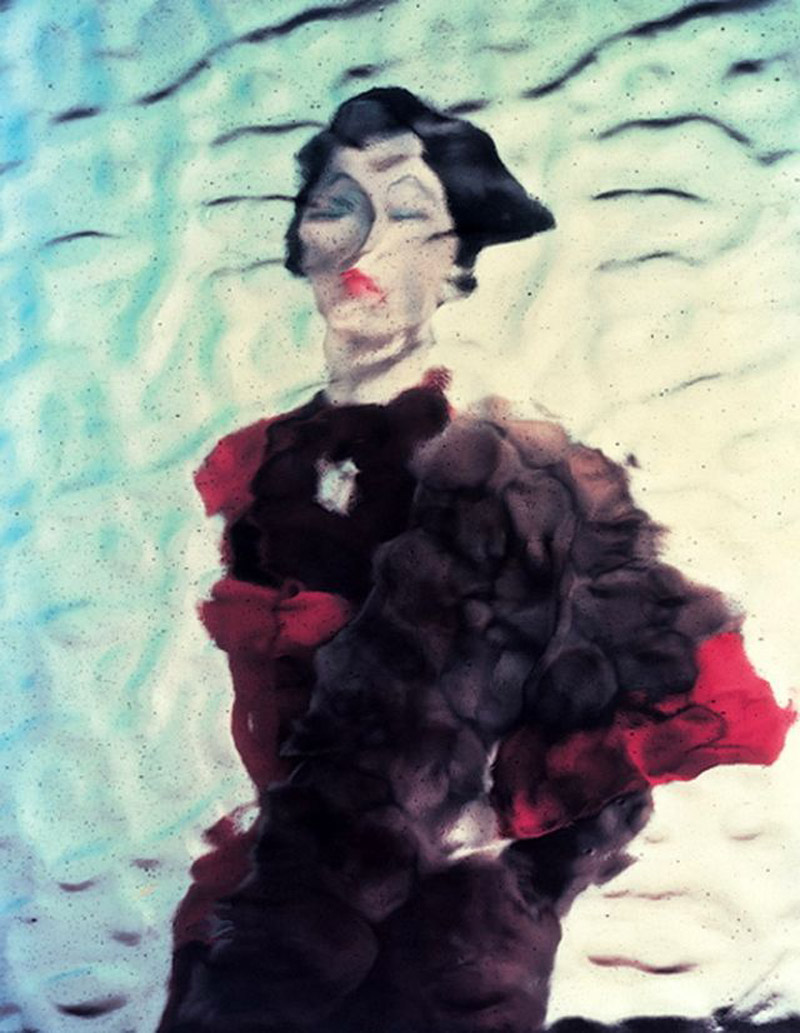
Erwin liked to use foggy glass to help create his layering effects. In this portrait of the artist we can see how the right and left sides of his face blur out and fall into shadow.
Let’s see other ways he applies this same idea…
In this one, he might be rubbing something on the glass…it almost looks like a really old surface reflecting the image of the model. Hard to tell how he did this, but I’ve read that he manipulates glass to get these effects.
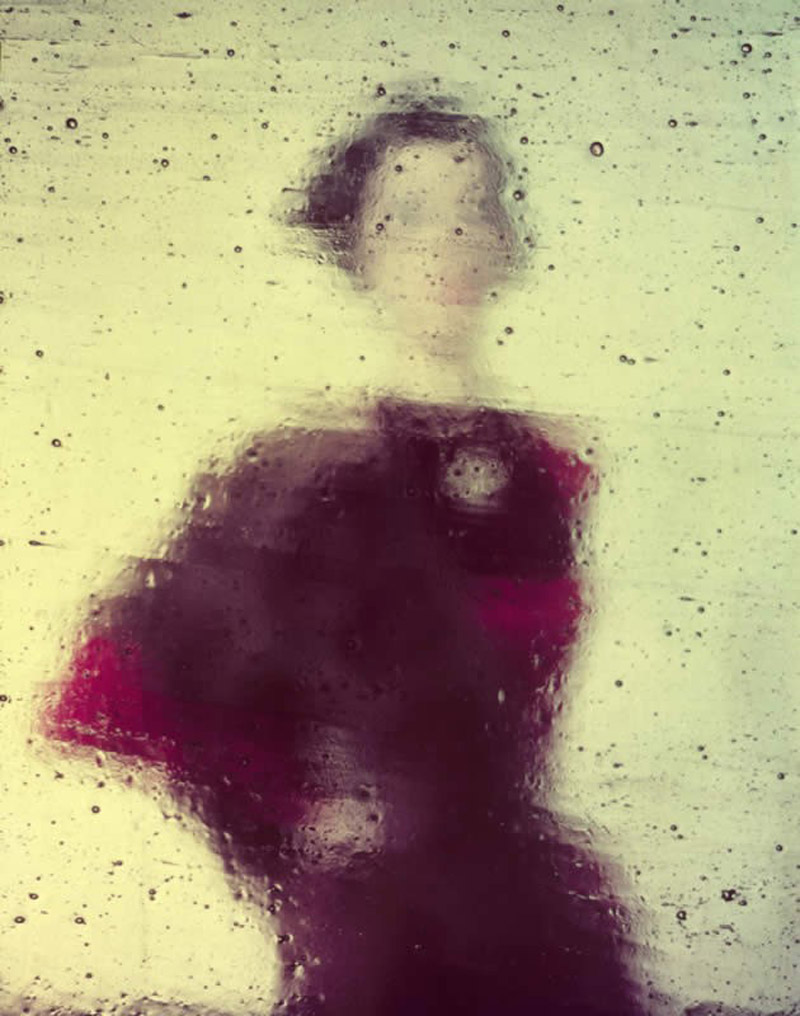
This one is really simple and interesting…almost like a tilt-shift photo. Erwin has the model’s face closer to the glass to be in focus, while the rest of her body falls into a buttery haze. Thanks to the Law of Pragnanz (see Day 55), some of us might see her fingers creating a pointed goatee under the chin.
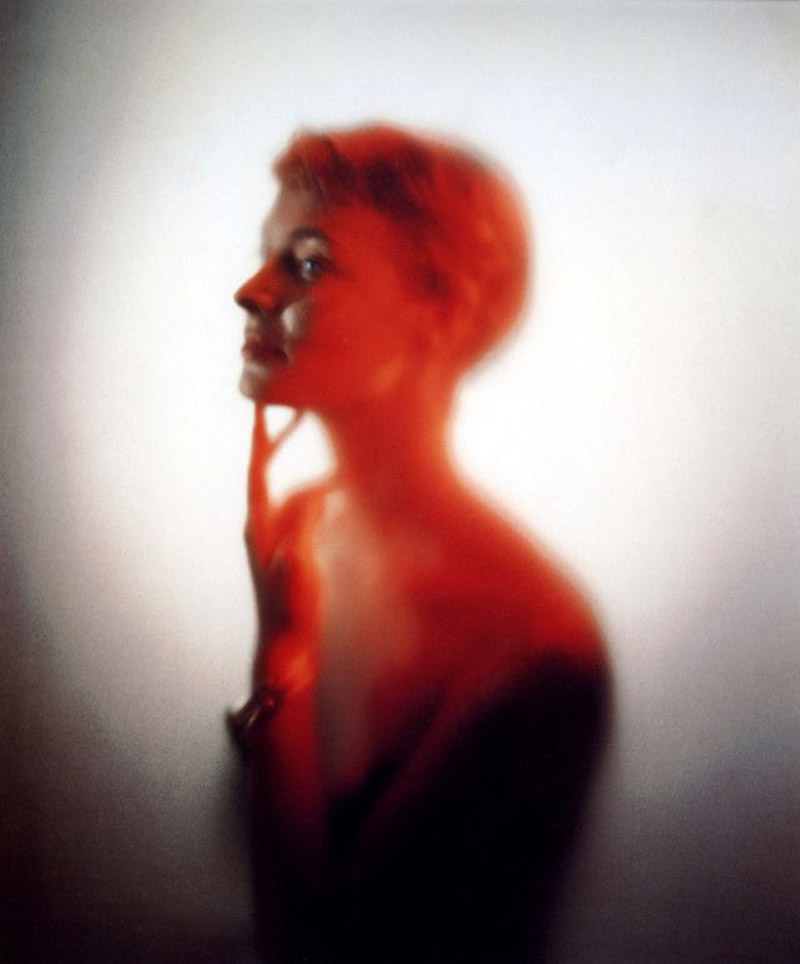
This one uses a similar layer of foggy glass, but he’s incorporating the shadow of her face now.
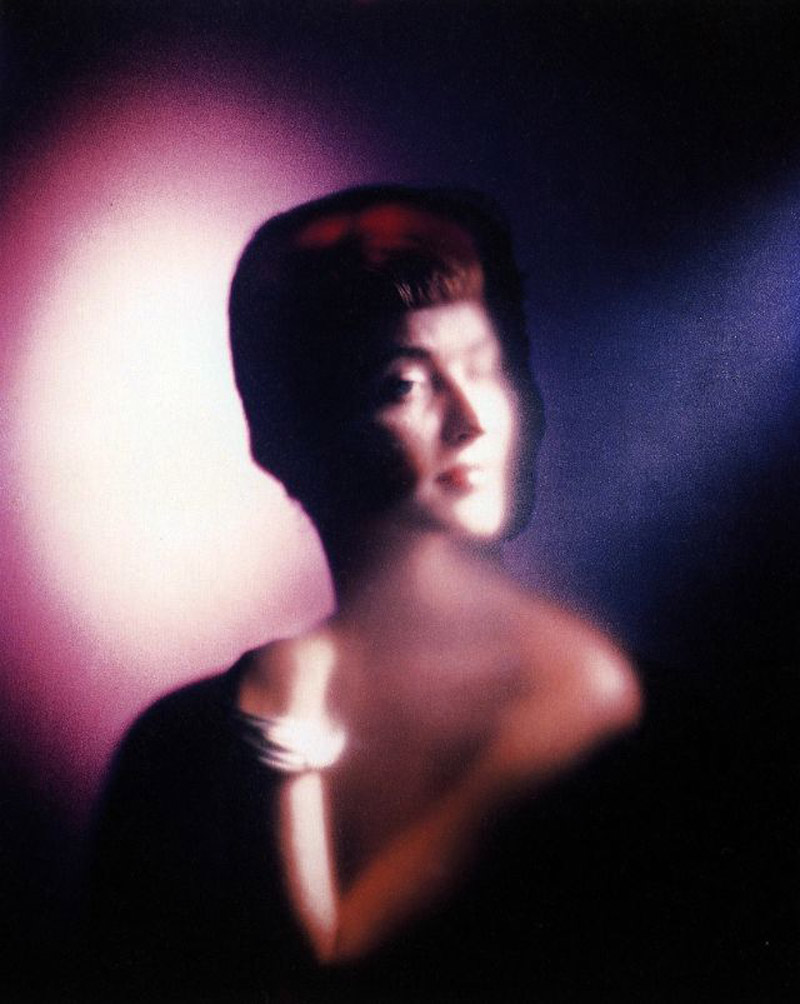
In this subtly crazy photo, he could be shooting into several layers of a mirror to get multiple reflections. The face is almost like a Picasso painting, lots of distortions, but none extreme enough to steal the beauty from her face.
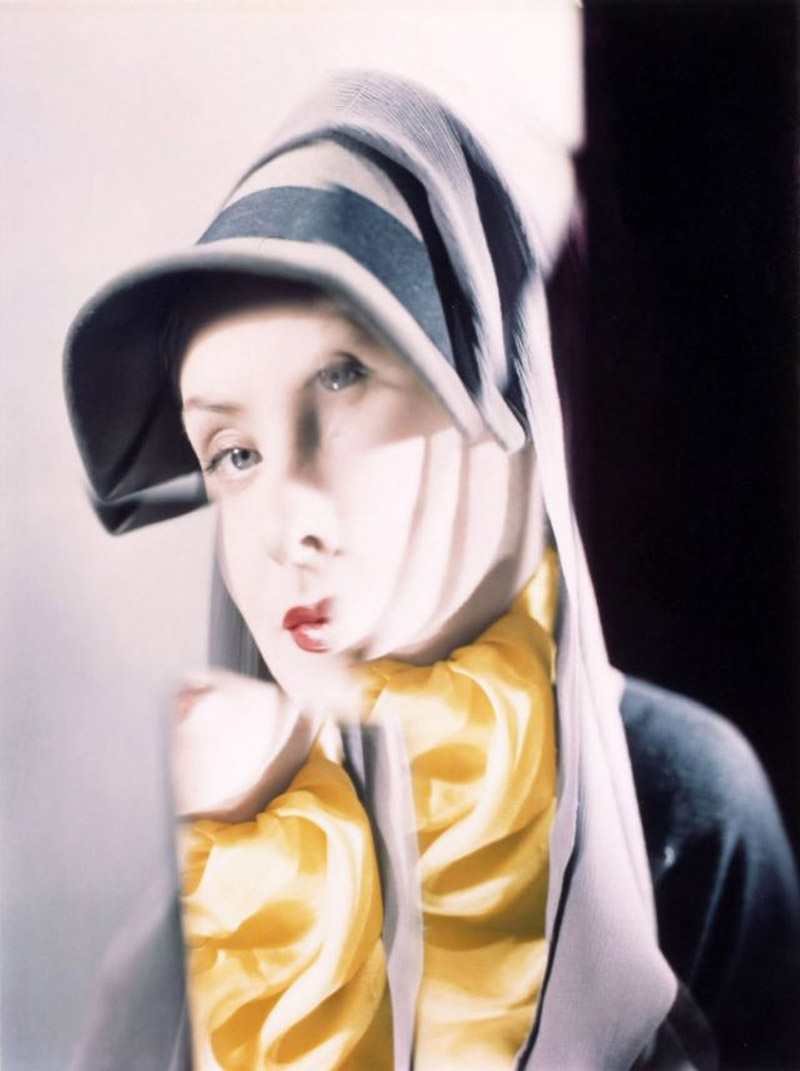
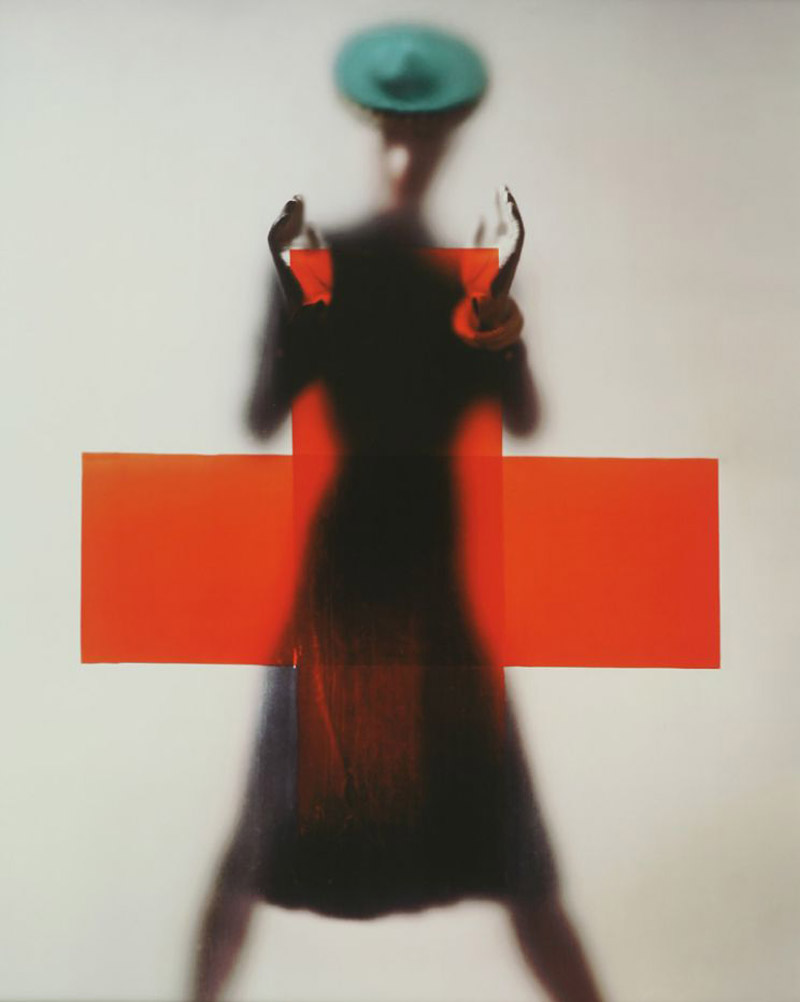
This has the same foggy sheet of glass, where her hands are closer to the camera. The Red Cross may have been edited in later. If the red were on the glass we might be seeing more reflected red colors on her white gloves.
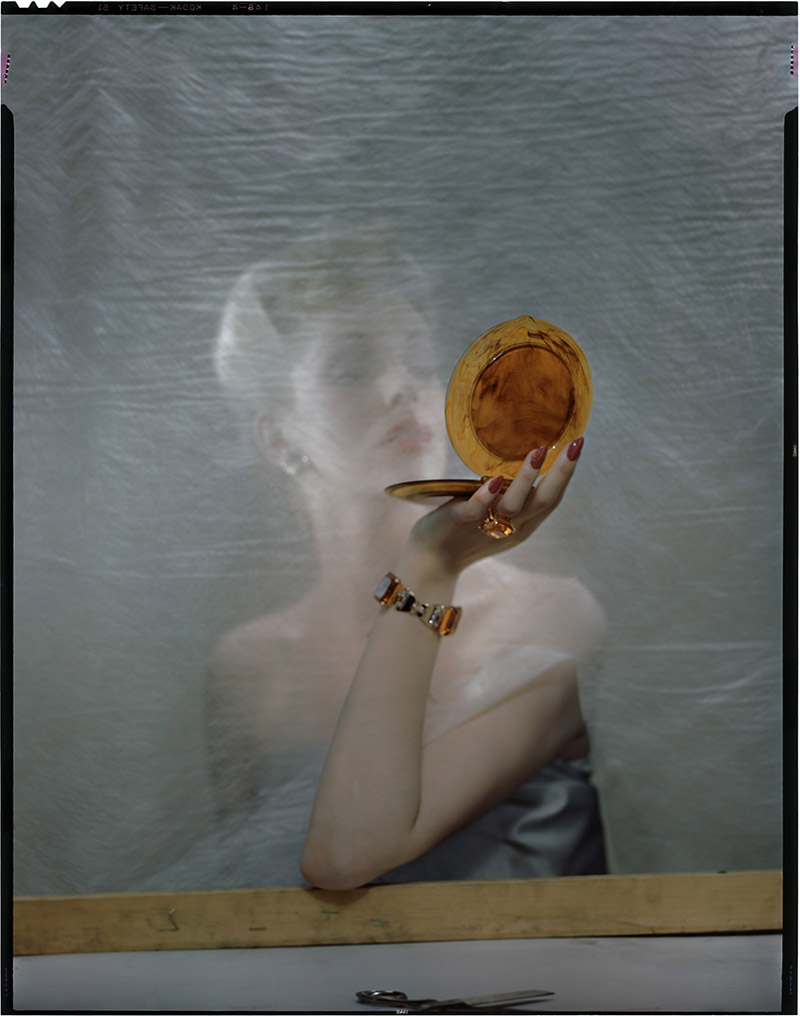
Gotta love this one! Such a simple concept, but extremely unique with great results. He’s even got a pair of scissors near the bottom of the frame. These would be a bigger part of the story if they were moved up a bit more. We can also see the black frame around the image, allowing us to assume that it wasn’t cropped at all.
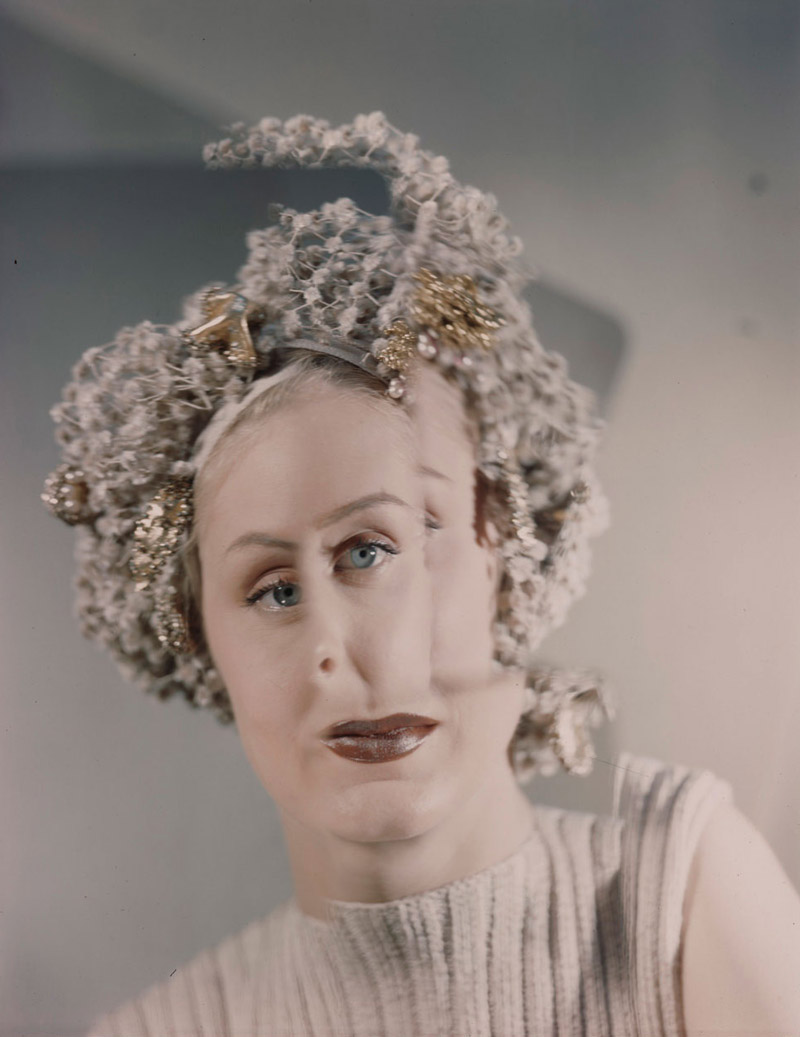
This is another great portrait using the layers. I’m stumped on how he pulls this off, so if you know, please share in the comments below. I’m thinking multiple mirrors of some kind…as we see in the next photo.
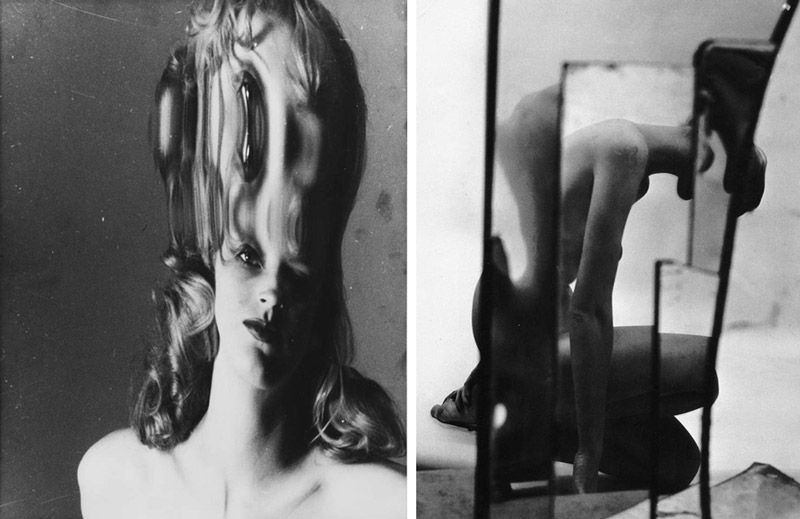
On the right, we can see multiple mirrors being photographed to capture the woman in the reflection. Perhaps this is what he used for some of the images above? Cool idea!
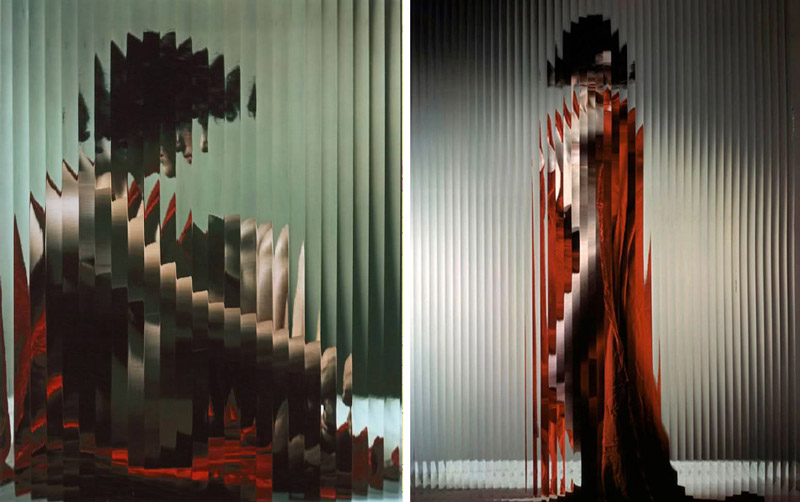
The image on the left is interesting too. Perhaps he poured a liquid with viscosity down a sheet of glass and captured the distortions. Maybe honey or something?
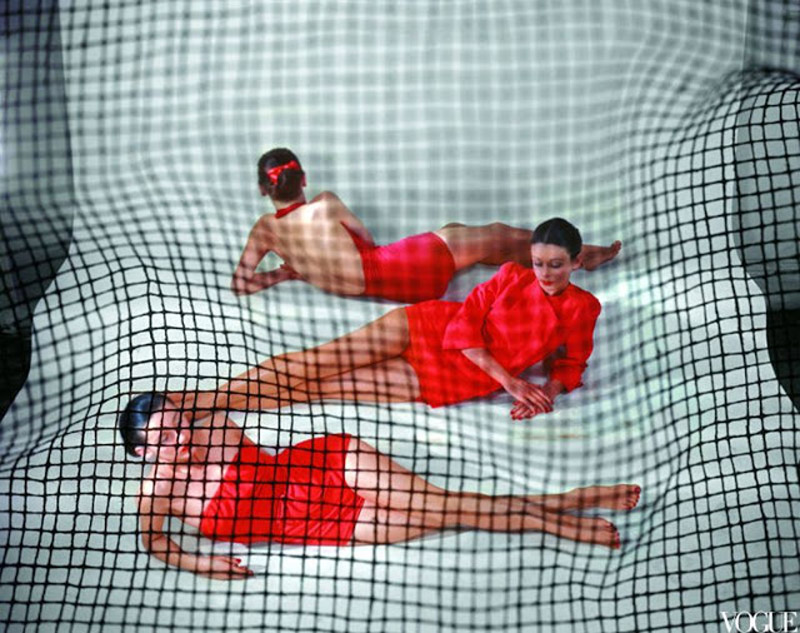
This screen or netting creates a nice layering effect. Hmmm, how the heck did he do this one? The netting gets softer in the middle, telling us that it’s on a different focal plane. The women are in focus and so is the outer edge of the netting, telling us that they are on the same focal plane. How could that be though? The world may never know! Maybe he did have Photoshop back in the 1930’s and never told anyone.
These images were definitely created by the planes of the glass. More simple to achieve, but still creating unique images.
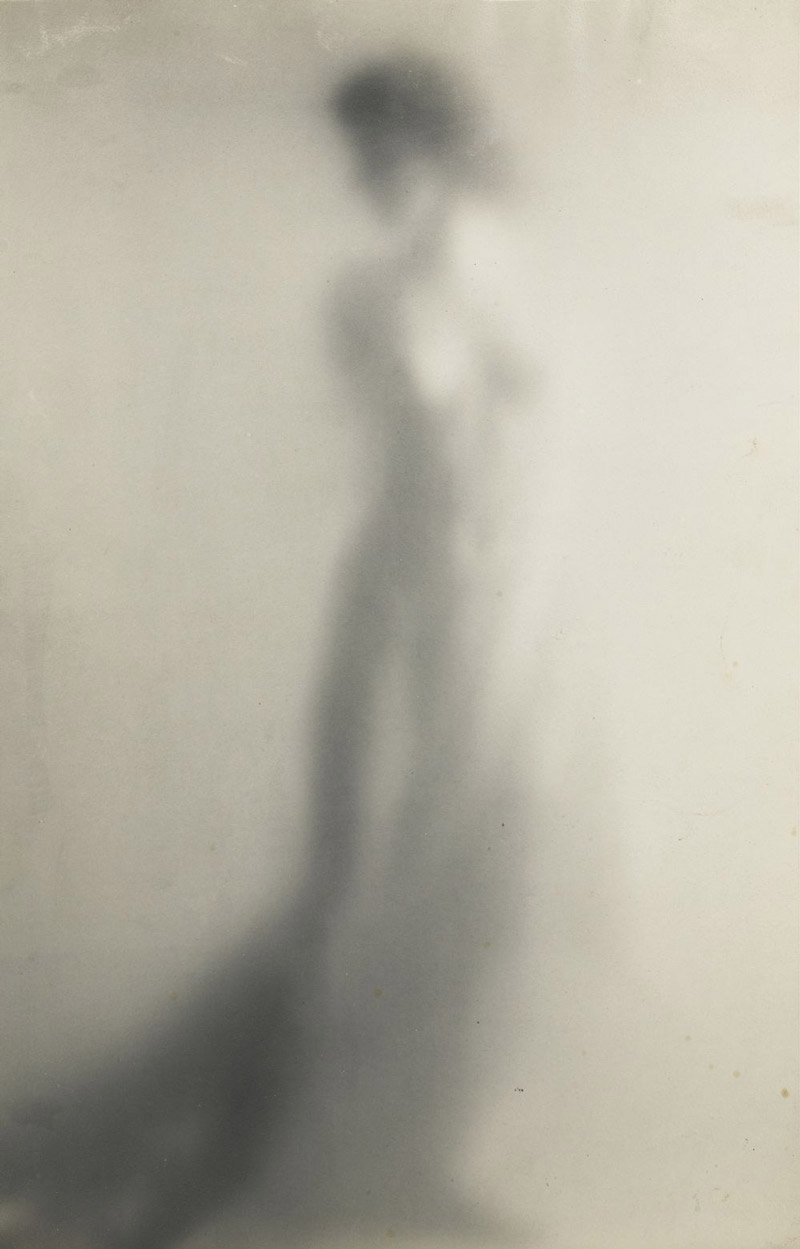
Here we can see the ghostly figure through the foggy glass. She’s standing far enough from the glass as to not create any areas of focus.
Solarization Effects
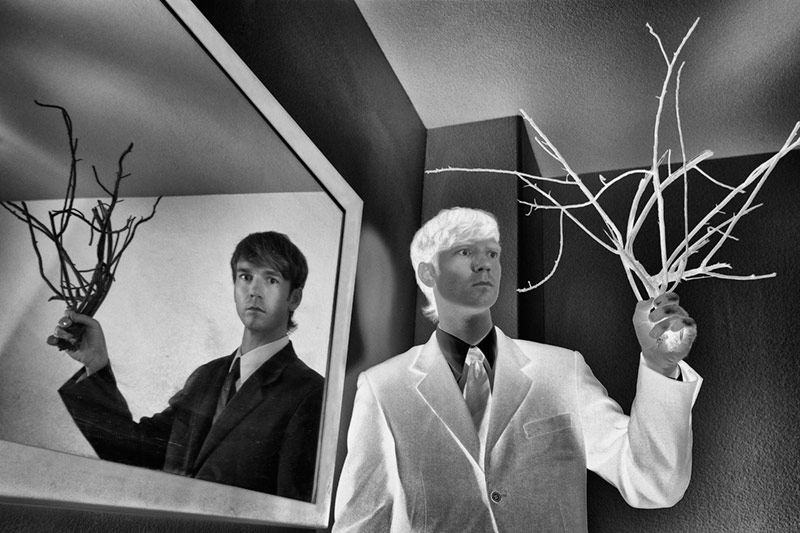
Another technique you’ll notice in Erwin’s photos is the solarization effect. He uses this quite often, and I’ve even used it myself in a couple of images. This self-portrait from 2011 shows how I used Photoshop to inverse the image and create the solarization effect. I edited out the solarized face on the right so it would look normal.
We can see Erwin’s special effect in the bottom of this next image. He’s applying his darkroom wizardry in a lot of these images. He’s also using a sinister diagonal, which fits the mysterious mood he’s creating.
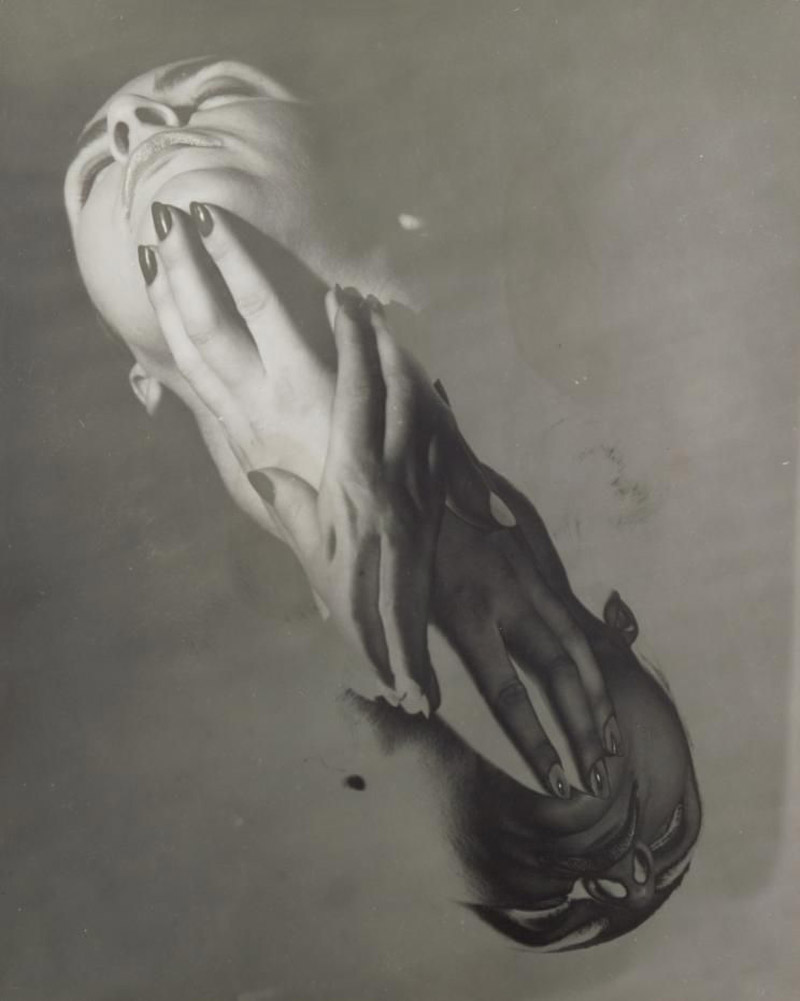
Erwin uses interesting techniques, but he also pays attention to composition and design techniques like figure-ground relationship (FGR)(see Day 21), edge flicker (see Day 49), and the greatest area of contrast (GAC)(see Day 27). It’s easy to achieve these techniques when you pay attention to your lighting, and use a blank background (see #466).
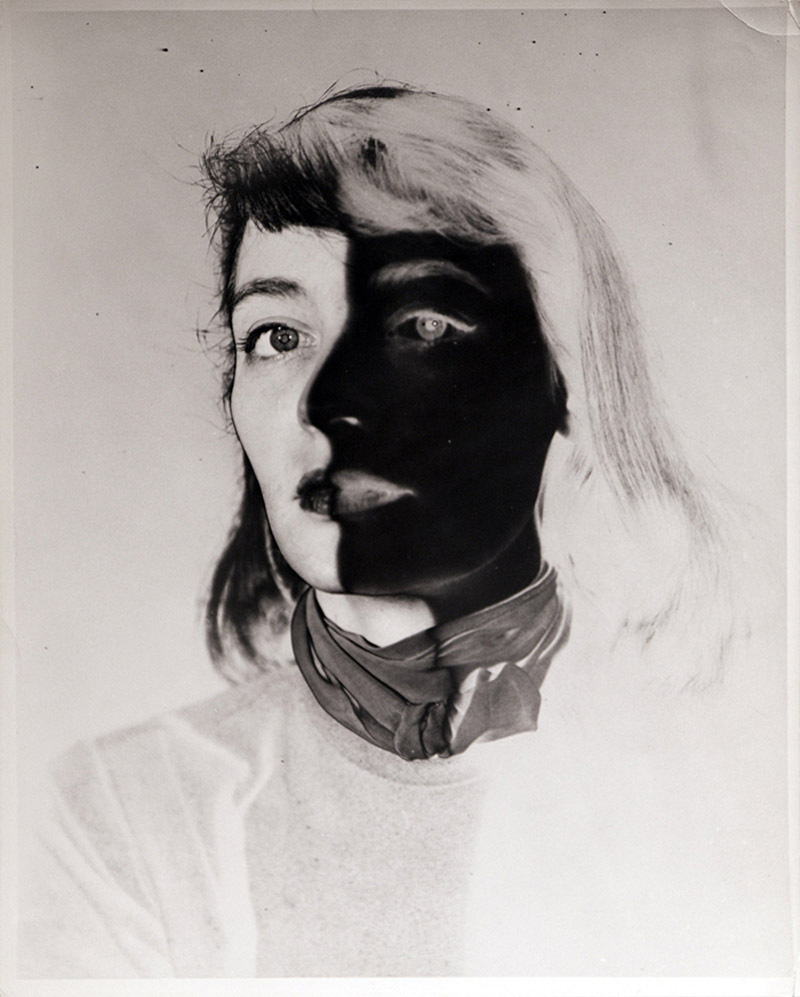
This image on the left reminds me of a Stephen Bauman drawing.
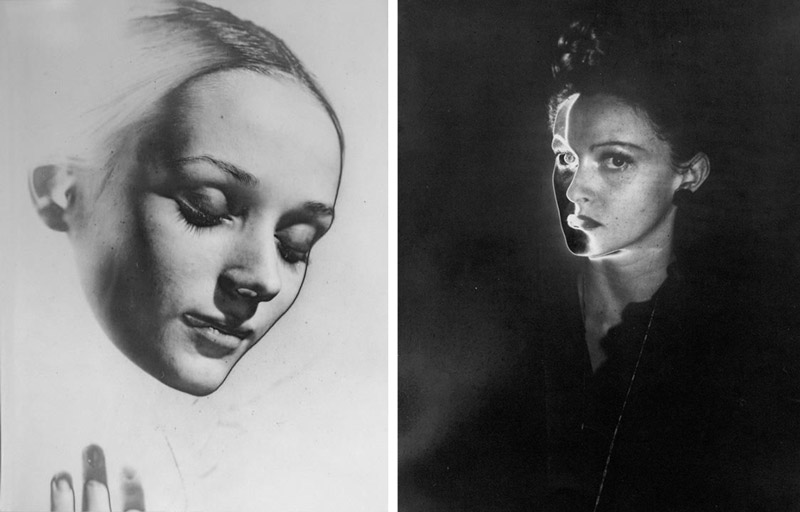
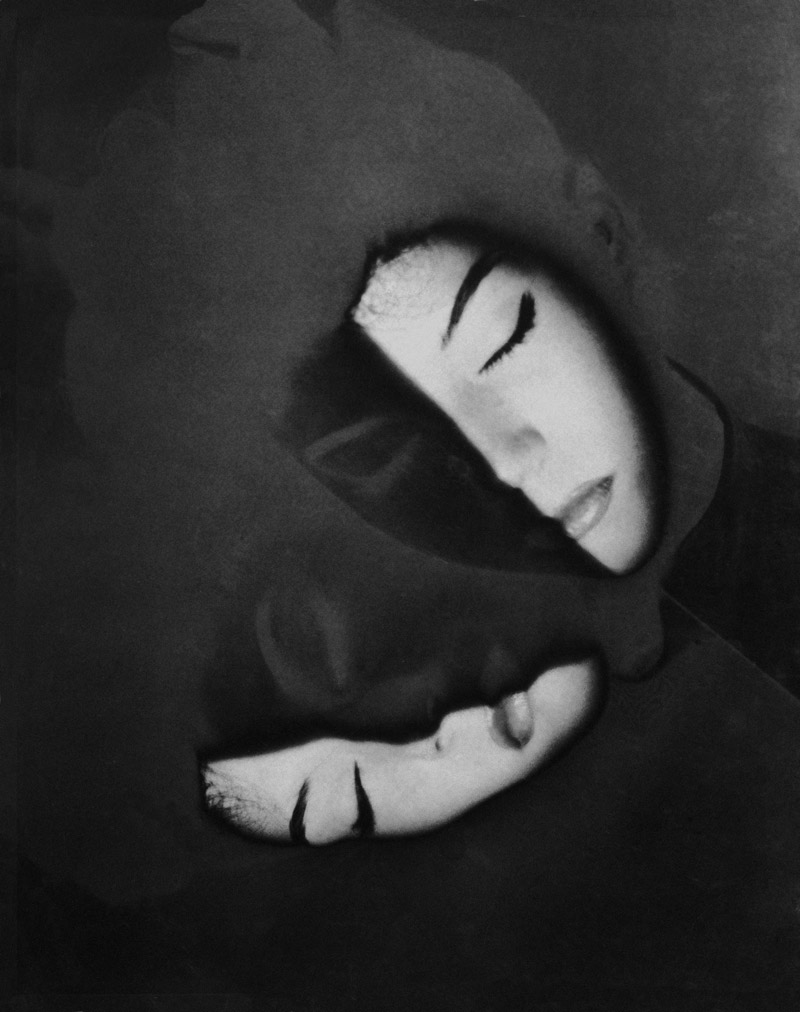
The image on the right side is really unique. It’s still mind-blowing to know that he did all of this without a computer!
Creative Lighting
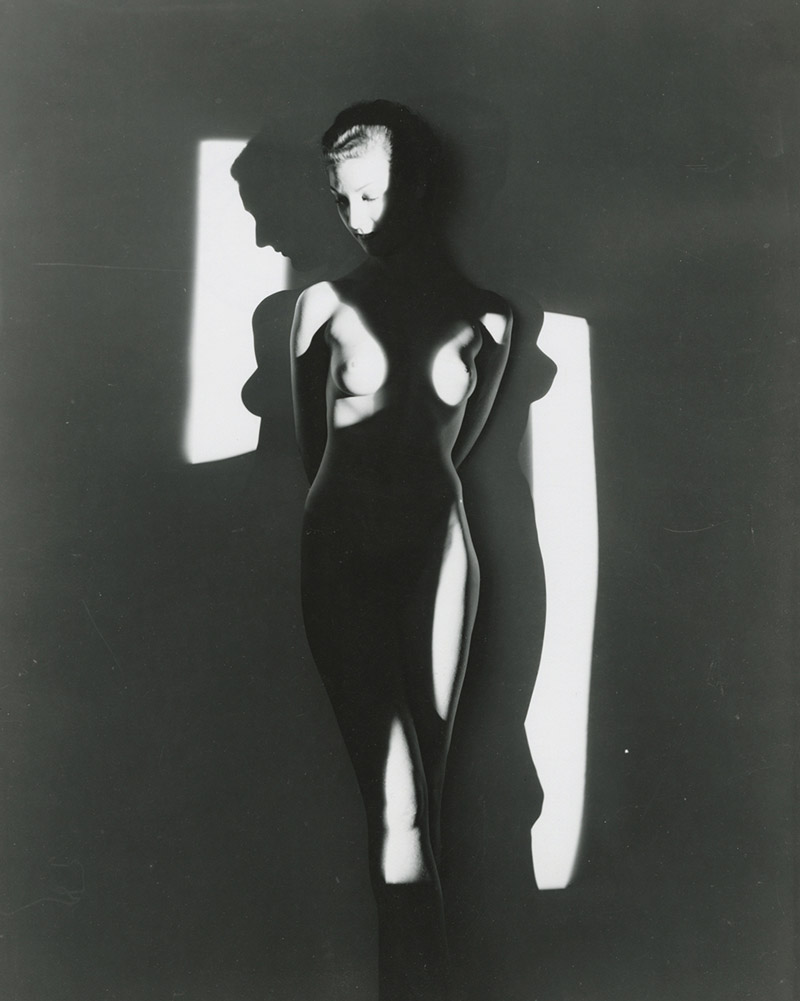
We’ve seen that Erwin knows his lighting well, so let’s see some of his other creative applications of it. If you squint your eyes to simplify the values, you’ll see how he’s spliced the model up into many different shapes. He’s also created some nice arabesques (see Day 19) on the right side of her body, and captured the silhouette of each breast.
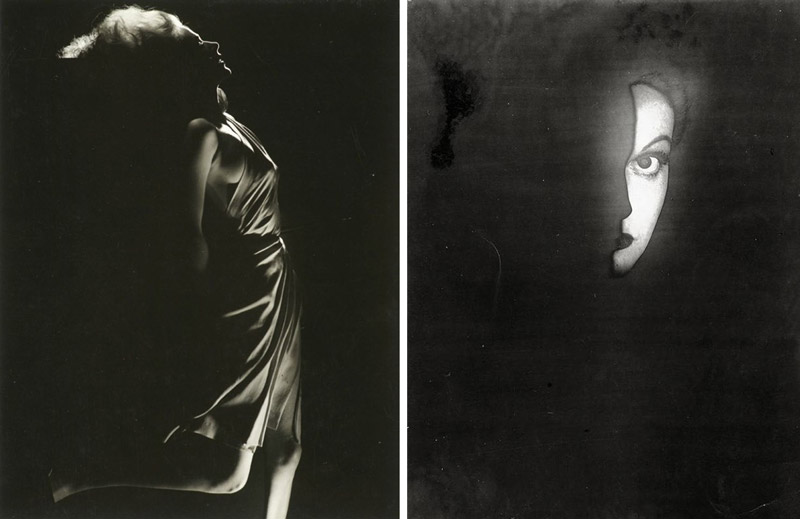
Nice rim lighting on the left side, and the one on the right reminds me of Nosferatu (see #401). They used a lot of hard light back in those days. I don’t think they had the 72 inch umbrella octagon softboxes we have today.
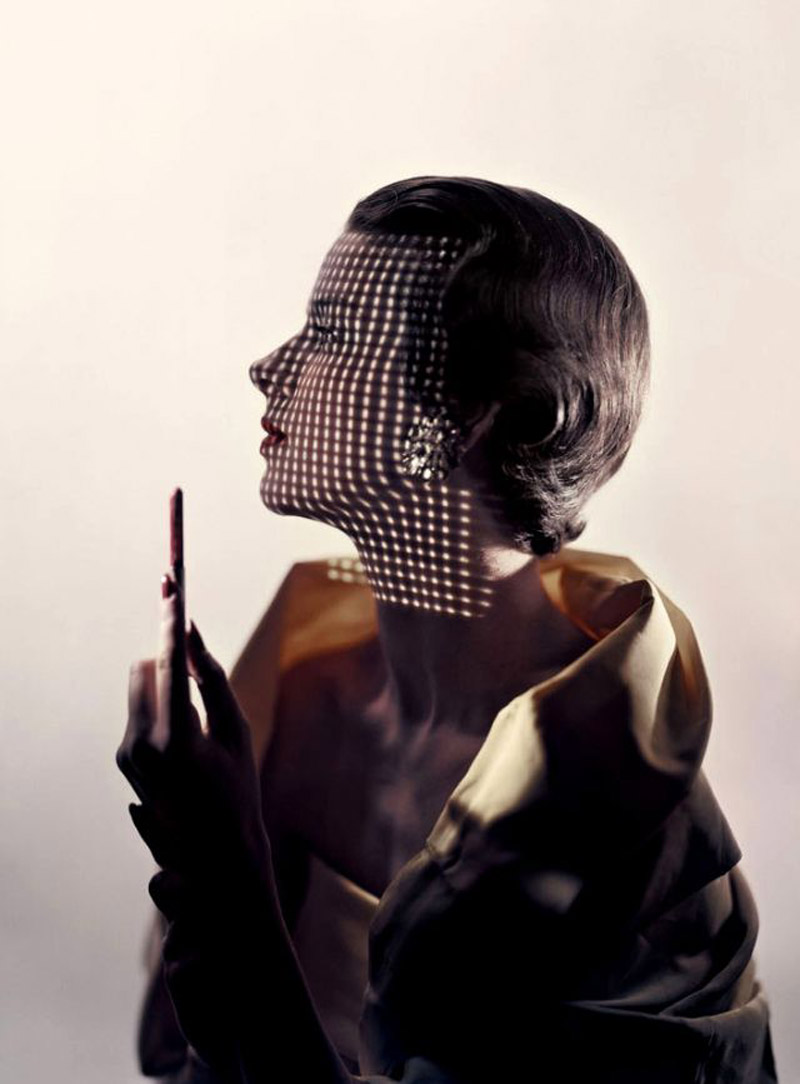
Here we see him shooting light through a surface with holes in it…almost like she’s wearing a digital veil.
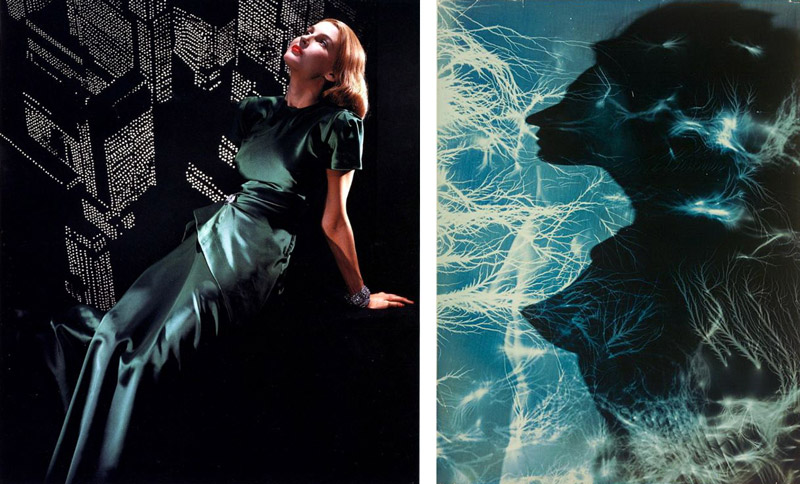
These next two play with light and background to create something unique.
Simple & Quirky
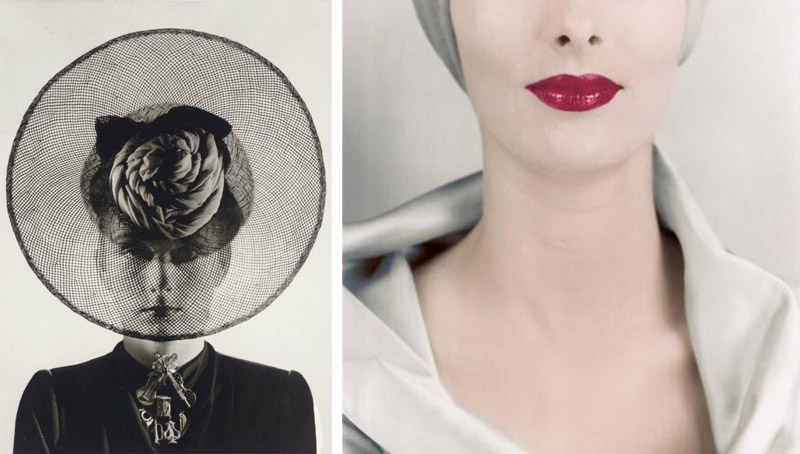
When Erwin isn’t playing with light or darkroom techniques, he’s creating these simple and quirky images. The image on the left is cropped so tightly to the hat that she looks stuck. That’s visual tension (see Day 59) being communicated in the image.
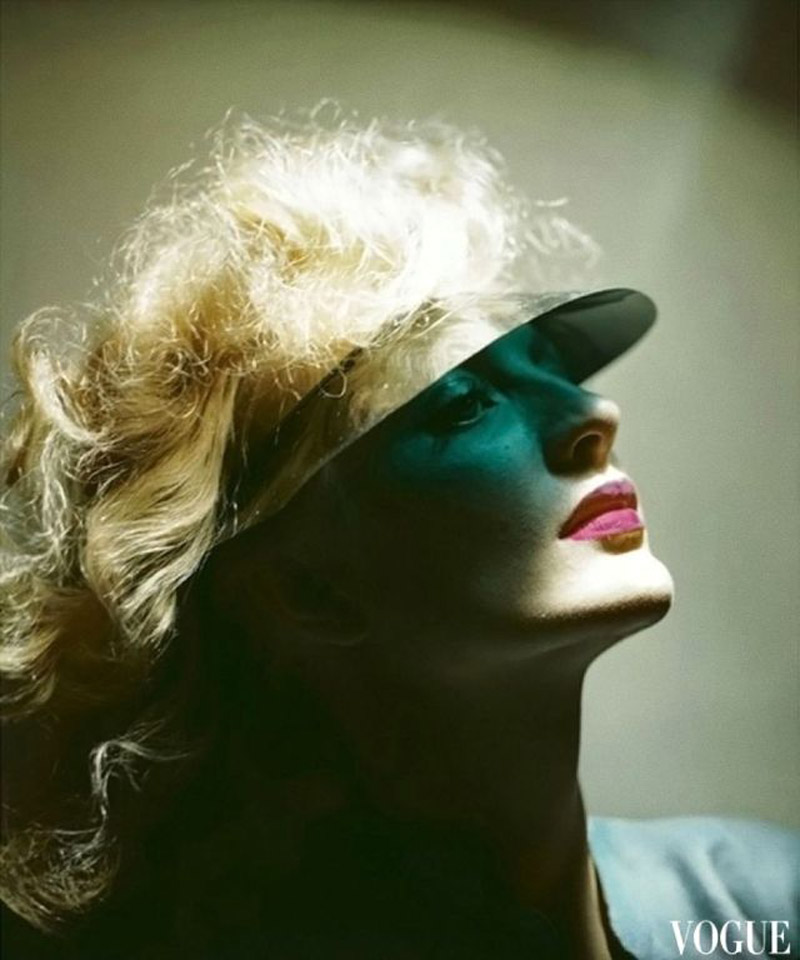
In this photo, Erwin has the light shining downward through the green visor, and reflecting next to her red lips.
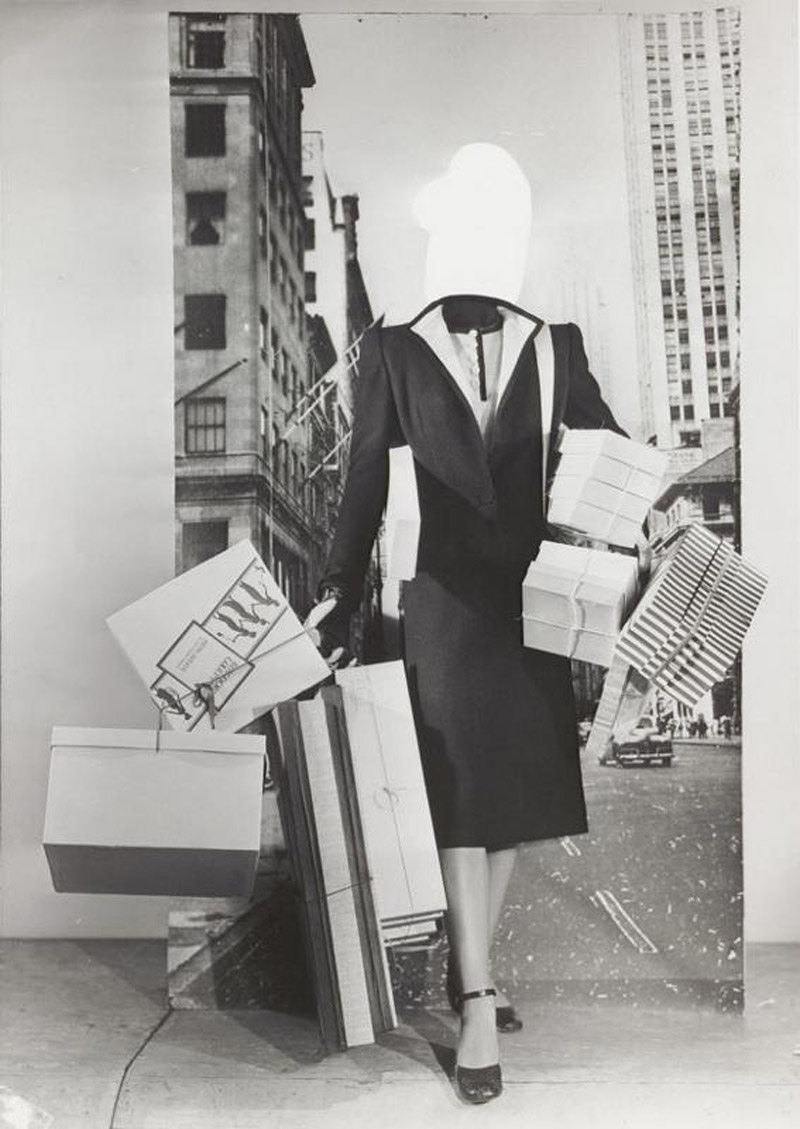
Is this a person or a mannequin in front of a large photo? Hard to tell with the head missing, but it’s definitely interesting.
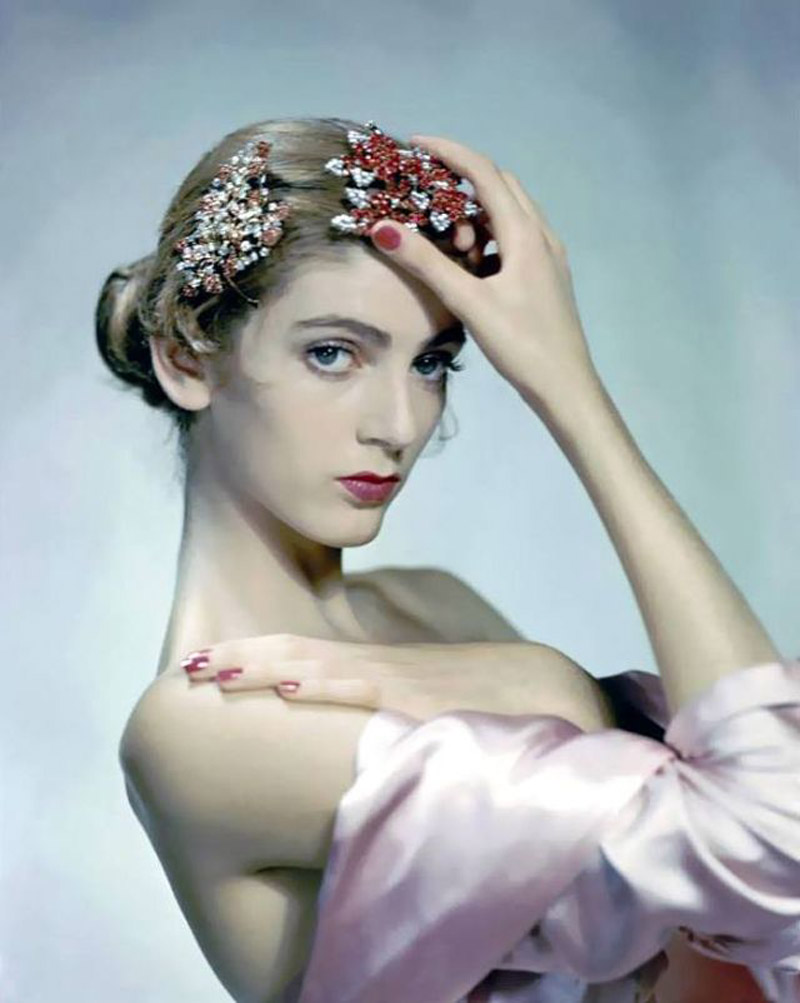
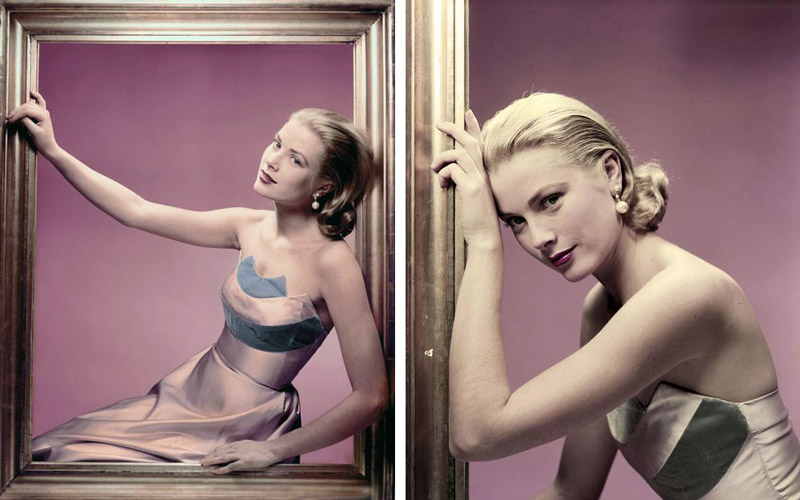
The colors in this are very soft, which help accentuate her beauty. He also has her hands posing in side view to keep them as small as possible; elegantly. Her arms and neck also create a triangular enclosure (see Day 32).
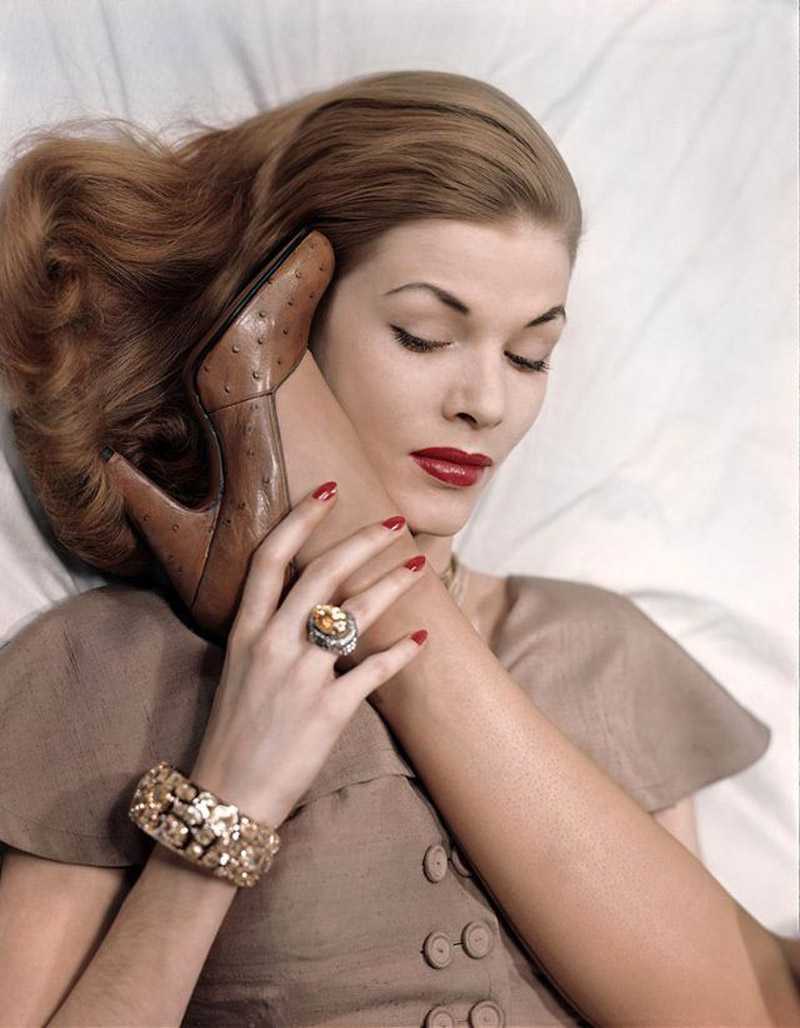
Talk about quirky! Or is she just really flexible?
This one is pretty funny too! It tells the story of a busy woman.
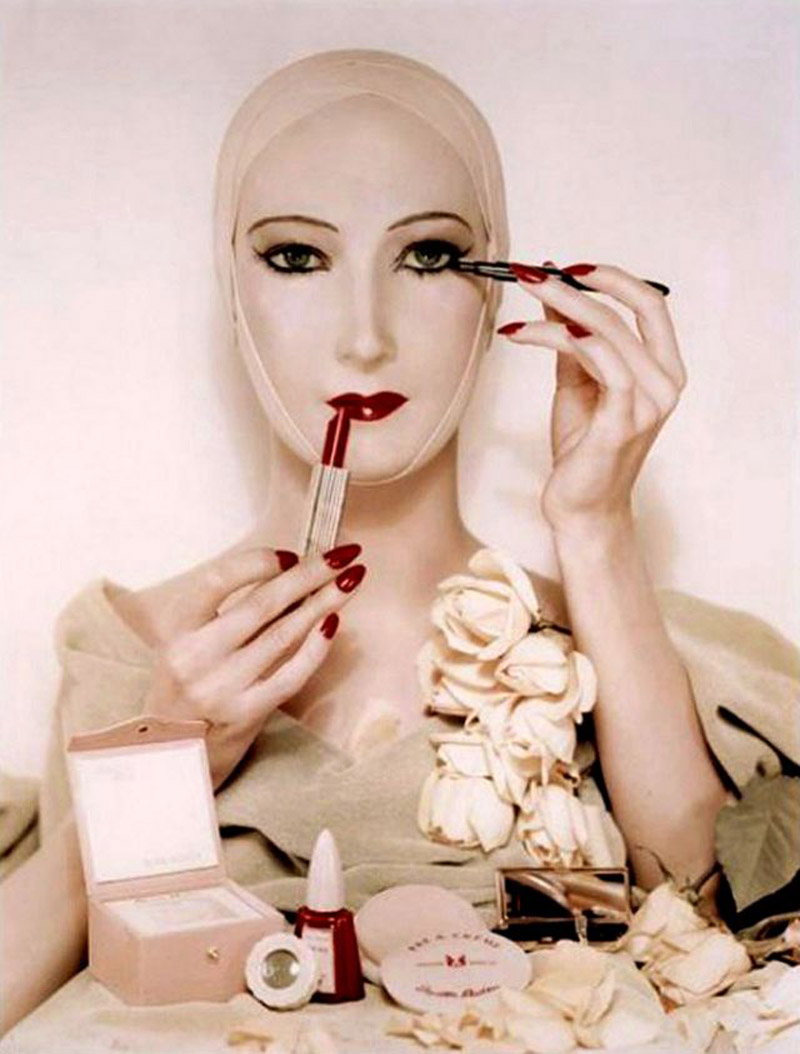
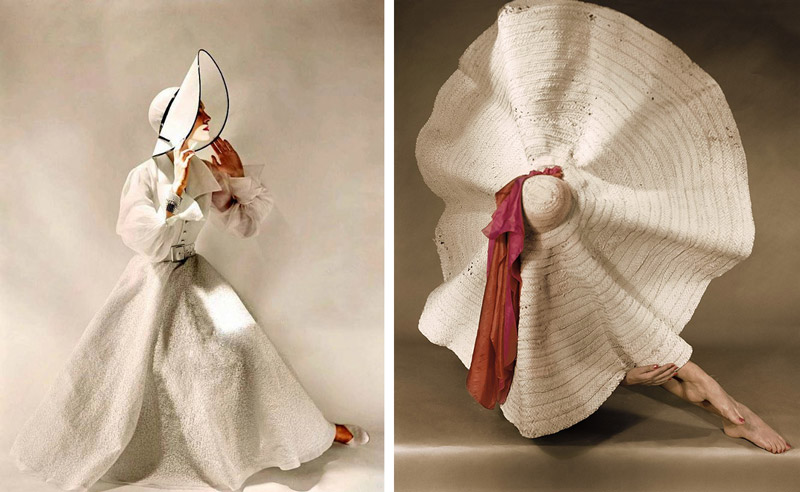
Simple enough, but really unique!
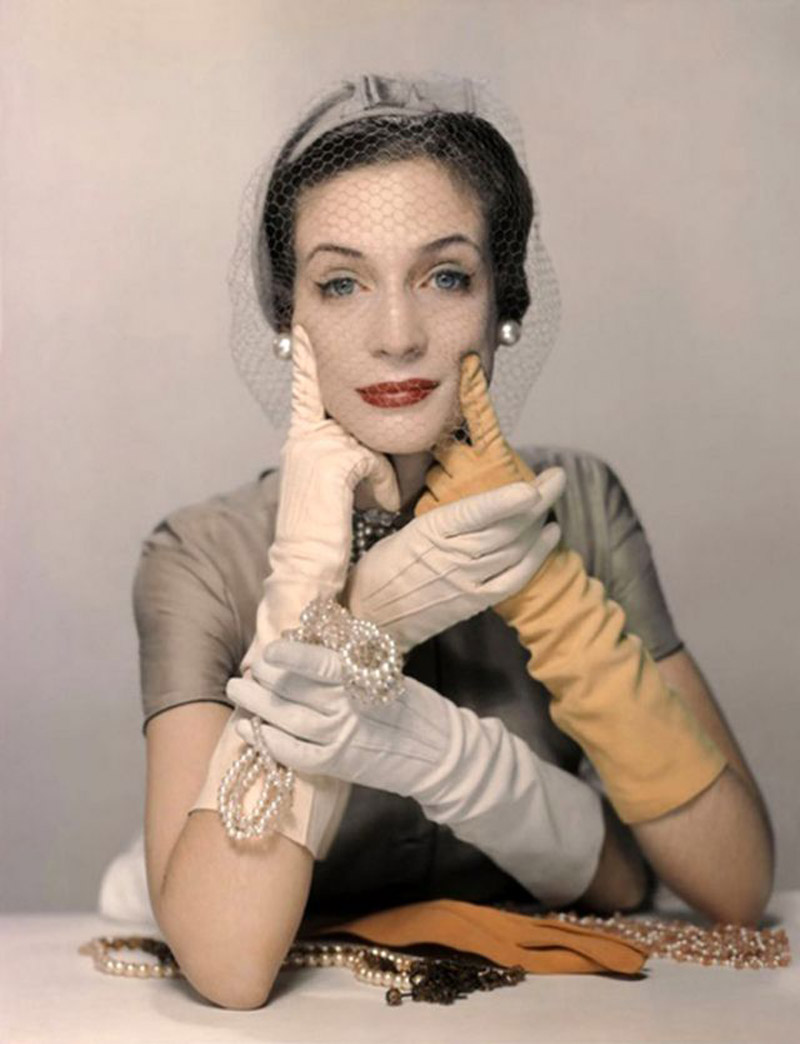
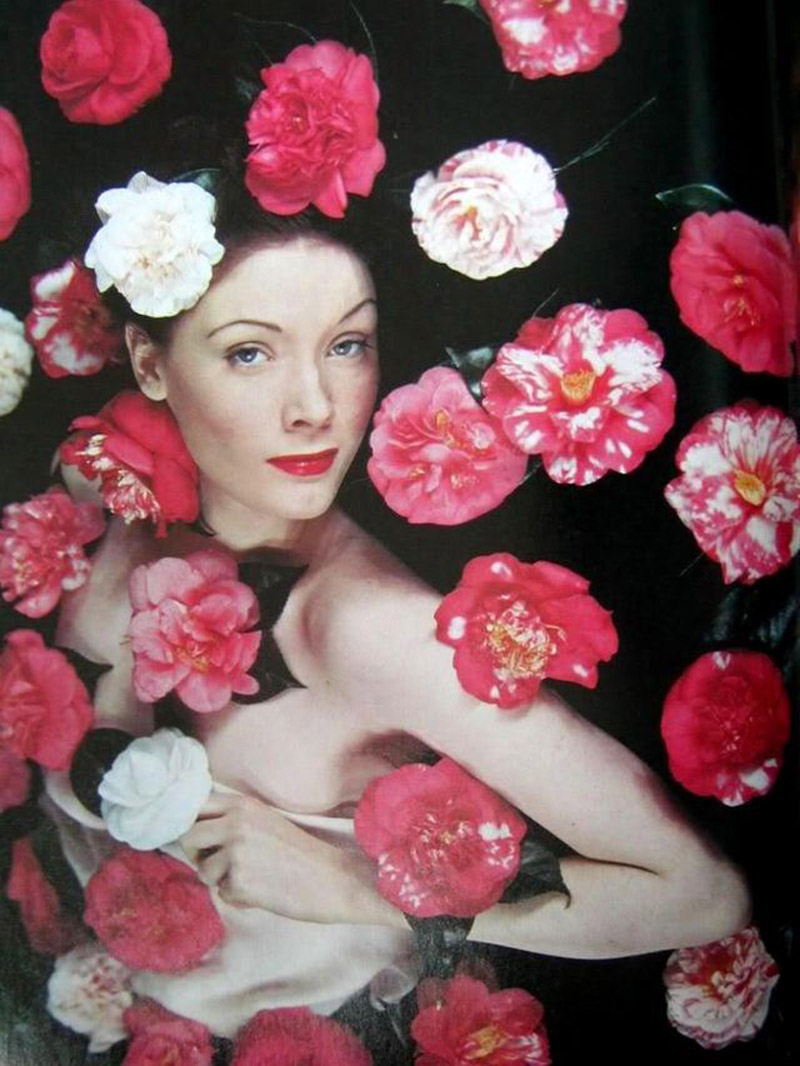
We’ve got a very simple setup here, but her lean to create a sinister diagonal with the triangular enclosure of the dress makes the image.
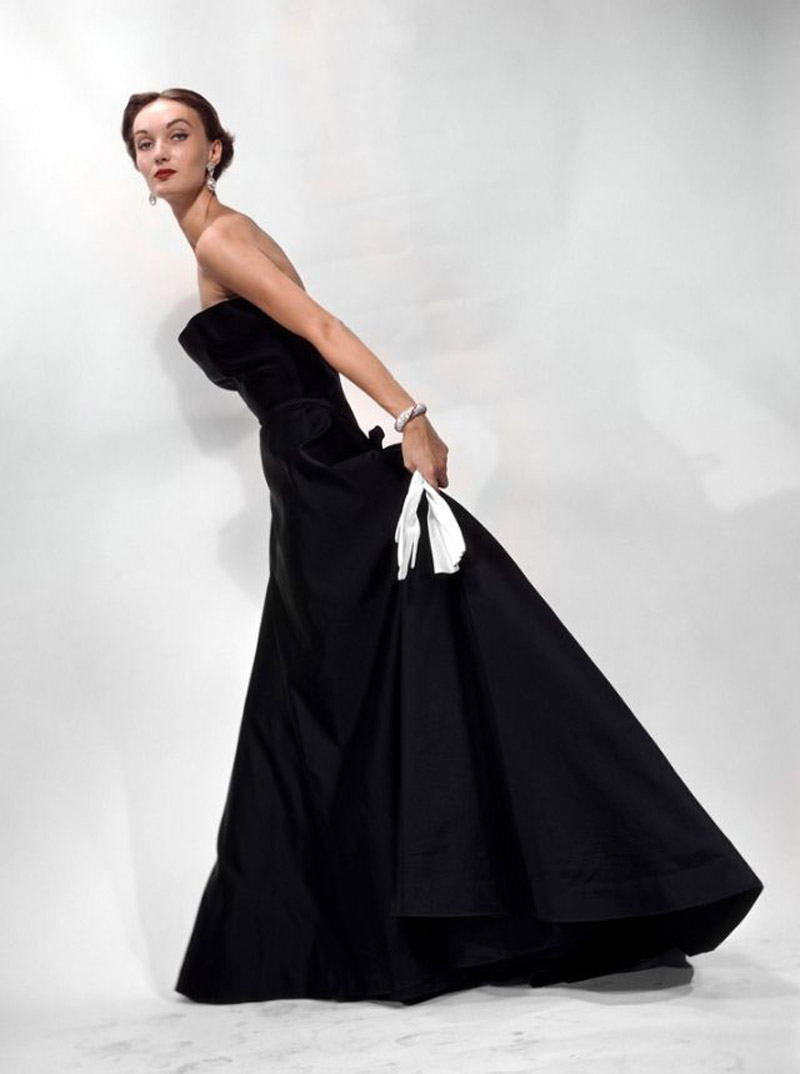
Probably the prettiest bank robber I’ve ever seen!
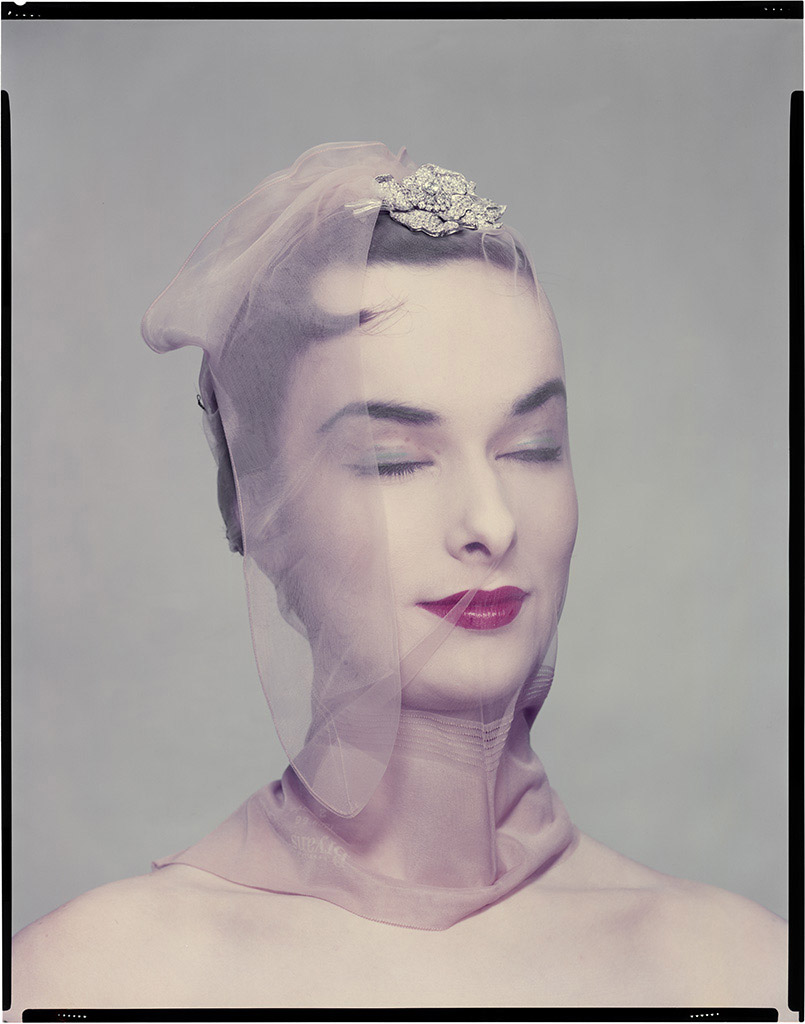
Nice reflections creating repetition on a baroque diagonal.
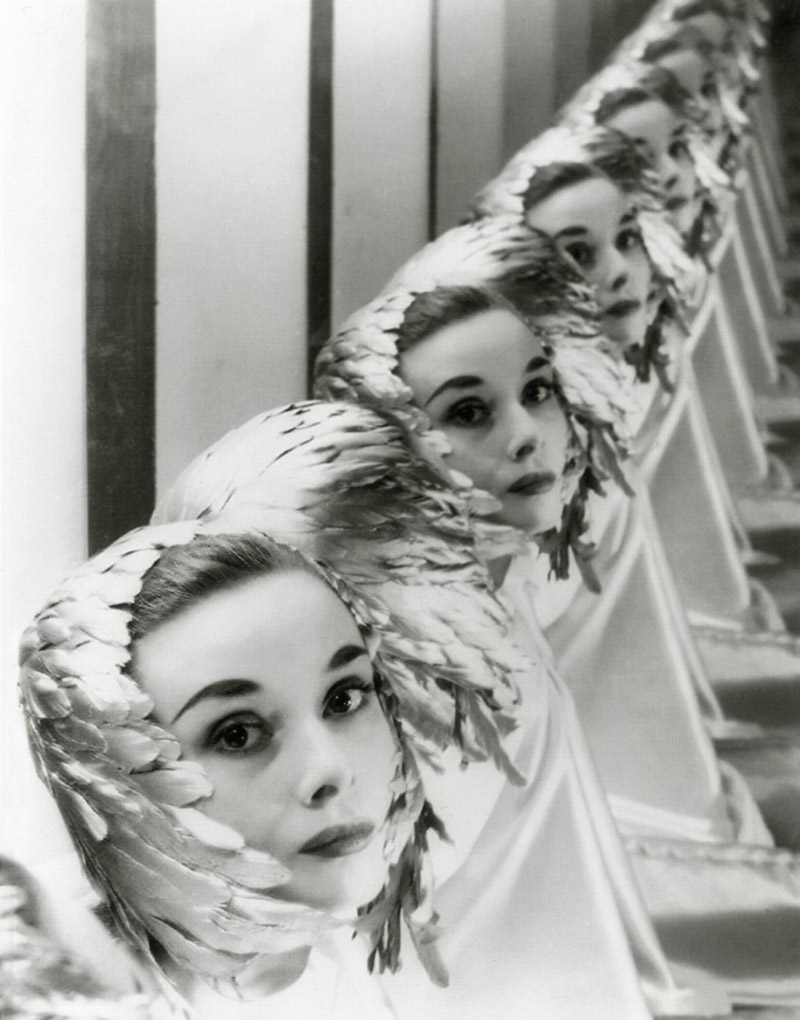
Can you find the triangular enclosure on the left and the sinister diagonal on the right?
Creative Editing
Here we’ll see the full force of Erwin’s editing wizardry! In these first two, he’s edited it so the model’s shape is echoed (see Day 90) in the image.
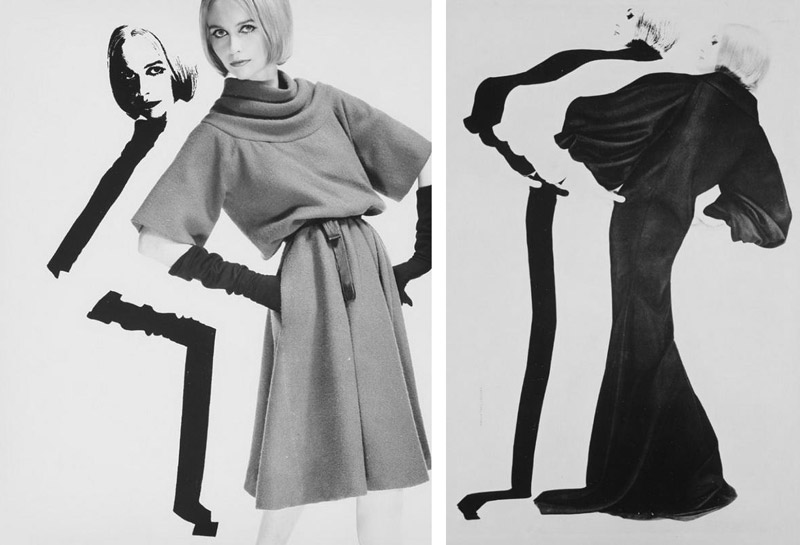
He goes from extreme simplification on the left, to colorful and busy on the right. Some of these are so wild that they start to venture away from the artistic style we saw in the previous images. He was an experimenter for sure. Experimenting in your art is a healthy way to test the waters and maybe incorporate a new technique into your style.
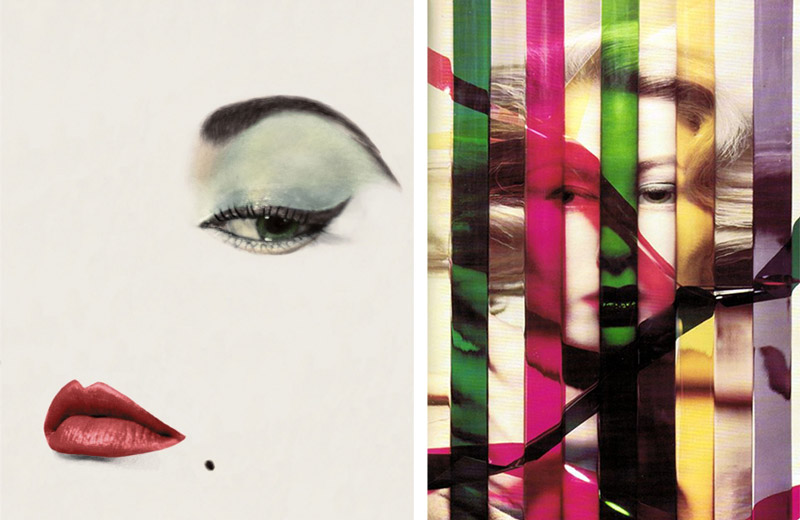
How did he achieve this look? Editing, layers, magic? Hmmm…
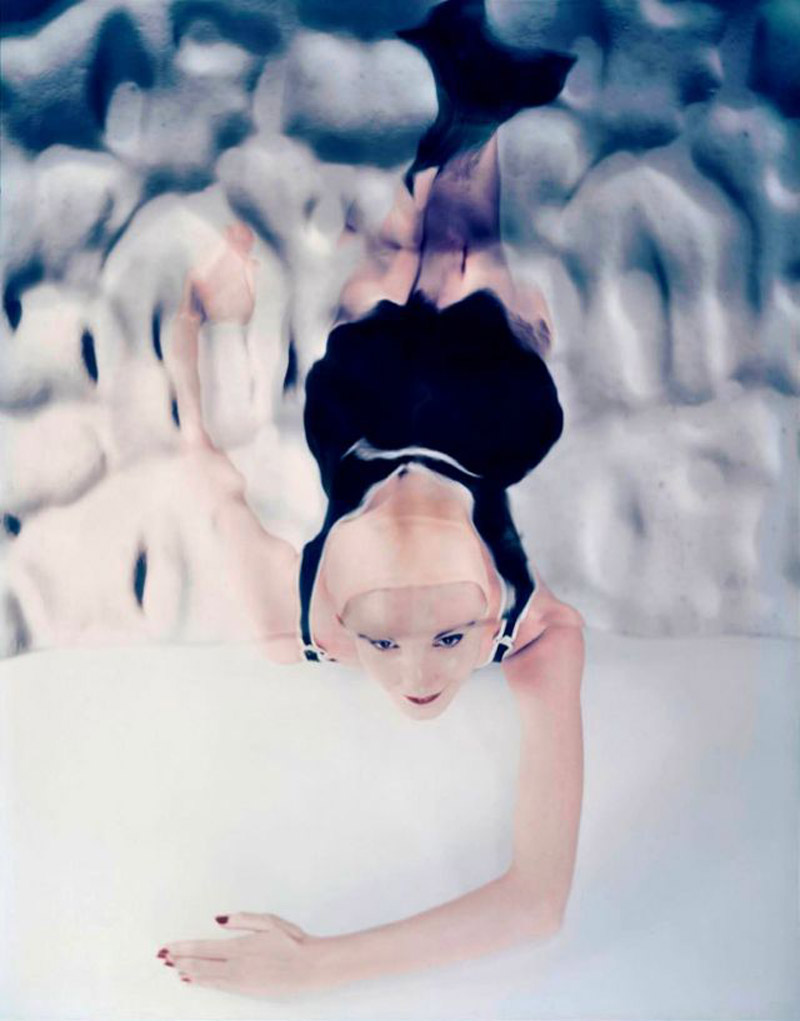
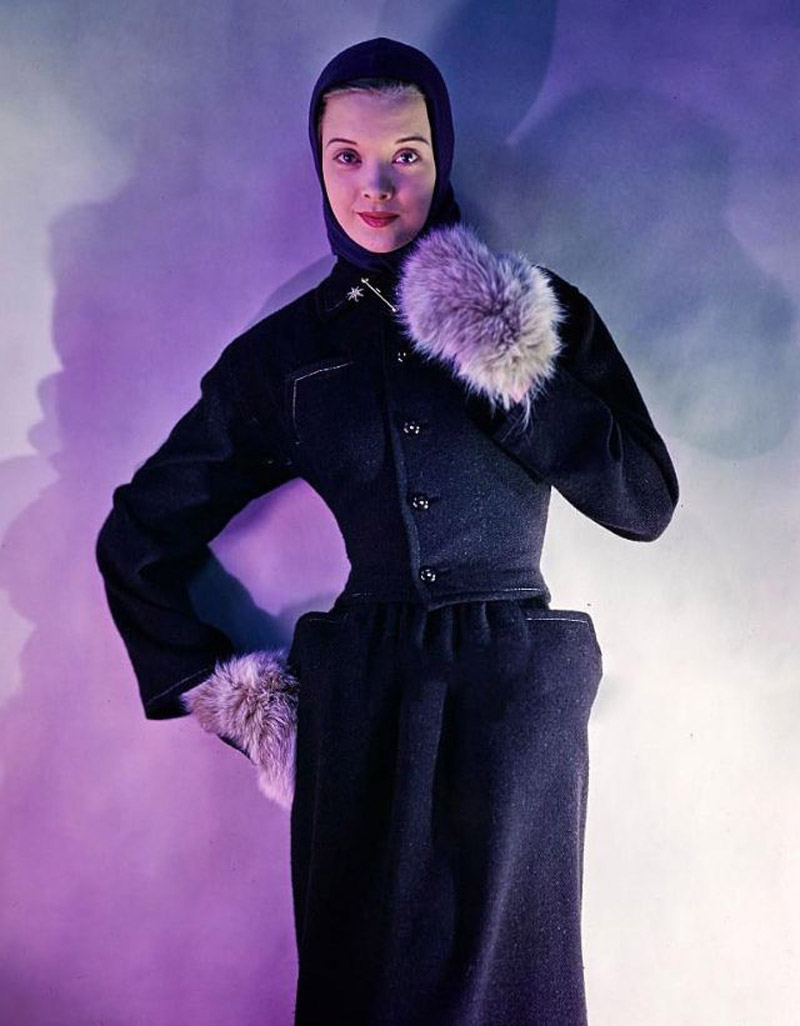
This is an interesting arrangement of portraits. One in silhouette with an aspective view (see Day 78), and the one on the top with her gazing direction (see Day 99) towards the main model facing us.
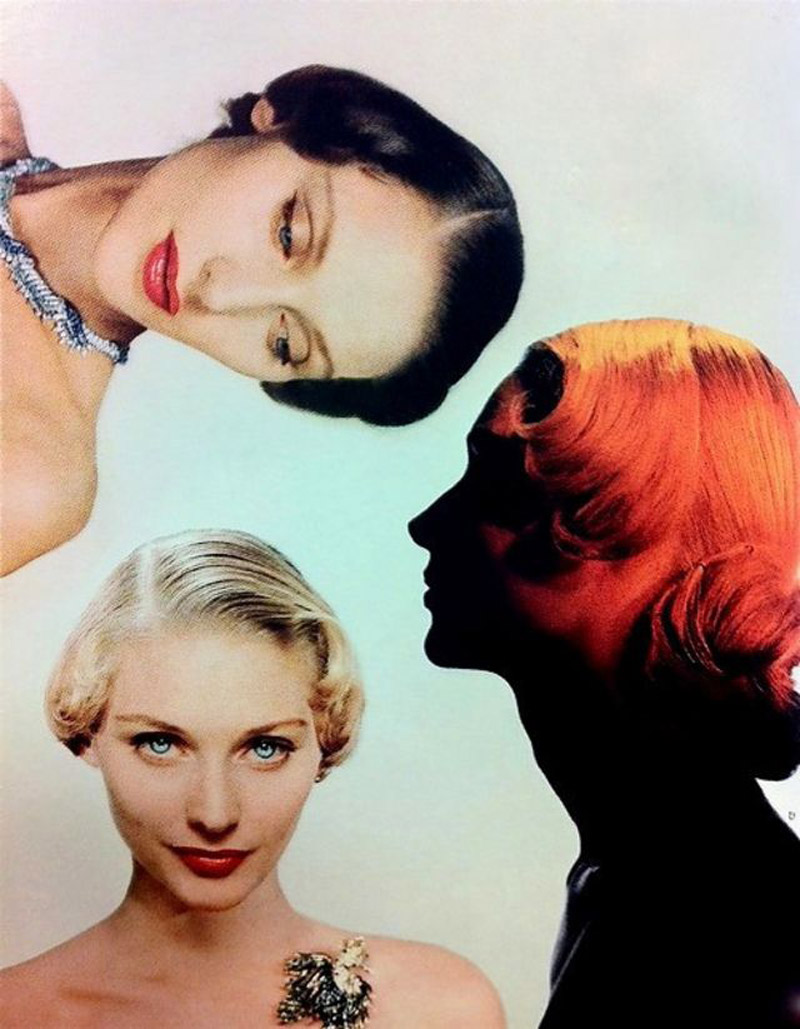
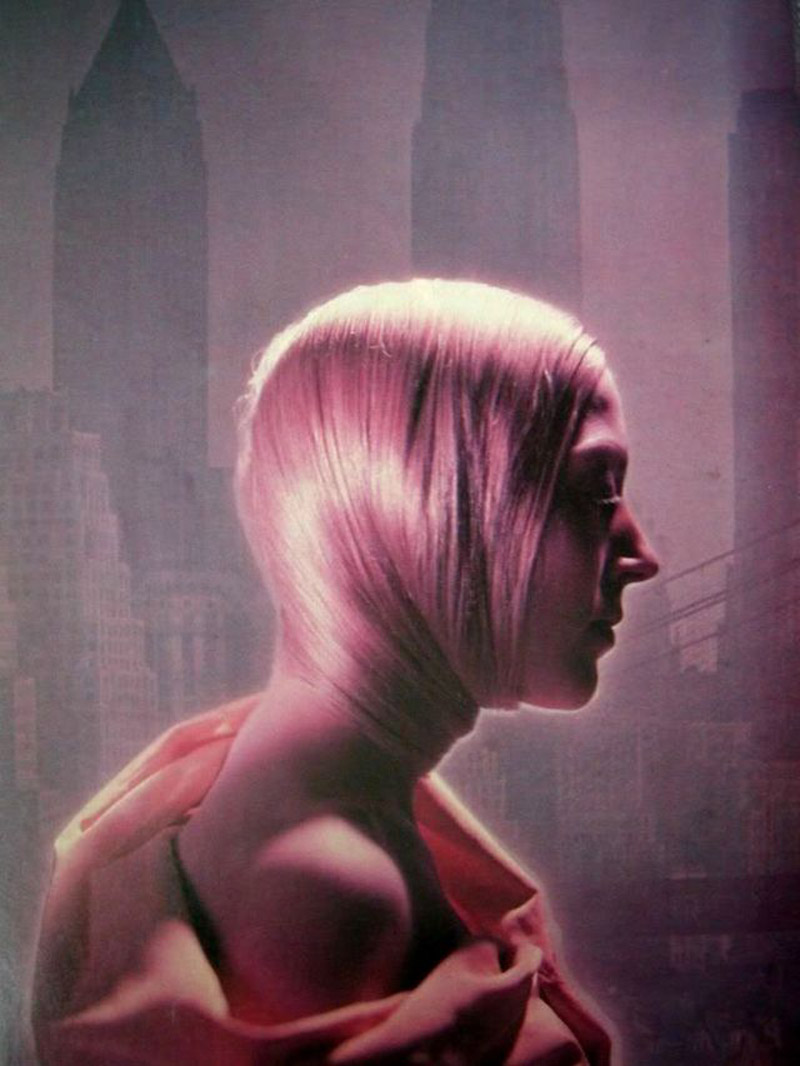
The soft glow and her smooth hair reminds me of something we’d see in Blade Runner 2049 (see #448).
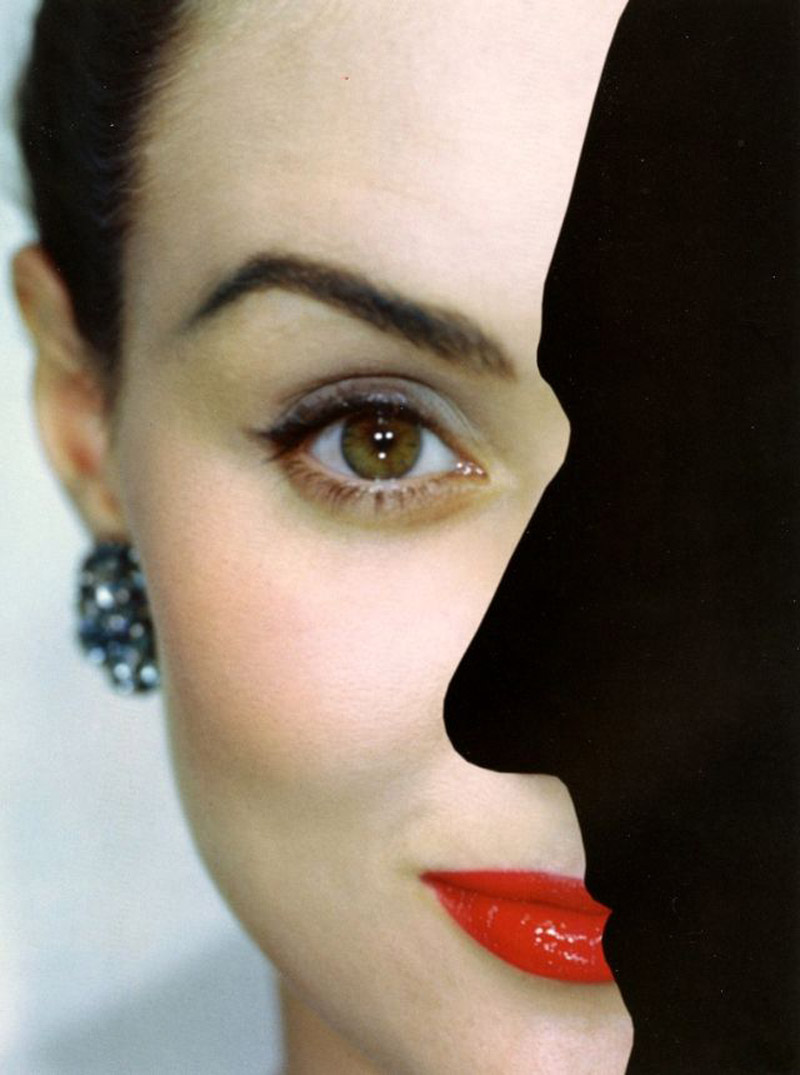
The male silhouette has an aspective view and helps create a bit of mystery with the model. This would be a great poster for a quirky spy movie…Marry Poppins meets James Bond.
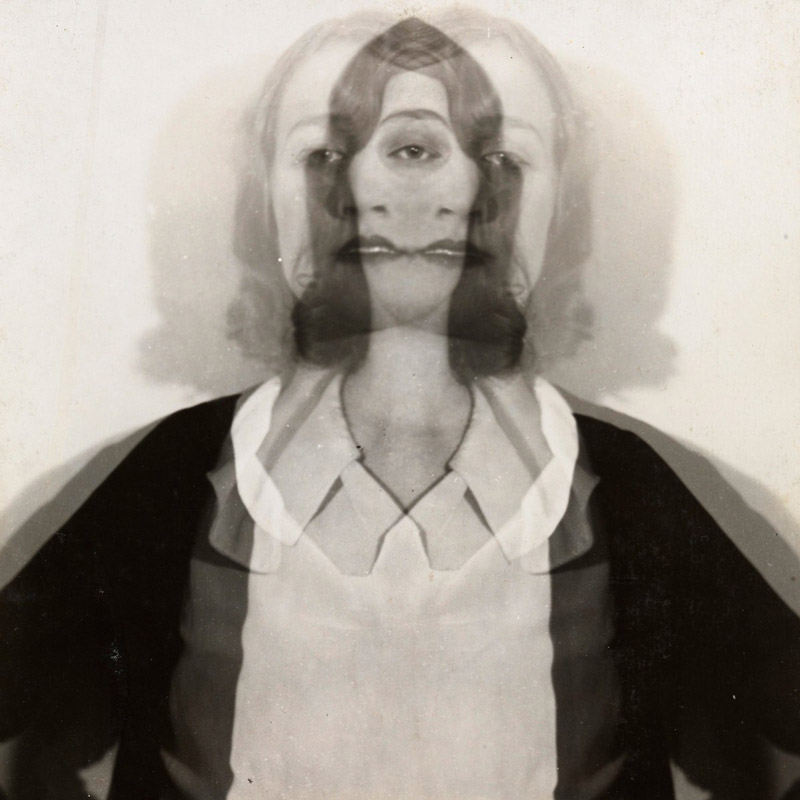
Here’s a triple exposure where the center eye shares the eye of the other two exposures.
Conclusion
How are your creative juices doing? Are they flowing yet?! As we discovered, Erwin Blumenfeld was super creative and had a very strong artistic style. If you’re just starting out in photography, try to do some master copies of his work. This will help you develop your own unique style as you add your own tastes to the mix. If you’re experienced already, try to see if there’s any techniques you can infuse with your photography to make it even better. Heck, you can even copy some of his techniques in a painting or drawing. Sky is the limit with creativity!
That’s it for this one, thanks so much for your support and being a member. See you next time!