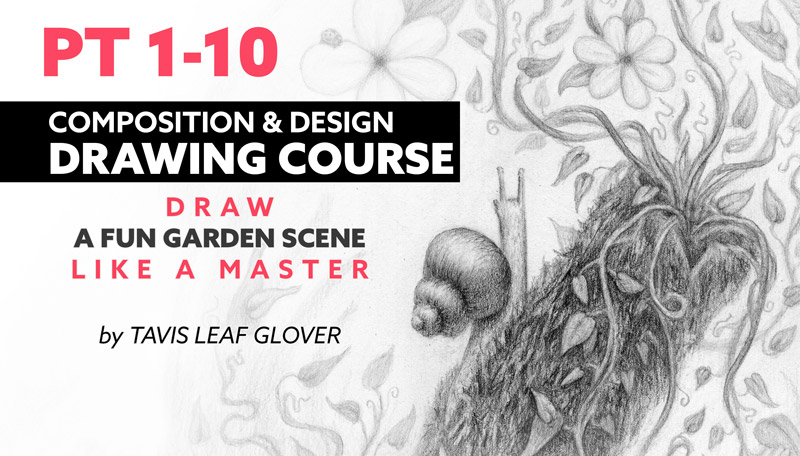
Composition & Design Drawing Course (Videos 1-10)

#751
Thanks for joining in everyone, the support is always appreciated!
Today we’ll be checking out the first 10 videos of the Composition and Design Drawing Course. If you’re wanting to understand how the masters designed their drawings and paintings, this will lead you in the right direction! Even if you’re an aspiring fine art photographer, you’ll learn some skills that will allow you to design a planned photoshoot. Let’s get into it!
Composition and Design Drawing Course Intro
Here we have the intro to the entire course (48 videos total). This is an eye-opening video that explains where art may have lost the foundation for composition and design. We go back in history to pin point where the downfall started to take place. You’ll also get to know what materials are needed, and which worksheets can be downloaded.
For the first 10 videos, you can download some basic worksheets to get you started. If you know absolutely nothing about drawing with graphite and how to control your mark making, you’ll definitely gain even more value from these first 10 videos. Let’s keep going!
Learn How to Design Videos 2-10
A lot of artists are self taught and that’s perfectly fine. That was definitely me prior to 2013 when I traveled to the East Coast to study with Myron Barnstone (see #369). This set me down a new path to try and discover the “how and why” of masterful composition. Myron opened the door in a big way, but I had to keep digging and digging to understand it in a way that “clicked” in my head.
I’m usually the type of person that has to have a routine, uses lists, and works better when things are somewhat systematic. Do this, do that, then you get the desired result. So that’s what I did for a decade…developed this system in a way I could apply it to my art (see #665), then share it with others. These videos are a result of all of the discoveries I found along the way. All that being said, there’s a plethora of value within these step-by-step videos that can’t be found anywhere else. The only question is, will you take the time to learn the process?
2. Materials List
Speaking of lists, here’s the first one which includes all of the materials I use in the videos. Most artists will have 70% of these materials, and the additional ones aren’t that expensive.
3. Intro to Techniques
This video is an excellent introduction to the Design Checklist and what each technique means. Definitely watch this one if you haven’t already!
4. Mark Making Basics (One)
In these next three videos, I discuss mark making. Sure everyone can draw with a pencil, but I point out some things I learned that only comes through application. There’s a specific way to get consistent marks that are controlled, and not heavy-handed or sloppy looking. Control your tools like a samurai!
5. Mark Making Basics (Two)
6. Mark Making Basics (Three)
7. Dynamic Symmetry Basics
Ah yes, the powerfully beautiful dynamic symmetry grids! Print out the worksheet and follow the step-by-step process of drawing your first dynamic symmetry grid. These simple looking lines help promote unity, movement, rhythm, strength, and dominant diagonals. Such a great foundation for creating your first masterpiece!
8. Thumbnails and Planning
This is where you start working out your first ideas. Photographers pay attention! This is what fine art photographers do to plan elaborate shoots.
9. Taping the Grid to Your Paper
This one is self explanatory. Just be sure to choose a grid that fits your needs. If you have a tall subject, you’ll probably want a 1.5 or root 3 grid. If the subject has diagonals, choose a grid that will accommodate the diagonals as well as its height or width. Landscapes will usually get a wider grid depending on the subject.
There are no rules, but there are techniques that guide our decisions. You want nice balance and sufficient negative space, so select a grid that tells the story you want. Nine out of ten times you don’t want excessive negative space because it takes attention away from the subject and emphasizes the surroundings. If isolation or loneliness are key parts of the story, then excessive negative space might be welcomed.
10. Starting the Design Process
This final video sets the stage for the entire design process, and it’s super simple!
Conclusion
Did you watch the videos? Did you do the exercises? If so, you’re one step closer to truly understanding the design process of masterful art. The other videos of the course show how each technique is applied simply, it has rendering exercises, an understanding of lighting effects and much more. Stuff that I didn’t learn anywhere else other than analyzing hundreds of master paintings and applying what I learned. I hope this mountain of discovered information inspires you!
Thanks so much for the support, see you next time!


